| |

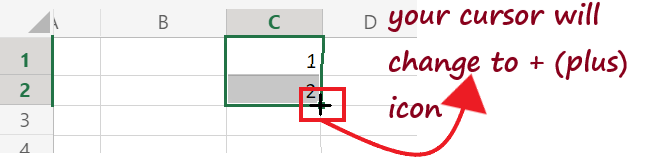
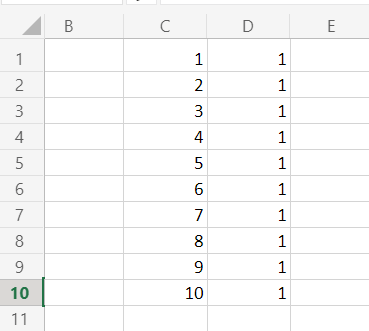
Excel Fill HandleThe Fill handle is an Excel feature that is used to fill the data automatically with a specific pattern. You can extend a series of numbers, dates and text combinations to the desired number of cells. Fill handle is a versatile tool in the excel suite that autocompletes various entries, transforms the data, and several other applications. It is an inbuilt excel feature that is enabled by default and therefore does not involve any manual procedure to implement it. To use the fill handle, move your mouse pointer to the right bottom corner of the cell; it will change into a tiny + (cross) sign. Drag the cross sign, and if Excel recognizes the pattern, it will autofill the cells with the updated data. Else it will copy the same data in all the dragged cells. For example: Let's enter 2 in cell B2 and 4 in cell B3. Next, we will implement a fill handle by selecting both the cells and dragging the cross (+) sign to the following cells. You will notice that Excel will automatically update the cells by incrementing 2 in each value. 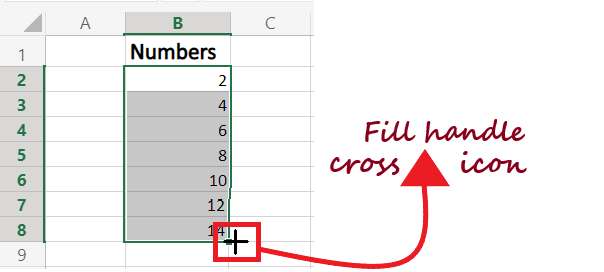
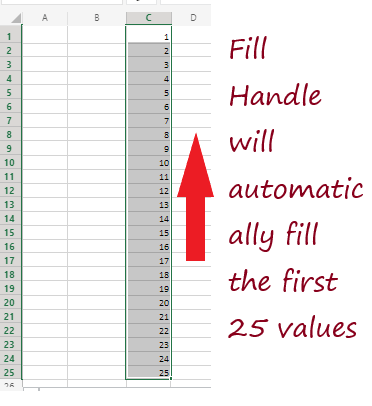
How to Use Fill Handles in Excel?Moving on, let's understand the steps to use the fill handle feature to insert the first 25 numbers quickly in your Excel spreadsheet.
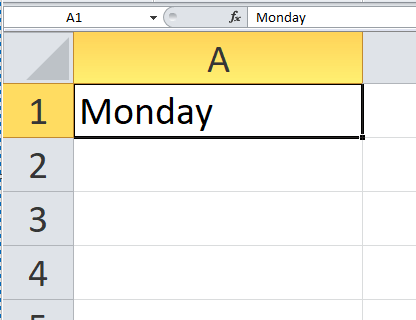
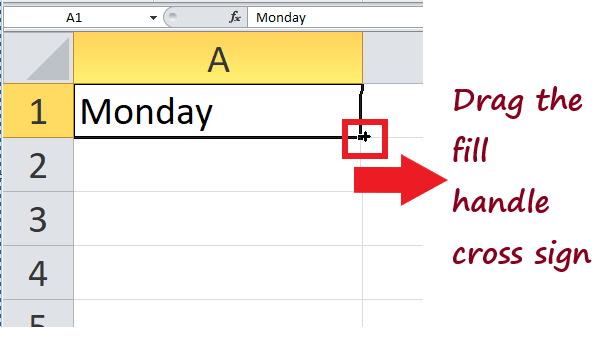
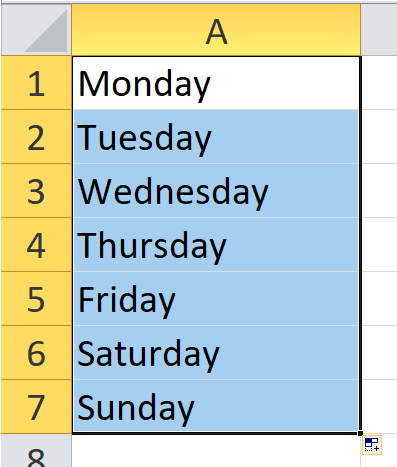
Examples of Using Fill Handle in ExcelIn the above examples, we covered the steps to use the fill handle feature in excel to autofill the list of the first 25 numbers. However, it is a basic operation that we have performed. There occurs many situations where the fill handle is an advantage as it automatically recognizes the pattern and fills the cells correctly. Let's understand the Fill handle feature more briefly using the day-to-day operations. 1. Autofill Weekday NamesEntering the list of days in excel is one of the common operations performed by every user. You can quickly fill the week names using the Fill Handle feature. Follow the below-given steps:
Autofill DatesDates are also commonly used in our day-to-day excel life. Therefore using the Fill handle, you can easily autofill dates in your spreadsheet. Note: You can use the Fill Handle to autofill any date format that Excel recognizes.Enter the Date in the first cell and drag the cross (+) sign to the following cells. The date values will be auto-filled in the dragged cells. You will notice Excel will automatically increment the day field by 1. 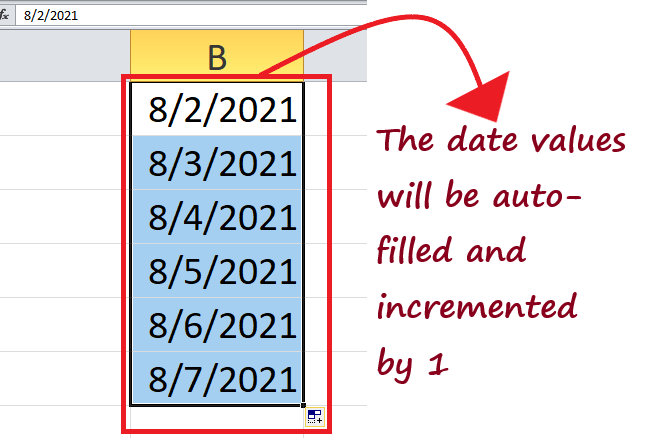
Similarly, you can autofill Months, years, days, etc. Autofill OptionsAfter using the Fill Handle and dragging the cross (+) icon to autofill the cells, you will notice the Auto Fill Options icon at the bottom right corner of the selection window (refer to the below image). 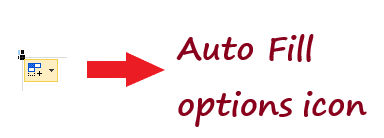
Click on the Fill Handle icon. You will have several options. These options are different for different data. For example you will have the following option if you autofill a list of numbers using Fill Handle. 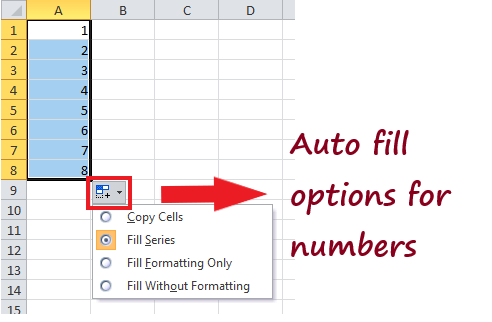
Similarly when you are working with dates you will have the following fill handle options: 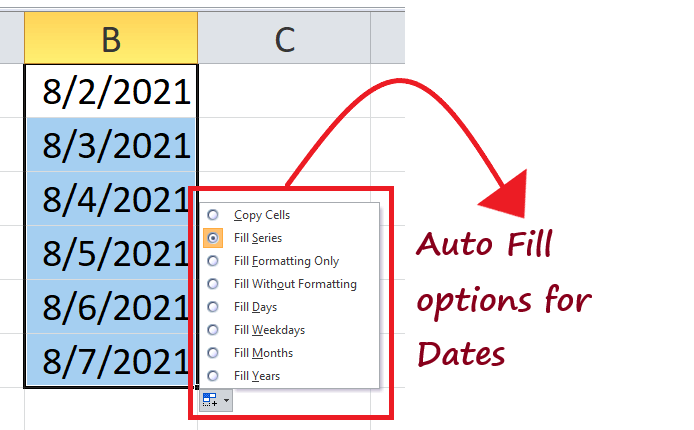
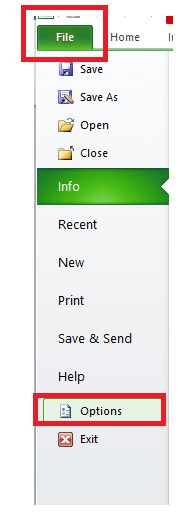
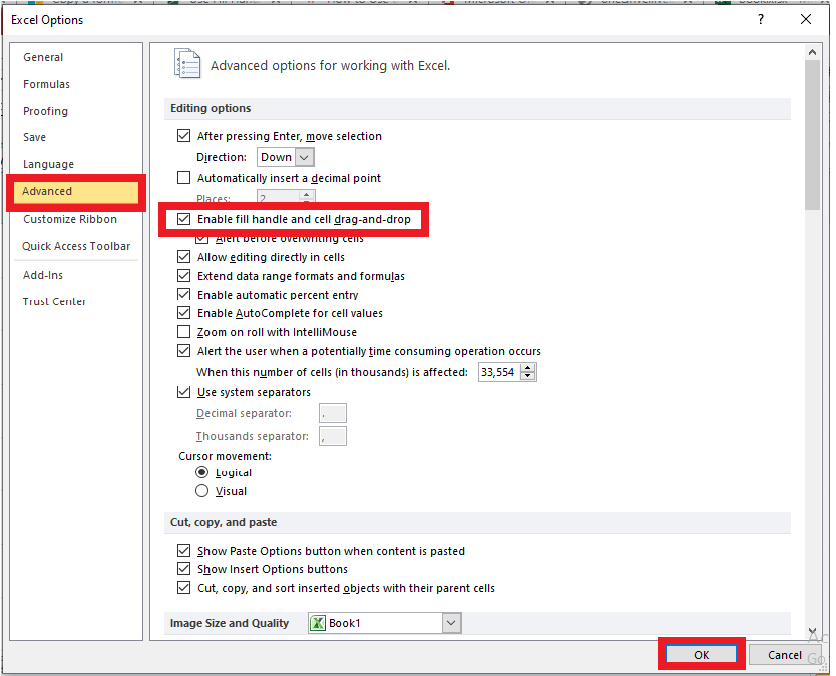
What if your Excel fill handle feature is not working? Many times while working with Excel spreadsheets the Fill handle feature does not work. Don't worry if it happens as Excel provides an option to enable it manually. Follow the below steps to enable the fill handle feature manually in Excel:
Next TopicFill Handle with Text in Excel
|

 For Videos Join Our Youtube Channel: Join Now
Feedback
- Send your Feedback to [email protected]
Help Others, Please Share


