| |

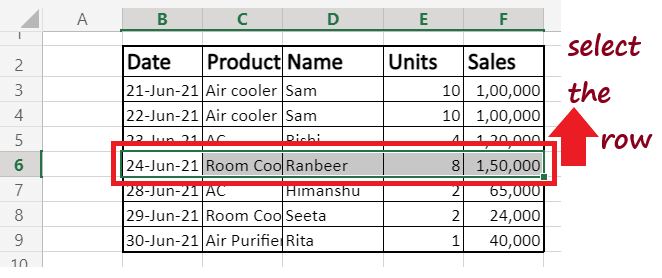
Move data in ExcelMoving your cells, rows, or columns is a common operation performed by every Excel user in their day-to-day life. Let's understand this using an example. Suppose I have a dataset (given below), and I want to move the highlighted row to the last position of the Excel table. 
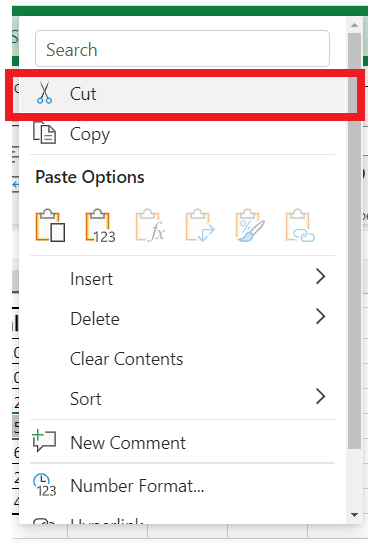
The common method that most of you will think of is by copying the content of the row, pasting the copied row to the desired location, and later deleting the content from its original location. But don't you think it's a bit of a lengthy process. So why not shift to a faster way to move rows and columns in Excel. While working with Excel, you may regularly need to insert, move or delete cells. Whenever cells are inserted, moved, or deleted, the existing cells shift, along with their data, to accommodate for the modifications to adjacent cells. In this tutorial, we will discover some methods that will quickly help you to move your rows and columns from one place to another. Move Data using Cut and Insert
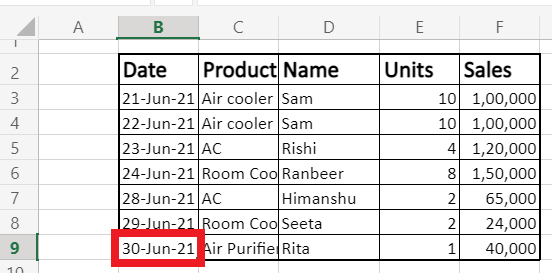
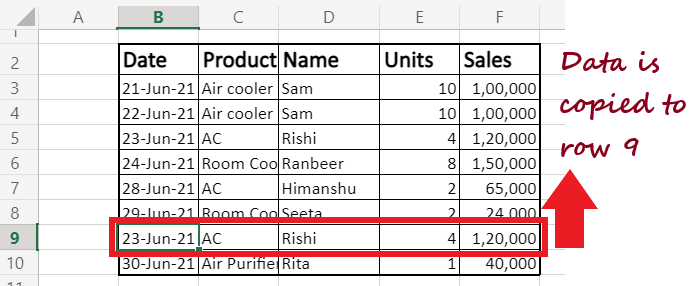
Move Data using Shift keyMoving data using the shift key is basically the same as cutting and pasting data, and it delivers the same output. Both the Excel operations enable the users to move large chunks of Excel data from one place to another. But move data using the shift key is essentially used to move the data over a short distance where the mouse cursor could be easily dragged. Let's see how we can easily move Excel rows and columns using the Shift key. Move Rows in ExcelLet's suppose you have the following data entries in your Excel worksheet. You want to move the highlighted row to cell B9.
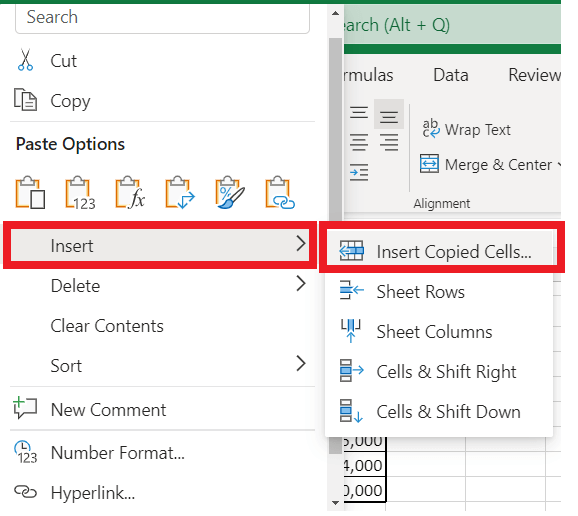
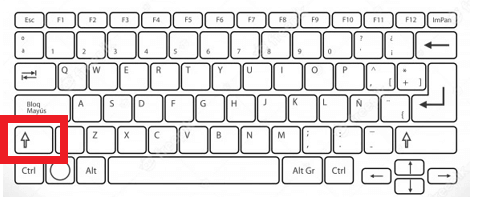
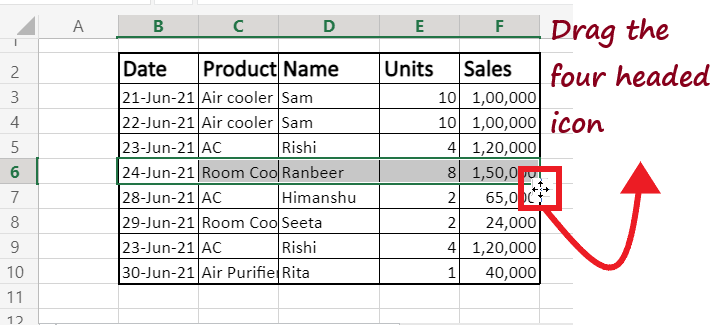
Follow the below-given steps to move rows in Excel quickly:
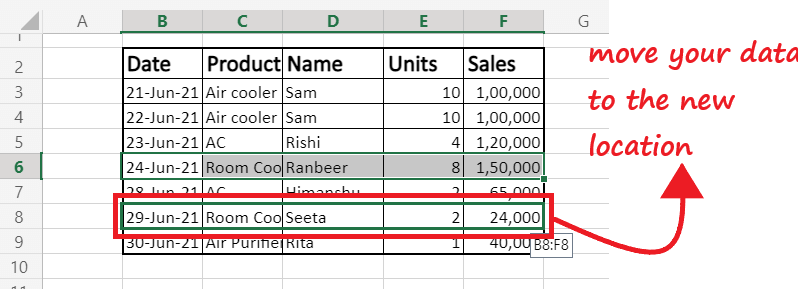
Note: Though I referred to row, in the above example, I have selected some cells from the row. But by following the above steps, you can move an entire row as well, and it will quickly move the entire row to a new location.Here are some key points one should know about the Excel 'Move' method:
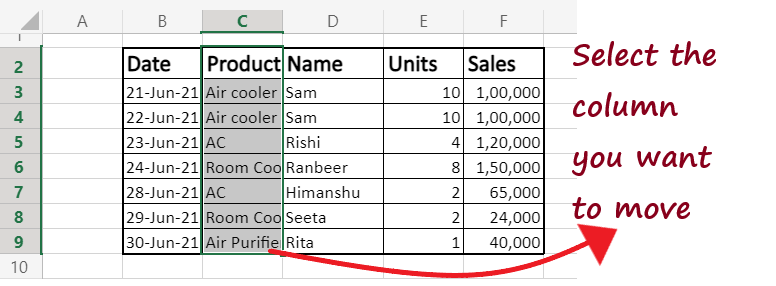
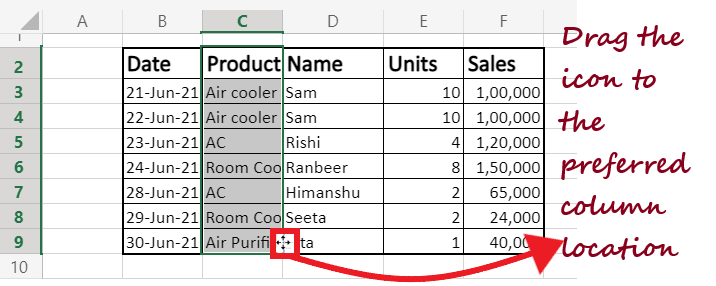
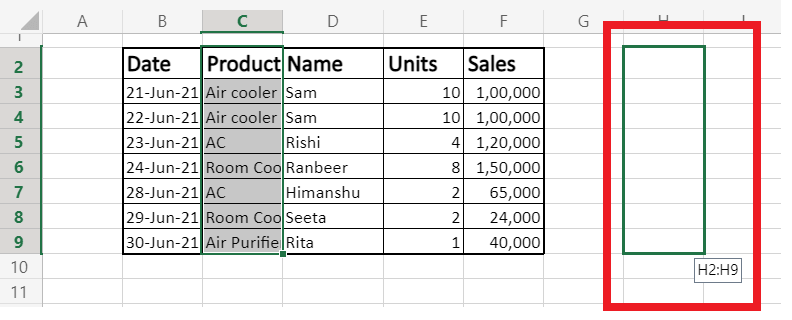
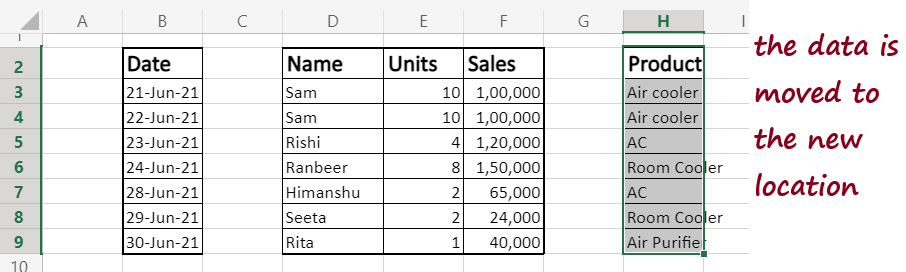
Move Columns in ExcelSo far we learned how to move cells of a row from one place to another. Using the same method can also be applied for moving columns in Excel. Follow the below-given steps to move rows in Excel quickly:
Next TopicHow to copy paste data in Excel
|
 For Videos Join Our Youtube Channel: Join Now
Feedback
- Send your Feedback to [email protected]
Help Others, Please Share


