| |

A Simple JavaServer Faces ApplicationTo create a JSF application, we are using NetBeans IDE 8.2. You can also refer to other Java IDEs. Here, we are creating a project after that we will run to test it's configuration settings. So, let's create a new project fist. Step 1: Create a New Project Go to file menu and select new Project. 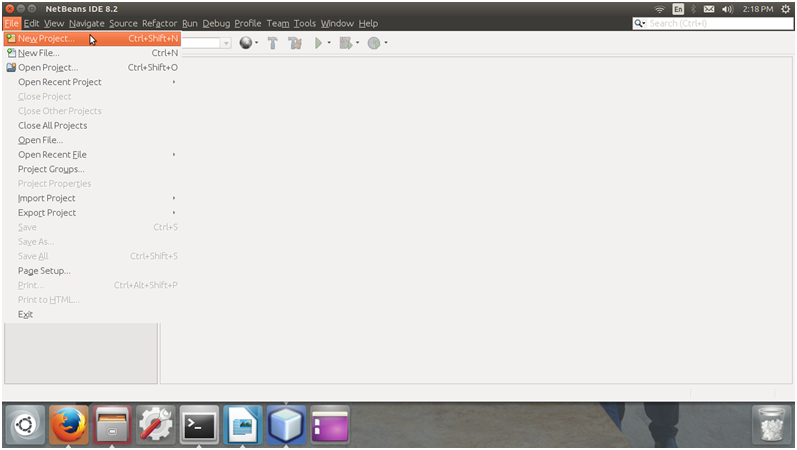 Select Category Java Web and Project Web Application. 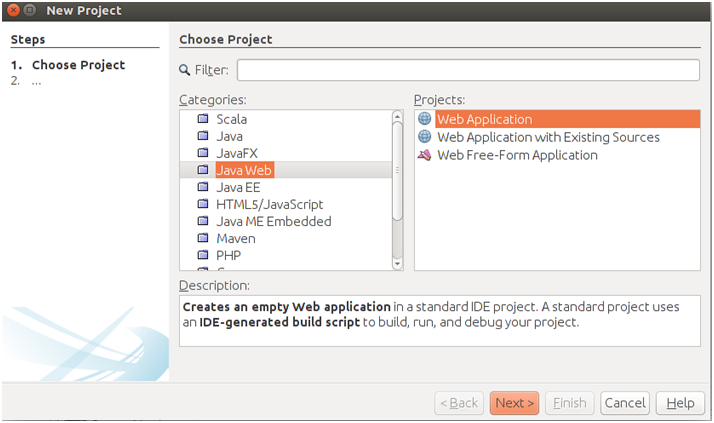 Enter project name.  Select Server and Java EE Version. 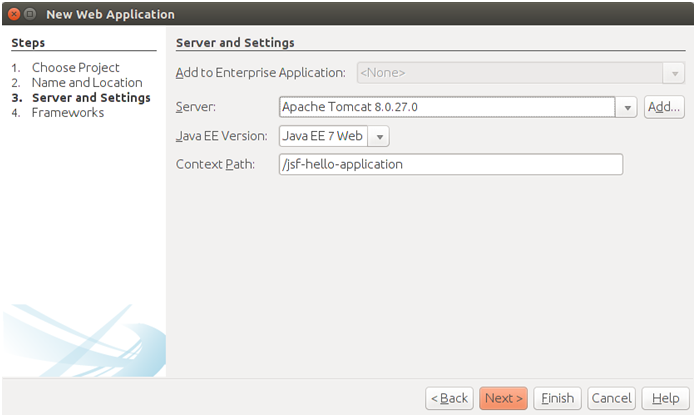 Select JSF Framework 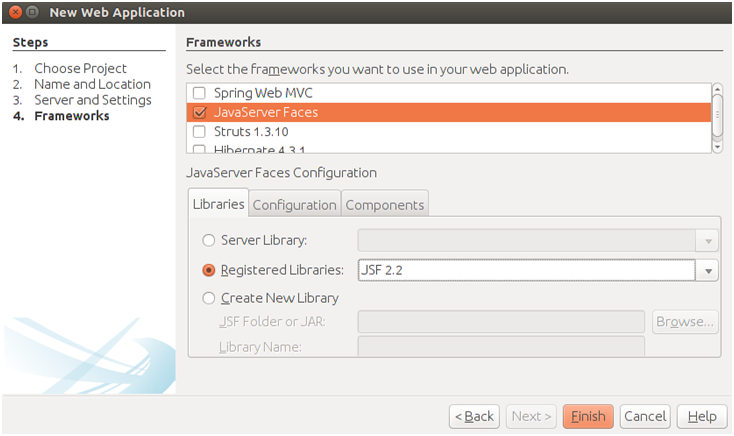 Select Preferred Page Language: Earlier versions of JSF framework are default to JSP for presentation pages. Now, in latest version 2.0 and later JSF has included powerful tool "Facelets". So, here we have selected page language as facelets. We will talk about facelets in more details in next chapter. 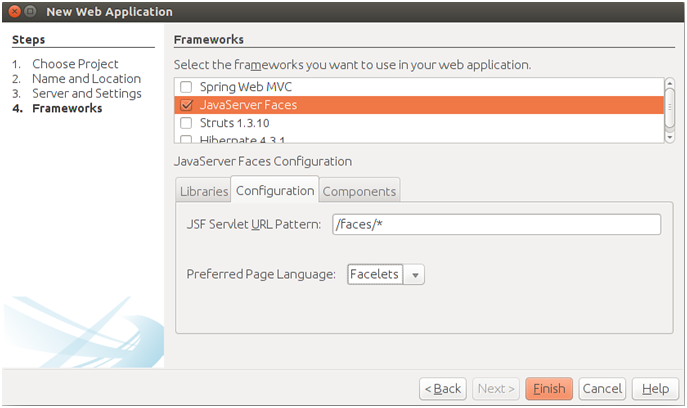 Index.xhtml Page: After finishing, IDE creates a JSF project for you with a default index.xhtml file. Xhtml is a extension of html and used to create facelets page. 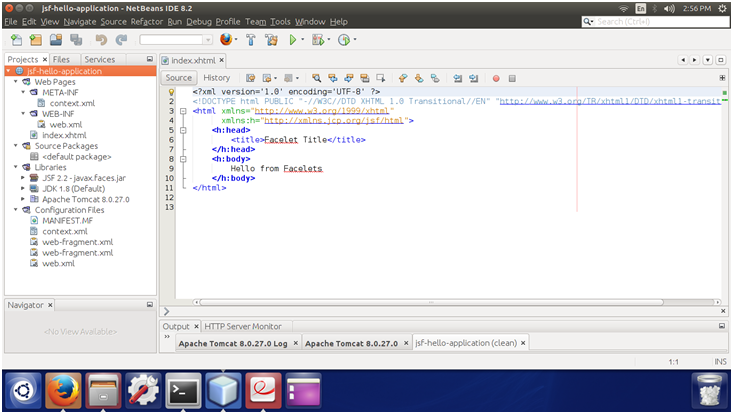 Run: Now, you can run your application by selecting run option after right click on the project. It will produce a default message "Hello from Facelets". We have created JSF project successfully. This project includes following files:
Whenever we run the project, it renders index.xhtml as output. Now, we will create an application which contains two web pages, one bean class and a configuration file. It requires the following steps in order to develop new application:
1) Create User InterfaceWe will use default page index.xhtml to render input web page. Modify your index.xhtml source code as the given below. Create a second web page which produce the output. 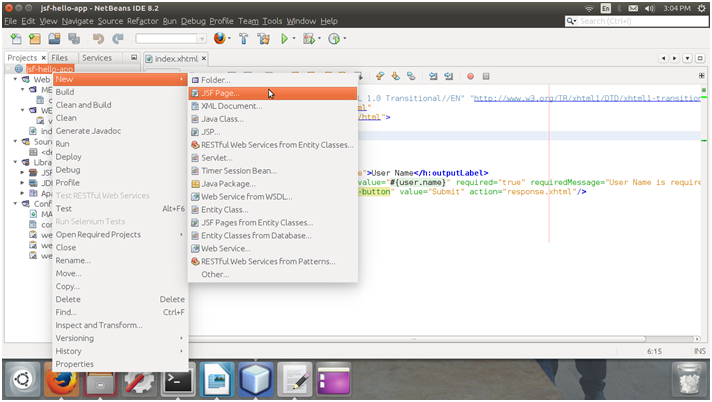 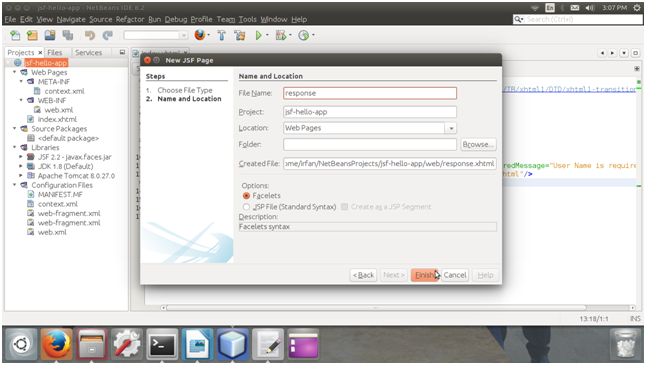 After creating response.xhtml page. Now, modify it's source code as the given below. // response.xhtml 2) Create a Managed BeanIt is a Java class which contains properties and getter setter methods. JSF uses it as a Model. So, you can use it to write your business logic also. 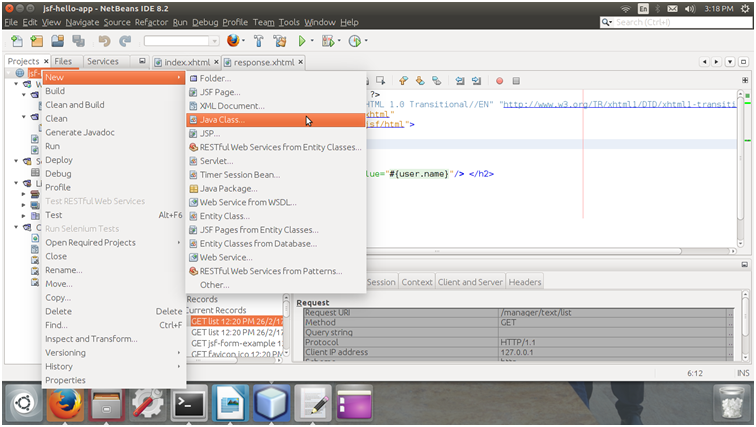 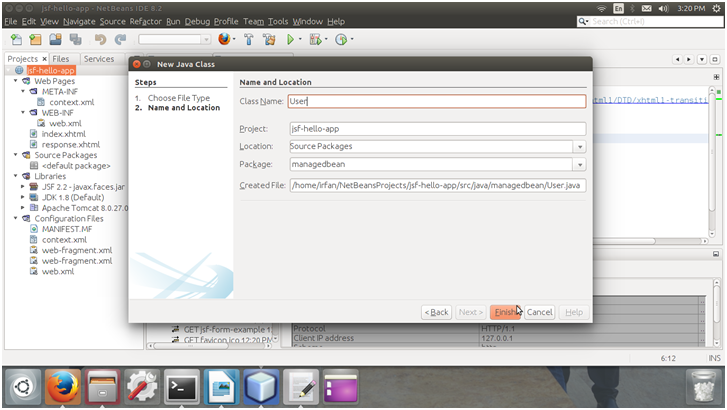 After creating a Java class put the below code into your User.java file. // User.java 3) Configure ApplicationTo configure application, project contains a web.xml file which helps to set FacesServlet instances. You can also set your application welcome page and any more. Below is the code of web.xml code for this application. // web.xml Well! All set. Now run the application. 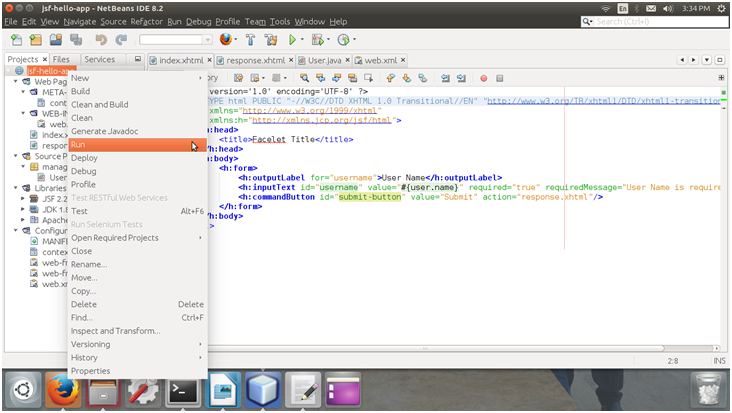 Output: This is index page of the application. 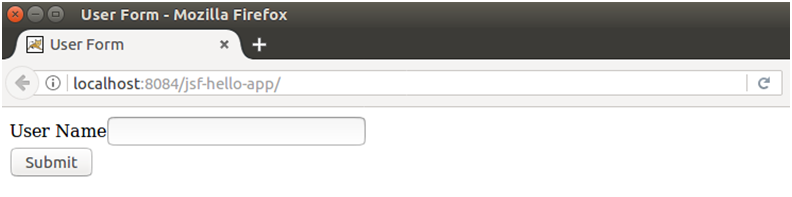 Form validation for empty field. 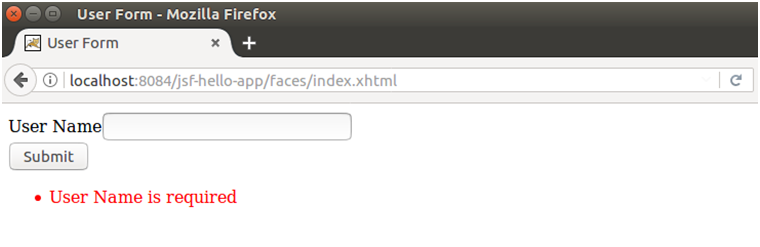 Providing input to input text.  This is response page after submitting input (index) page. 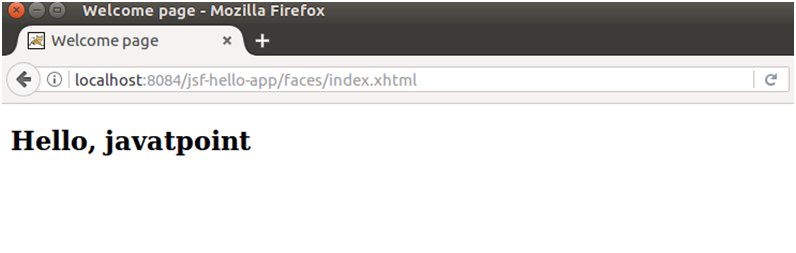
Next TopicJSF Ui components
|
 For Videos Join Our Youtube Channel: Join Now
Feedback
- Send your Feedback to [email protected]
Help Others, Please Share


