| |

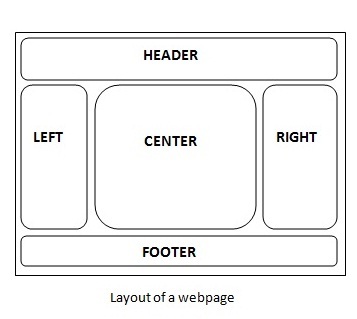
Struts 2 Tiles Framework Integration Tutorial ExampleWe can customize the layout of the struts 2 application by integrating with tiles framework. A web page can contain many parts (known as tile) such as header, left pane, right pane, body part, footer etc. In tiles framework, we manage all the tile by our Layout Manager page. Advantage of tiles frameworkThere are following advantages of tiles framework:
Steps to create tiles applicationThe steps are as follows:
1) Add tiles library in your applicationIf you are using myeclipse IDE, you can add tiles library by right click on the project -> Build Path -> Add Library -> Add Myeclipse Library -> Select the Struts 2 tiles library -> ok. If you are using eclipse or Netbeans IDE, you need to add the required tiles library in your project. 2) Define Struts2TilesListener in web.xml fileProvide entry of listener class Struts2TilesListener in the web.xml file. web.xml3) Create the input page (index.jsp)index.jsp4) Create the action classThis action class contains one field name and defines the execute method. Login.java5) Inherit the tiles-default package and define all the result type as tiles in struts.xmlThis xml file defines one package with one action and two results. struts.xml6)Create the tiles.xml file and define all the tiles definitionsThe tiles.xml file must be located inside the WEB-INF directory. tiles.xml7) Create the LayoutManager pageIt is the layout manager page. It used getAsString tag of tiles to include the string resource and insertAttribute tag of tiles to include the page resource. layoutmanager.jsp8)Create View componentsThere are many view components such as header.jsp, footer.jsp, welcome.jsp etc. header.jsp footer.jsp login-success.jsp Output: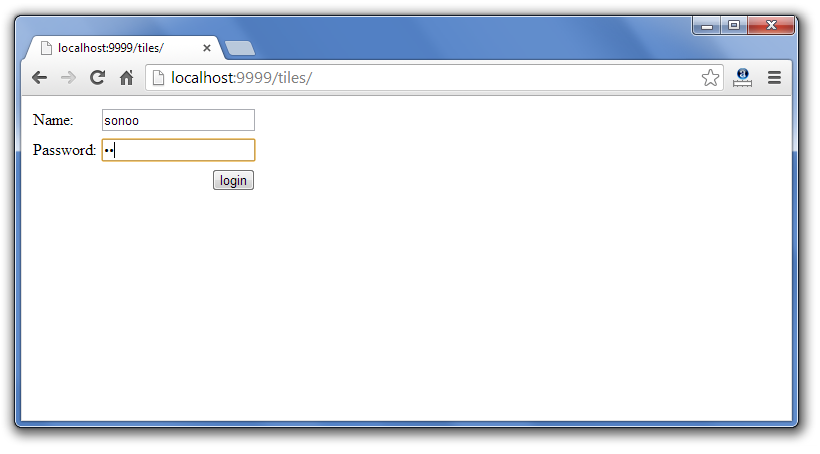
Password is not admin, so error page will be displayed. 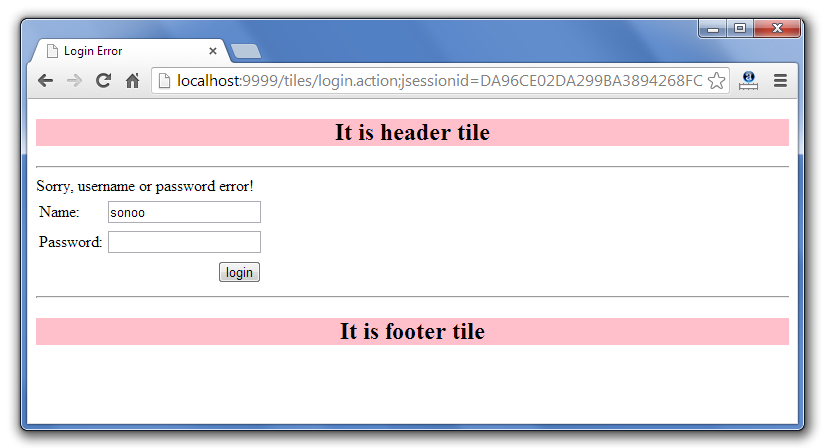
If password is admin, success page will be displayed. 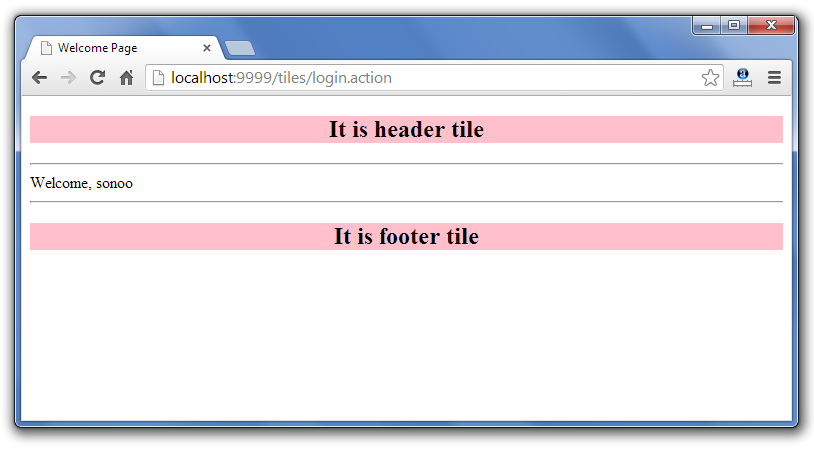
How to define multiple tiles files in struts 2 applicaitonTo define multiple tiles, you need to add following entry in your web.xml file.
Next TopicHibernate And Struts Integration
|
 For Videos Join Our Youtube Channel: Join Now
Feedback
- Send your Feedback to [email protected]
Help Others, Please Share


