| |

Adobe XD ToolsThe Adobe XD supports several useful tools such as rectangle, ellipse, and select tools for creating and positioning the design elements. In this section, we will discuss various built-in tools for creating and managing the design elements. Adobe XD provides a comprehensive toolbox to perform the basic and advanced operations. A tool is a way to operate on the XD canvas. Whenever we hover over a tool, it will display its name and shortcut key. To activate any tool, click on it. By default, Adobe XD supports following tools, located in the tool panel given left to the workspace. The Tool panel of the Adobe XD looks as follows: 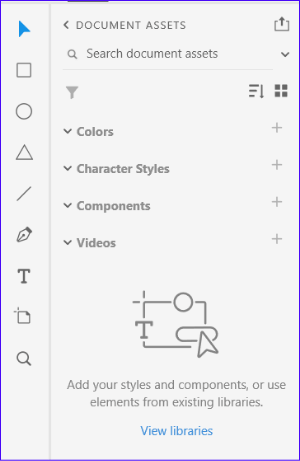
In the above image, we can see a tool panel given as a sidebar of the workspace. There are multiple tools available that will be used to create different types of the UI elements such as buttons, cards, headers, footers, etc. Let's understand how to create and customize the design elements. The following tools are listed in Adobe XD's toolbox:
We will create different shapes using these tools and customize them using the tool options given in the right sidebar of Adobe XD. Every respective tool has tool options to customize the shape. Tool OptionsThe right sidebar contains several tool options: color fill, border, border-radius, blur, padding, scroll, etc. We can choose any of the options as per our requirement. The options in the right sidebar will be adjusted on the basis of tool selection. For example, if we select the text tool, then it will display the text tool options such as font size, color, font family, font-weight, etc. Further, the right sidebar also contains options for alignment, position, scroll, transform, etc. it also contains state options for managing the different states of a component. In prototype mode, it will change its options from customization to prototyping and animations. The right sidebar looks as follows: 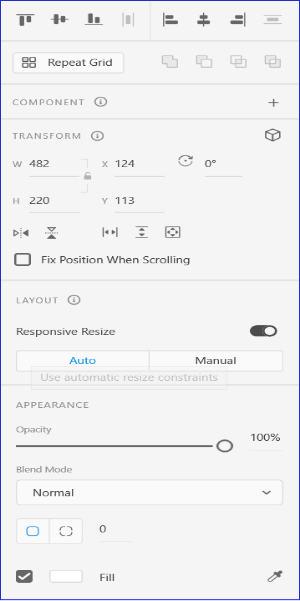
From the above image, we can see several options available for positioning and styling the shapes. It is a scrollable menu. Let's understand each tool in detail and how to customize the shapes created by these tools: Select ToolThe select the tool is used to select an element and make it active in available elements. We can also drag the elements using the select tool across our workspace to position them. We can activate the select tool by clicking on the below icon: 
Alternatively, we can select it by pressing the 'V' shortcut key. Rectangle ToolThe rectangle tool is used to create rectangular and square shapes. We can create different sizes of cards, containers, and buttons using the rectangle tool. 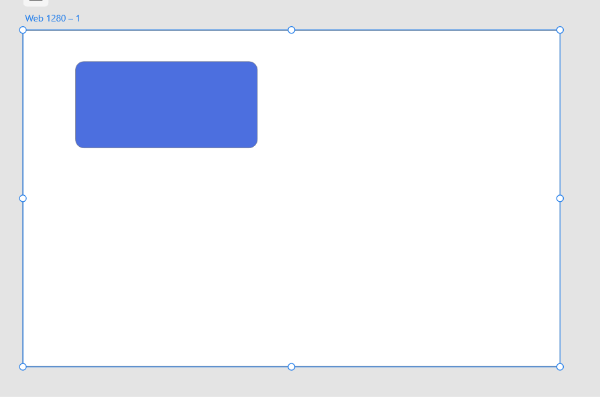
We can style the rectangle by using the different tool options such as color fill, border, border-radius, shadow, and so on from the right sidebar of the Adobe XD. We can select the rectangle tool by clicking on the below icon: 
Alternatively, we can press the 'R' shortcut key to activate the rectangle tool. Ellipse ToolThe Ellipse tool is used to create elliptical shapes or circles. It will be useful for creating the profile picture section and circular containers for the web application. To create a perfect circle, hold the Shift key while dragging the mouse pointer. However, we can also manually define the height and width from the right sidebar menu. We can also apply different colors and styles to the created shape using the right sidebar menu. It contains all the tool options. 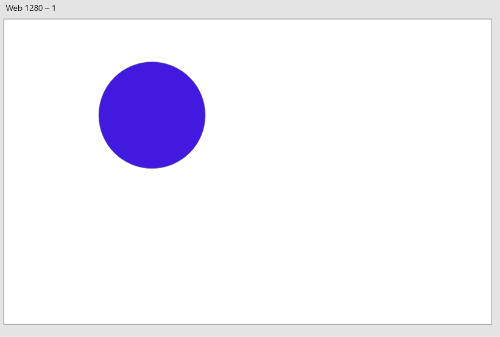
We can select the ellipse tool by clicking on the below icon: 
Alternatively, we can press the 'E' shortcut key to activate the ellipse tool. Polygon ToolThe polygon tool is used to create the polygon shapes such as a triangle. To create a perfect triangle, hold the Shift key while dragging the mouse pointer. 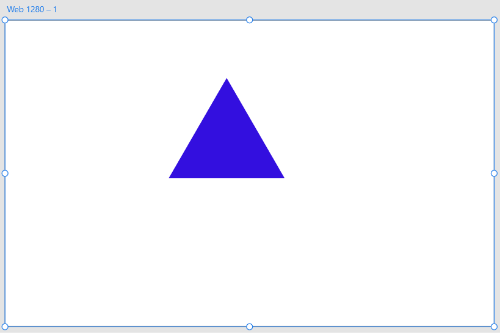
To select the polygon tool, select the below icon from the toolbox: 
Alternatively, we can press the 'Y' shortcut key to select it. Line ToolThe line tool is used to create lines on Artboard. The straight lines are useful for creating separators in web design. We can customize these lines, such as provide color and thickness using the tool options from the right sidebar. To create a straight line, activate the line tool, pick a start point to drag it in any direction. We can activate the line tool by clicking on the below icon: 
Alternatively, we can activate the line tool by pressing the 'L' shortcut key. Pen ToolAdobe XD provides supports for the Pen tool. The Pen tool is one of the finest tools provided by Adobe. It is used to create paths and shapes which can be manipulated to draw complex sections. The creativity of the pen tool is unlimited; we can draw whatever we imagine. The pen tool is useful for creating shapes, wavy backgrounds, and crossed sections. We can activate the pen tool by clicking on the below icon: 
Alternatively, we can press the 'P' shortcut key to activate the pen tool. Learn more about pen tool. Text ToolThe text tool is used to add the text to the Artboard. It is useful for adding heading and other text content to the designs and artboards. We can customize the text, such as colors, size, font weight, etc., by using the tool options given in the right sidebar menu. 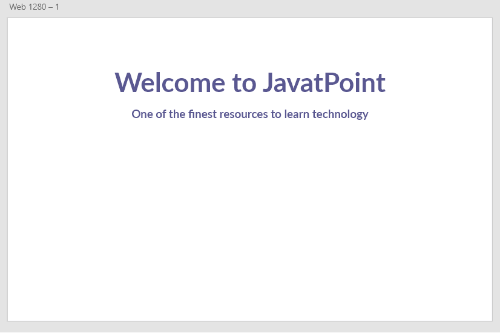
We can activate the text tool by clicking on the below icon: 
Alternatively, we can press the 'T' key to activate the pen tool. ArtboardThe Artboard is the canvas of the Adobe XD where we design the entire elements. The Artboard tools allow us to add more artboards to the workspace for multiple screens. The Artboard can be added by clicking on the below icon: 
Alternatively, we can press the 'A' shortcut key to add an artboard to the workspace. Once we click on the artboard icon, it will ask for the artboard size in the right sidebar. We can select any predefined Artboard for different devices such as mobile and web. It will add a new artboard in the workspace. Below is the snapshot of the workspace having multiple artboards. 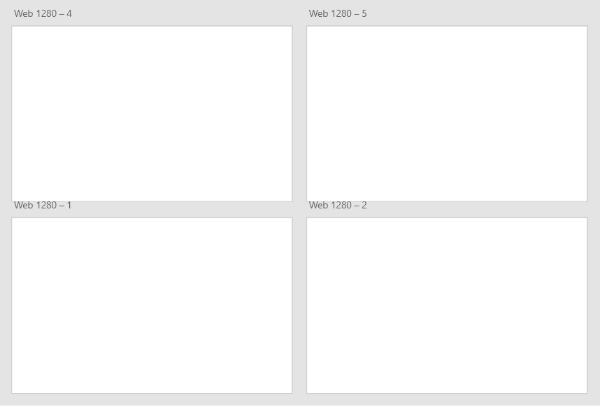
ZoomThe zoom tool is used to zoom the Artboard. After activating the zoom tool, we can zoom the Artboard by clicking on it. The mouse pointer will be converted into a plus symbol when the zoom is activated. We can activate the zoom tool by clicking on the below icon: 
Alternatively, we can activate it by pressing the 'Z' key. We can also zoom out or zoom in on the object by using the Ctrl + '+' and Ctrl + "-" key combination. Here, we have discussed all the tools given in the toolbox at the left sidebar menu. These tools will be used through the tutorial to create different design elements.
Next TopicArtboards in XD
|
 For Videos Join Our Youtube Channel: Join Now
Feedback
- Send your Feedback to [email protected]
Help Others, Please Share


