| |

After Effect - Important ToolsFollowing are the important tools that we can use during this complete training of Adobe After Effect. Pen Tool/ MasksWe can use the Pen tool to create a shape or line by drawing a vertex at a time. It can be used to remove/ mask-off a specific area of a solid layer, and it can be used to draw a new shape layer. It also allows us to draw and adjust paths. These paths can be used as position guidance for the layers to move along and for the text if needed. 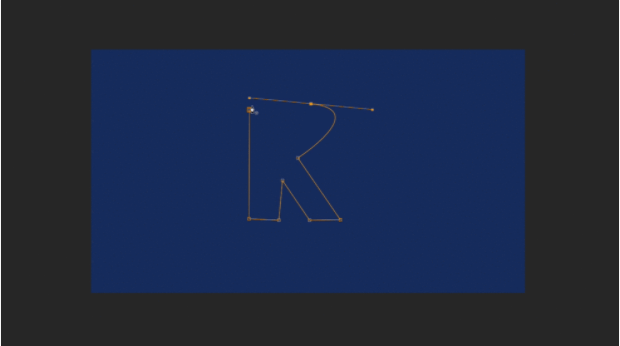
The pen tool is also used to trace an object to add or remove it from the live-action footage, create artwork, and achieve various cool text effects. Shape LayerThe shape layer is a 2D and flat object created either manually using the pen tool or with an already defined shape that After Effects offers, such as an oval, rectangle, or pentagon. It allows us to customize properties such as their stroke, fill, and even specific details like corner roundness. It is ideal for quickly generating symmetrical shapes, complex patterns, and 2D art because of its extensive customizability. 
In case we need a simple interface, we will go with the better option: the Solid Layer. It is quite useful, but it isn't complicated enough to warrant a detailed explanation. It is just a shape layer without customizable properties beyond color, beyond dimensions, and standard 2D transform properties like scale, position, and rotation. Track MattesThe Track Matte uses a layer to mask another according to the masking layer's transparency or luminance. E.g., If we set a layer as Alpha Matte, it will limit its appearance to non-transparent areas of the layer above Track Mattes. The inverted version of this would limit the layer's appearance to its transparent areas above it. 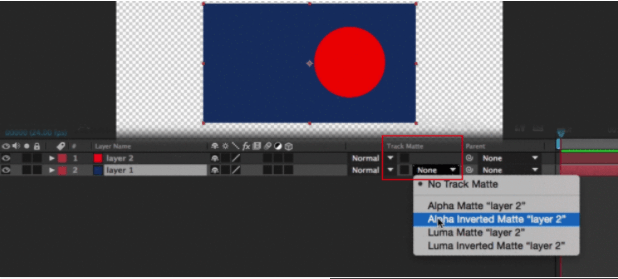
A Luma Matte is similar to the Alpha Matte, but it limits the bottom layer's appearance to the top layer's brightest areas. The Track mattes give us the efficiency benefits and quickly achieve some masking effects via the scale, position, and rotate properties of a matte layer. Blending ModesThe blending mode is available next to the track matte options and also available under the mode column. It is fairly straightforward and implements the layer in the composition differently. 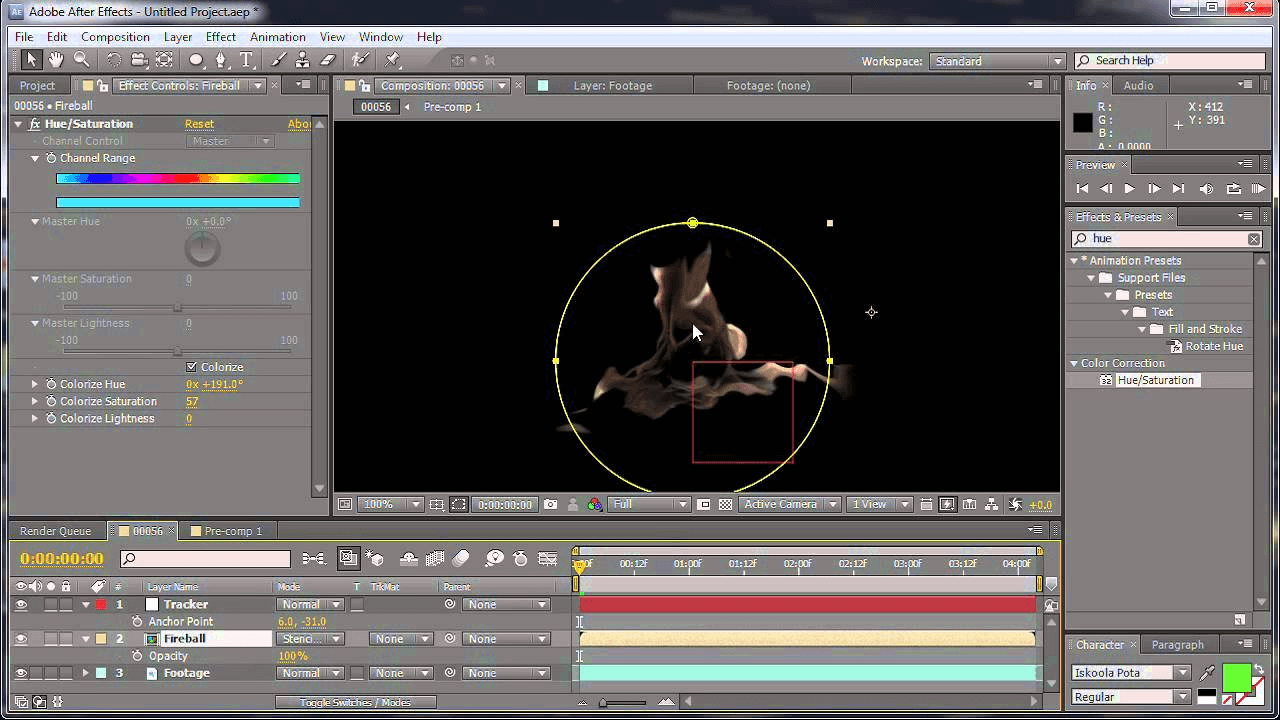
There are so many blending modes; each of them has its purpose. There are too many blending modes for us to explore all of them. If we use blending modes, it will drastically expand our composition potential by freeing us from only adjust opacity limitations. Adjustment LayersThe Adjustment layer works like a solid and can be used to modify layers below it. It is a blank image, but all the properties and effects it consists of are applied to them when replaced above other layers. 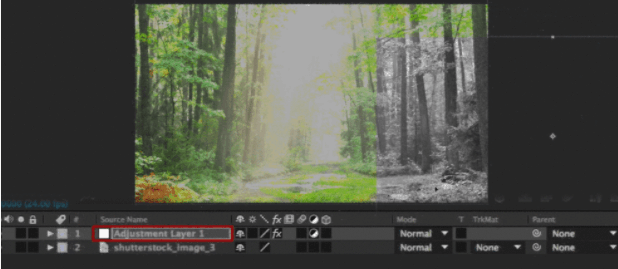
We can mask, modify the transformation properties, and set the dimensions of the adjustment layer, and the area it covers will be affected by this layer. Pre-composingPre- composing can be used for the project's organization by dividing our project into smaller sections. It is just a composition that serves a smaller purpose within the main composition that yields the final result. For the pre-composing of the group of layers, we have to highlight them, right-click, and select pre-compose. It will place them in their composition that we modify as a layer. 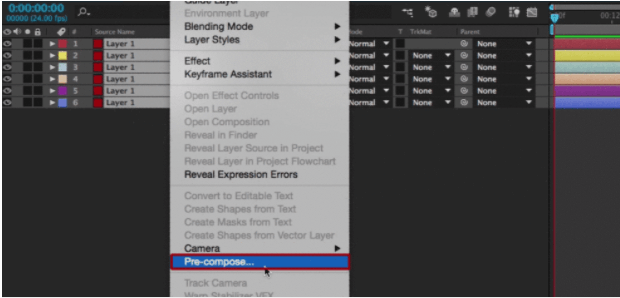
Next TopicBasics of Adobe After Effect
|
 For Videos Join Our Youtube Channel: Join Now
Feedback
- Send your Feedback to [email protected]
Help Others, Please Share


