| |

Apache Solr on HadoopWe can use Solr along with Hadoop. Hadoop usually handles a massive amount of data and helps us in finding the required information from such a large source. The solr does not use Hadoop MapReduce to process the data. Instead, it only uses the HDFS file system for index and transaction log file storage. Downloading and Installing HadoopFollow these steps to download and install Hadoop on yourwindows system. Step 1: Go to the home page of Hadoop. Follow the link -www.hadoo.apache.org/ to redirect to the Hadoop home page. 
Step 2: On the Hadoop home page, click on the Releases on the left menu pane. This option will redirect you to the Apache Hadoop Release page that contains the downloadable mirror links of source and binary files of various versions of Hadoop, as shown in the image below. 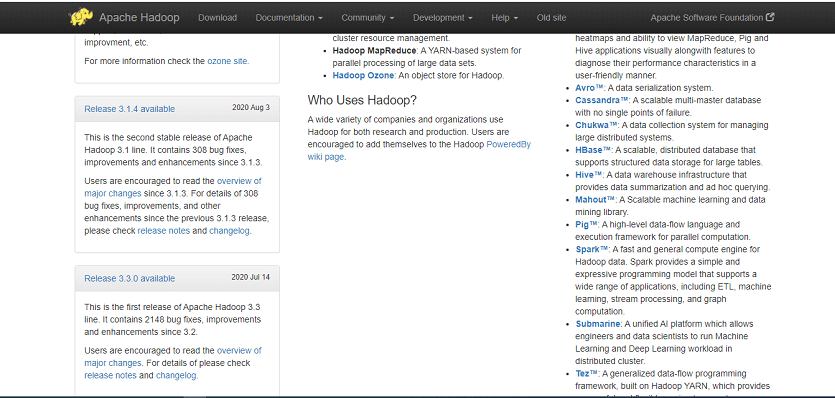
Step 3: Now, from the list of links, select the latest and supported version of Hadoop and click its binary link. It will let you to the webpage where mirrors for the Hadoop binary are available. 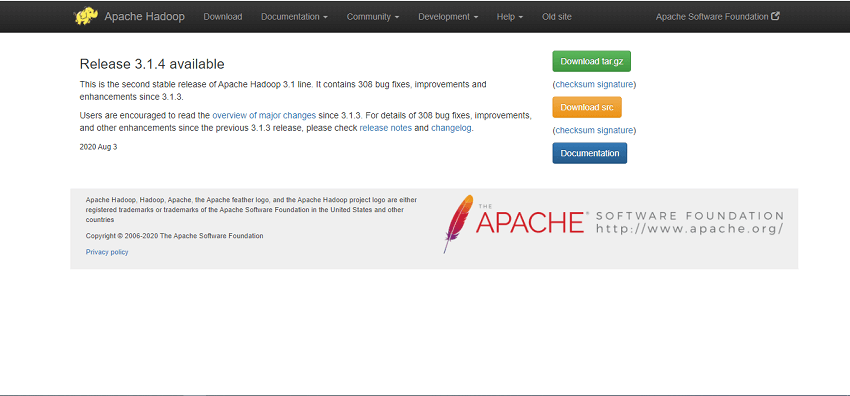
Step 4: Click one of these mirrors to download Hadoop. 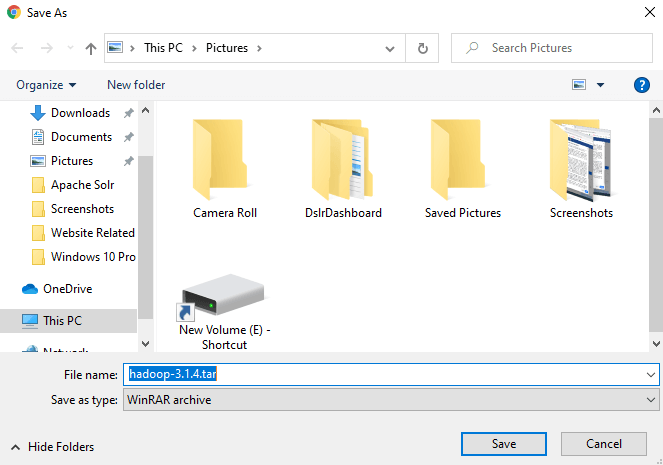
Downloading Hadoop using Command Prompt in LinuxStep 1: Start your Linux operating system and open Linux terminal using a super-user login. Step 2: Open the directory where you need to install Hadoop and save the file on that directory using the link you have copied earlier, as represented in the given code. Step 3: Extract the downloaded file using the following commands. Installing HadoopTo install Hadoop in pseudo-distributed mode, follow these steps: Step 1: Setting Up Hadoop by setting the Hadoop environment variables by using the following given commands to ~/.bashrc file. Step 2: You have to apply all the changes to the current running system. Step 3: Configuring Hadoop- We can configure all the Hadoop configuration files in the location "$HADOOP_HOME/etc/Hadoop." You have to make the change according to the Hadoop infrastructure in those configuration files. Step 4: Reset the Java environment variables in Hadoop-env.sh to develop Hadoop programs in Java. It can be done by changing JAVA_HOME data with the location of the Java path in our computer. Following are the list of files that we required to edit for the configuration of Hadoop are as follows:
After opening the file and add the following properties inside the <configuration>, </configuration> tags.
Following are the properties that you have to add inside the <configuration>, </configuration> tags in the mapred-site.xml file
Verifying Hadoop InstallationFollow these steps for the verification of the Hadoop installation. Step 1: The namenode can be set up using the command "hdfs namenode - format" as given below: The result of the above command given below: Step 2: The Hadoop dfs verification can be done using following command by starting your Hadoop file system. Output: 10/24/14 21:37:56 Starting namenodes on [localhost] localhost: starting namenode, logging to /home/hadoop/hadoop-2.6.4/logs/hadoop- hadoop-namenode-localhost.out localhost: starting datanode, logging to /home/hadoop/hadoop-2.6.4/logs/hadoop- hadoop-datanode-localhost.out Starting secondary namenodes [0.0.0.0] Step 3: After that, verify the Yarn Script using the below command by starting your yarn demons. Output: starting yarn daemons starting resourcemanager, logging to /home/hadoop/hadoop-2.6.4/logs/yarn- hadoop-resourcemanager-localhost.out localhost: starting nodemanager, logging to /home/hadoop/hadoop- 2.6.4/logs/yarn-Hadoop-node manager-localhost.out Step 4: Now, we will have to access Hadoop on Browser on the default port number 50070. Use the URL given below to get Hadoop services on Browser. http://localhost: 50070/ Installing Solr on HadoopThe following are the steps that help you installing Solr on Hadoop. Step 1: Open the Browser and go to the home page of Apache Solr by clicking this link https://lucene.apache.org/solr/ 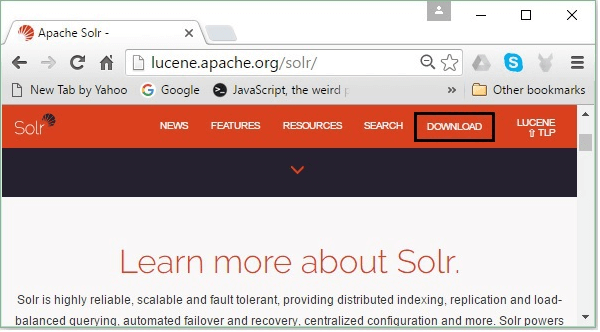
Step 2: On the next webpage, click on the download button. You are now redirected to the page where you can see various mirrors of Apache Solr. 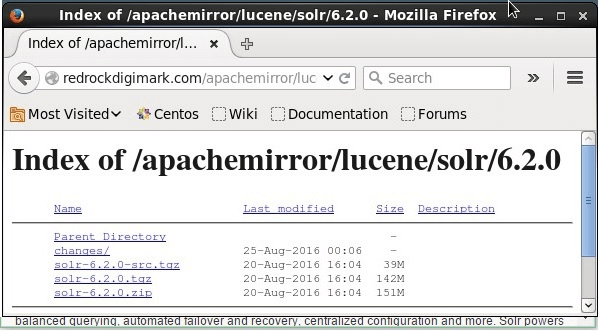
Step 3: Select one of the mirror that fits your operating system and clicks on it. It will send you to the webpage where you can download the binary file and another source of Apache solr. Step 4: Now, the solr file will be downloaded in the Downloads folder of your system. Step 5: Create a folder and name it as Solr in the Hadoop home directory and move all the files of the extracted folder to it, as given below: Verification of HadoopStep 1: Go to the bin folder of the Solr Home Directory and verify the installation using the version command and given below: Setting Home and Path of HadoopStep 1: Open the .bashrc file using the command given below. Step 2: After that, set the home and path directories for Apache Solr as given below Step 3: Click on the start menu and open the command prompt and execute the given command. Step 4: You can now execute the commands of Solr from any directory.
Next TopicApache Solr Architecture
|
 For Videos Join Our Youtube Channel: Join Now
Feedback
- Send your Feedback to [email protected]
Help Others, Please Share


