Arduino DownloadThe Arduino software (IDE) is open-source software. We are required to write the code and upload the code to the board to perform some task. The Arduino IDE software can be used with any type of Arduino boards. The software is available for various operating system such as, Windows, Linux, and Mac OS X. The steps to download the Arduino software are listed below: 1. Go to the official website of Arduino (https://www.arduino.cc/) > Click on SOFTWARE < click on DOWNLOADS, as shown below: 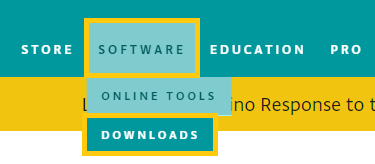
Or Open the URL https://www.arduino.cc/en/Main/Software 2. A page will appear, as shown below: 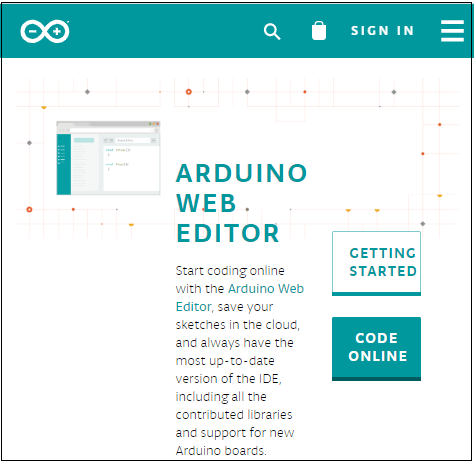
3. Scroll the screen a little, as shown below: 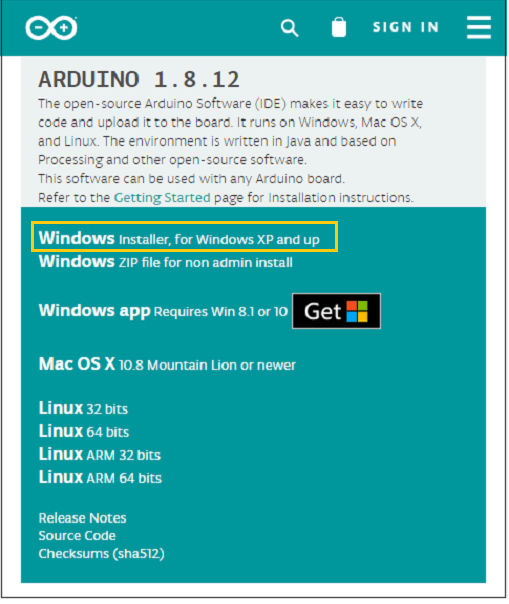
4. Click on the 'Windows Installer' as we are operating with the Windows. We can select the Linux or Mac OS X, accordingly. 5. A contribution window will appear. We can contribute according to our choice and click on the 'CONTRIBUTE &DOWNLOAD' option. Otherwise, click on the 'JUST DOWNLOAD' option, as shown below: 
6. The downloading process will start. The downloading file will look like the below image: 
7. Wait for few seconds for the downloading process to complete. 8. Open the downloaded file. 9. Grant permission to the Arduino Software on your computer. 10. Accept the license by clicking on 'I Agree' button, as shown below: 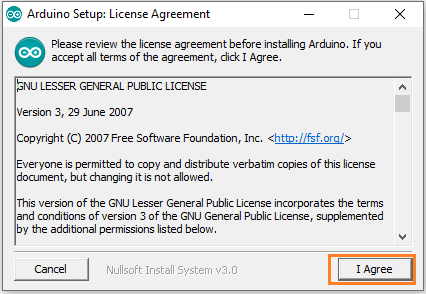
11. Click on the 'Next' button. It is shown below: 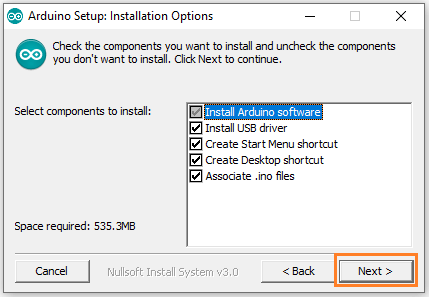
12. The window specifying the location of the installed folder will appear. Click on the 'Install' button. It is shown below: 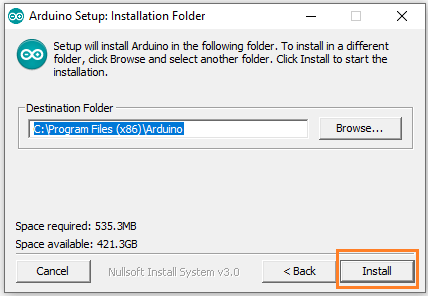
If you want to change the location, click on the 'Browse' button. 13. The installing process of Arduino will start, as shown below: 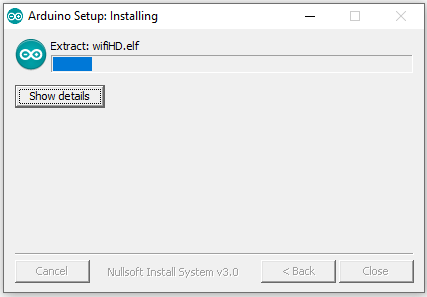
Wait for the installation process to complete. 14. Now, we have to accept the security for the installation. We are required to accept the security Installation three times. Click on the 'Install' button. The image is shown below: 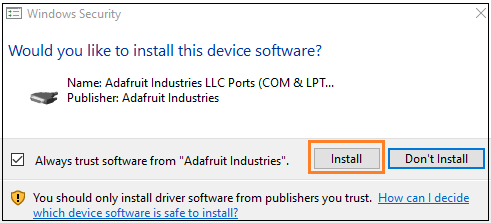
15. Again, click on the 'Install' button. It is shown below: 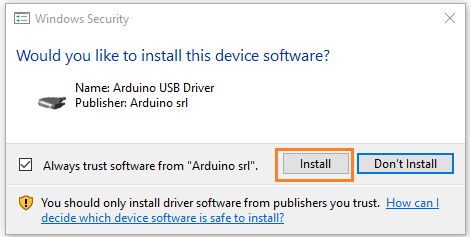
16. Again, click on the 'Install' button. It is shown below: 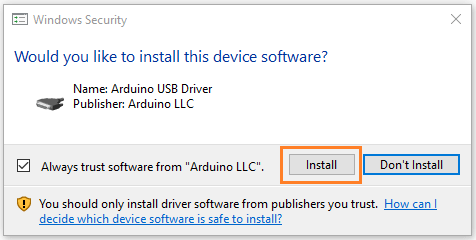
17. The installation process is now completed. The window will now appear as: 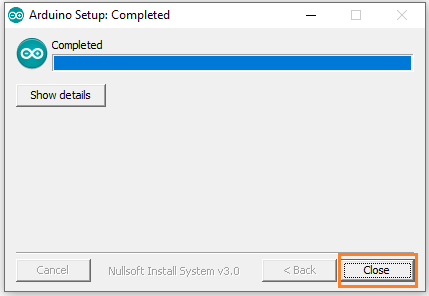
18. Click on the 'Close' button at the bottom. The Arduino IDE software will appear on your desktop, as shown below: 
19. Now, open the Arduino software. 20. The Arduino IDE environment is written in the programming language named as Java. So, we need to allow access to the Java Platform. As soon we open the Arduino software, a license window will appear, as shown below: 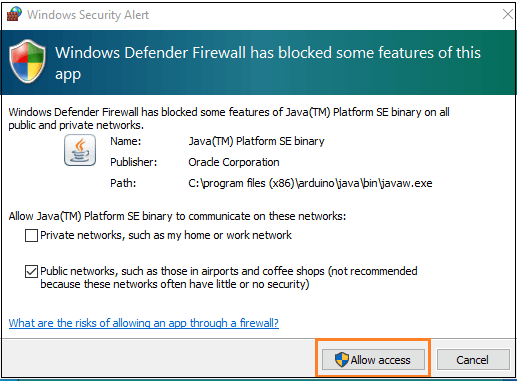
Accept the license by clicking on the 'Allow access' button. 21. The Arduino window will appear as: 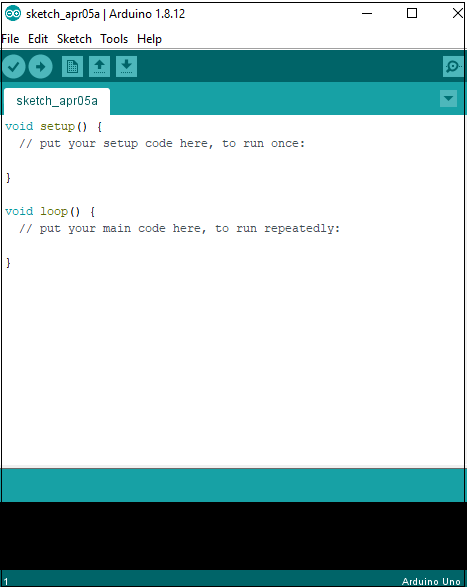
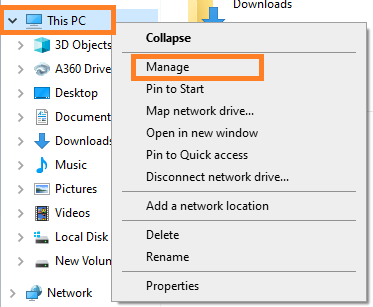
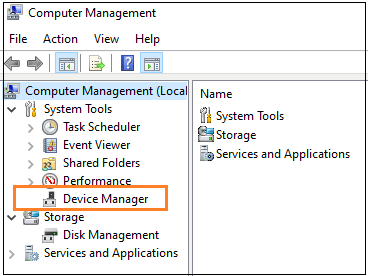
Visibility of the connected Hardware portWe can view the port of the attached hardware Arduino IDE to our computer. The steps are listed below:
Next TopicArduino IDE
|
 For Videos Join Our Youtube Channel: Join Now
Feedback
- Send your Feedback to [email protected]
Help Others, Please Share


