| |

Arduino SimulatorThe Arduino simulator is a virtual portrayal of the circuits of Arduino in the real world. We can create many projects using a simulator without the need for any hardware. The Simulator helps beginner and professional designers to learn, program, and create their projects without wasting time on collecting hardware equipments. Advantages of using SimulatorThere are various advantages of using simulator, which are listed below:
Types of SimulatorThere are various simulators available. Some are available for free, while some require a license to access the simulators. Some types of simulators are listed below:
Autodesk Eagle is an advanced simulator, which is used to design 2D and 3D models of PCB, modular designs, multi-sheet schematics, real-time synchronization, etc. How to access simulator?Here, we are using the Autodesk Tinkercad Simulator. The steps to access the TINKERCAD are listed below: 1. Open the official website of tinkercad. URL: https://www.tinkercad.com/ A window will appear, as shown below: 
2. Click on the three horizontal lines present on the upper right corner. 3. Click on the 'Sign in' option, if you have an account in Autodesk. Otherwise, click on the 'JOIN NOW' option if you don't have an account, as shown below: 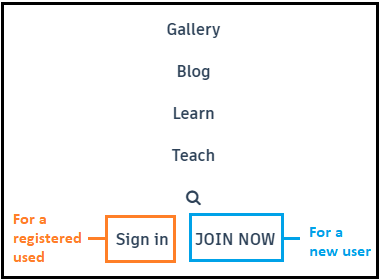
The SIGN IN window will appear as: 
We can select any sign-in method. Specify the username and password. We already have an account in Autodesk, so we will sign-in directly with the username and password. The JOIN window will appear as: 
Select the preference according to the requirements and sign-in using Gmail, etc. 4. Now, a window will appear, as shown below: 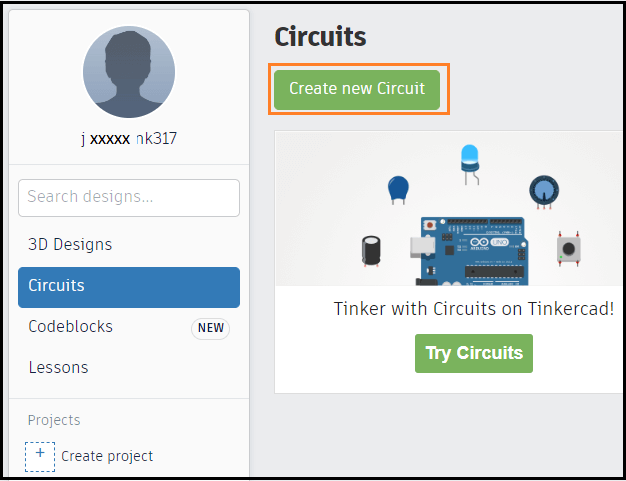
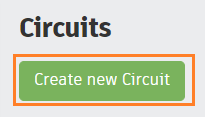
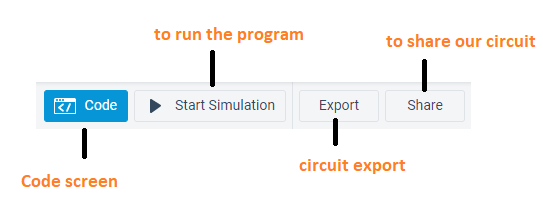
5. Click on the 'Create new circuit' option to start designing the Arduino circuit, as shown above. The 'Circuits' option will also show the previous circuits created by user. The design option is used for creating the 3D design, which is of no use in Arduino. 6. We are now ready to start with the Autodesk Tinkercad. We can start creating our projects. Autodesk Tinkercad SimulatorIt is also a simulator that is used to design virtual circuits. Features of Tinkercad The features of Tinkercad are listed below:
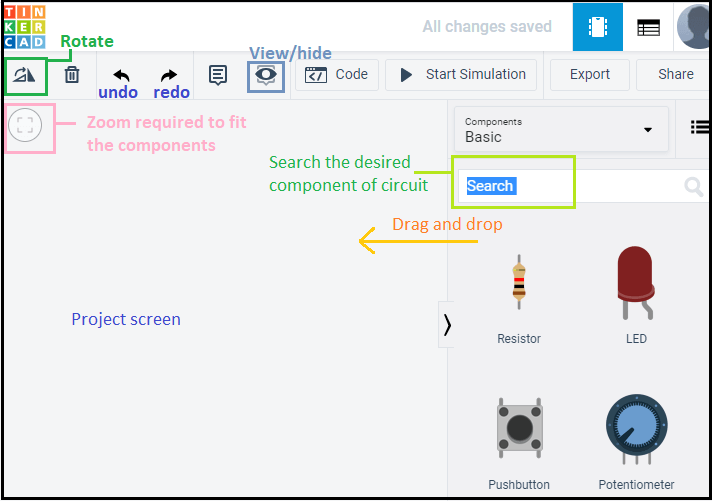
How to use a simulator?Sign-in on the Autodesk Tinkercad, as explained above. Now, follow the below steps:
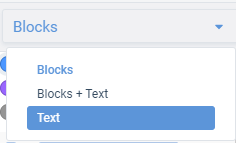
The drop list will appear as: 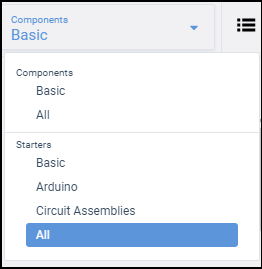
The selected option 'All' will display all the components and starter examples when we scroll down a little, as shown below: 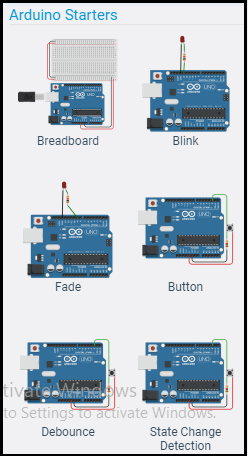
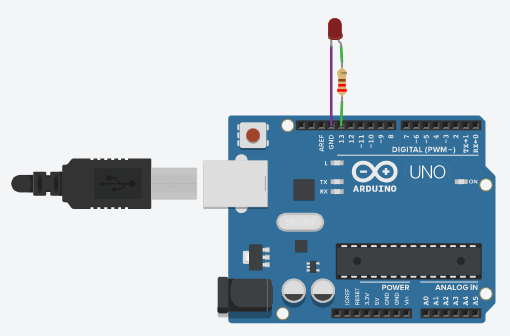
Code example to blink an LEDLet's understand with an example to blink an LED. We can use both ( blinking an LED in basic projects and the one specified below) methods to blink an LED. The steps are listed below:
After selecting the resistor, a box to set the resistance will appear, as shown below: 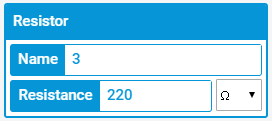
Here, we have selected the red color for LED. We can also choose other colors. After selecting the LED, a box to set the color will appear, as shown below: 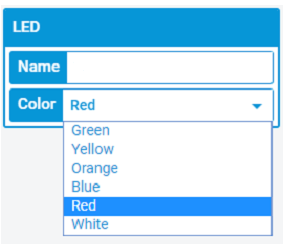
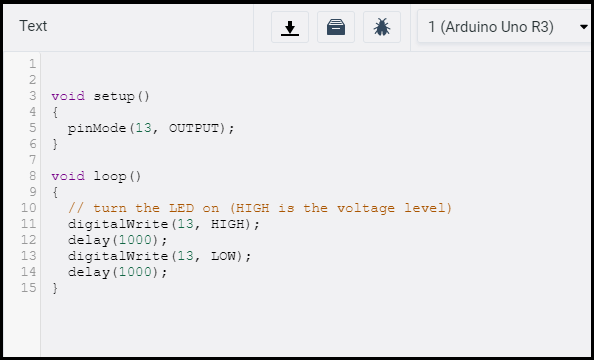
It also displays the error in the code, if any.
The LED will light up for 1 second and dim for 1 second. The lighting LED is shown below: 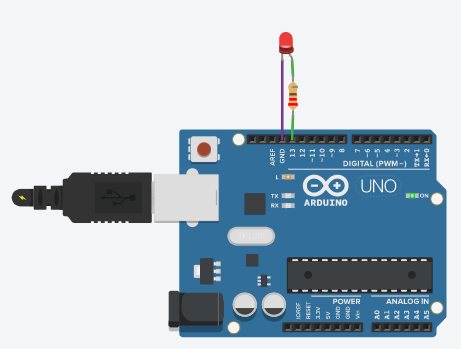
Click on 'Stop Simulation' to stop the blinking of an LED, as shown below: 
Serial Monitor The serial monitor is present on the bottom of the coding screen. It will look like the below image: 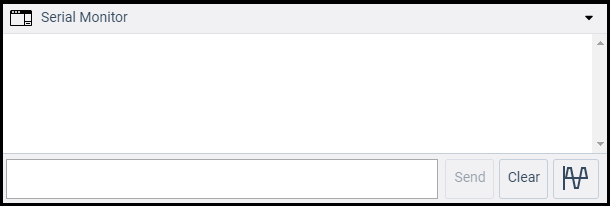
Next TopicArduino Web Editor
|
 For Videos Join Our Youtube Channel: Join Now
Feedback
- Send your Feedback to [email protected]
Help Others, Please Share


