| |

Arduino Web EditorThe Arduino Web Editor is the up-to-date online version of the IDE. We can create our Arduino sketches online without installing the software. It includes all the latest Arduino boards and contributed libraries. The libraries that are not provided in the Arduino IDE can be manually added to the Web Editor, and these are called as contributed libraries. We can work on our projects with Arduino Web Editor as long as we have an internet connection. To work offline, we need to download the latest Arduino IDE according to the system requirements. Features of Arduino Web EditorThe features of Arduino Web Editor are listed below:
Let's start with the process of working online with Arduino Web Editor. You do not need to install anything on our computer. Just follow the below steps:

Sign-in using your registered Email ID and password, and click on the LOGIN button, as shown below: 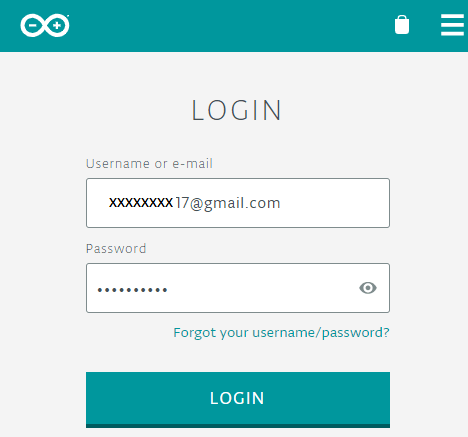
If you are new to the platform, scroll down, and create a new account by signing-in with Google, as shown below: 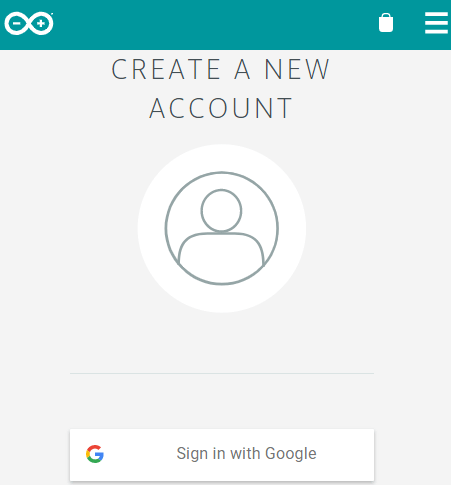
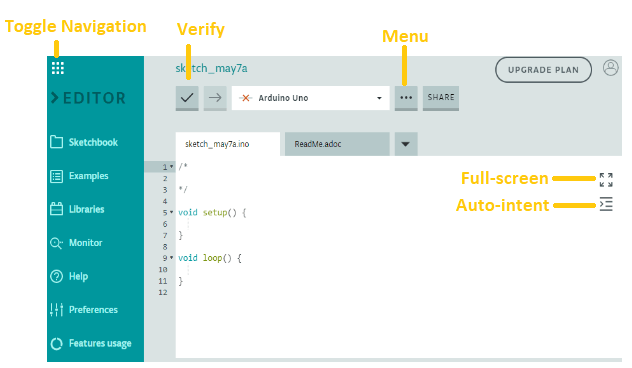
You can now start programming with Arduino Web Editor. Let's understand each option present on the Web Editor screen. SketchbookIt is the online sketchbook available on the Web Editor. We can import our sketches in the online Web Editor. The sketches can also be accessed from any device. It will appear as the image shown below: 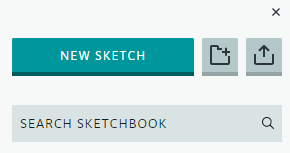
ExamplesIt includes built-in examples of self-practice. The examples are similar to the examples in Arduino IDE. It also includes examples from the libraries. It will appear as: 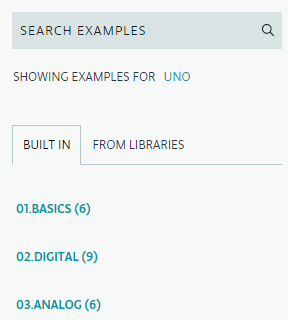
LibrariesIt provides default and custom libraries. We can also mark some libraries as Favorite for easy access. We can manage and search for different libraries from the 'LIBRARY MANAGER' option, as shown below: 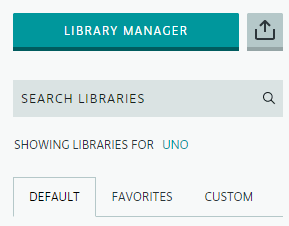
MonitorIt is similar to the Serial Monitor in the Arduino IDE. HelpIt includes all information about the Web Editor, some Tutorials, and Glossary of the Arduino. PreferencesIt consists of some preferences, which can be adjusted accordingly before proceeding with the programming. It will appear as the image shown below: 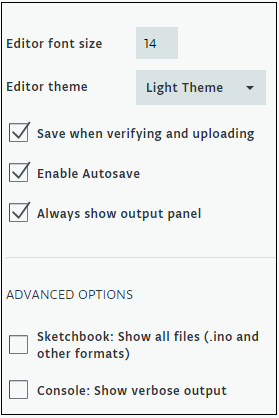
Feature UsageIt displays Memory usage, compilations, and created sketches. MenuIt is similar to the File option, which includes various options such as Save, Save As, etc. It is shown below: 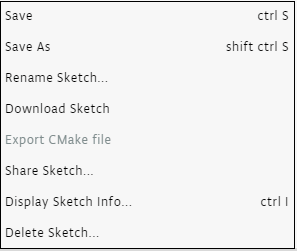
VerifyThe verify option is used to verify the sketch before uploading it to the board. Any error in the code will be displayed similar to the Arduino IDE. Full ScreenIt enlarges the coding screen of the Web Editor. Auto-IntentThe Auto-intent option is used to intent the code automatically for better readability. Upgrade PlanIt is the subscription plan for advanced professional users. We can buy a monthly or yearly subscription depending on the requirements. It is shown below: 
Board and PortWe need to select the desired board and port before beginning with programming. Without it, we cannot upload the program to the Arduino board. It will appear as: 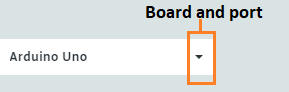
We need to click on the drop-down list to select the board and plot. Example CodeLet's write a simple code to blink an LED. The coding screen is shown below: 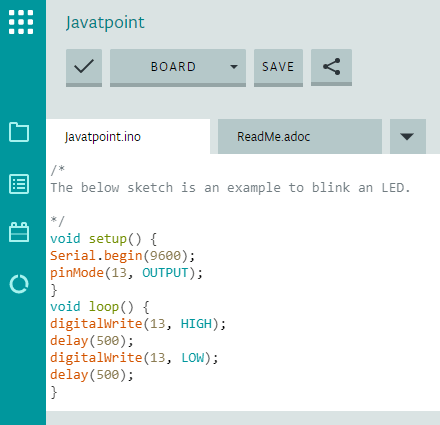
As soon we choose the board and port, the program will be uploaded to the board, and LED will blink for the specified duration (0.5 seconds).
Next TopicArduino Switch
|
 For Videos Join Our Youtube Channel: Join Now
Feedback
- Send your Feedback to [email protected]
Help Others, Please Share


