| |

Path ArrayThe path array is defined as the arrangement of copied objects along the specified path. The path can be closed or opened. The Path array command positions the items on the path. We can also use a polyline to create a path. Let's understand with an example: Example 1: The steps to create path arrays are listed below: 1. Open the AutoCAD software. 2. Draw a path. Let's create a simple path shown in the below image: 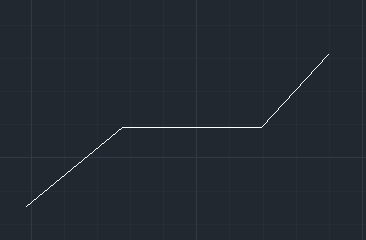
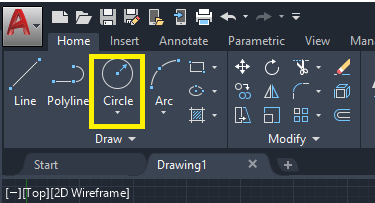
Here, we have used polyline to create a path. We can create any path according to the requirements. 3. Draw an object to be copied on the path. Let's create a small circle. The steps to draw a circle are:
Draw the circle at the starting point of the path, as shown in the below image: 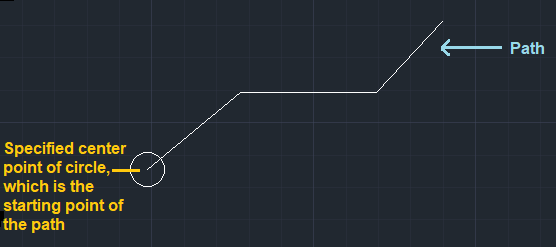
4. Select the Path Array from the drop-down list of the rectangular array on the ribbon panel. The path array icon will look like the given image: 
5. Select the object (circle) with the small square cursor and press Enter or Spacebar. 6. Now, select the path. 7. The path array will be created, as shown in the below image: 8. 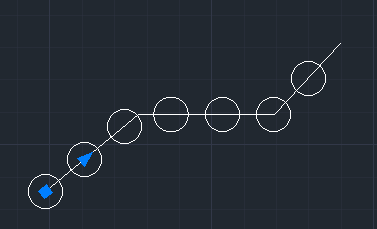
To modify the array further, follow the below steps: 9. Go to the top row of the screen, which will look like the given image: 
10. We can modify the values according to the requirements. 1) Let's modify the values: Rows = 1 The figure will now look like the given image: 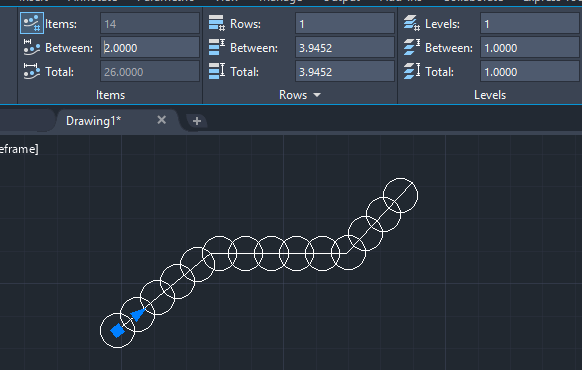
2) Press Esc or Enter or Spacebar to exit. Role of the blue arrow in an arrayThe blue arrow is used to increase or decrease the copied objects of an array, as shown in the below image: 
Here, the arrow in the figure signifies the direction. Role of Blue Square in an arrayThe blue square is used to increase rows of an array, as shown in the below image: 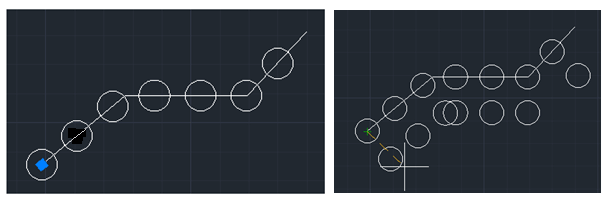
Let's take another example. Example 2: The steps to create an array are listed below: 1. Select the polyline command from the ribbon panel or type polyline on the command line and press Enter. 2. Draw the path. 3. Draw the rectangle at the starting point of the path, as shown in the below image: 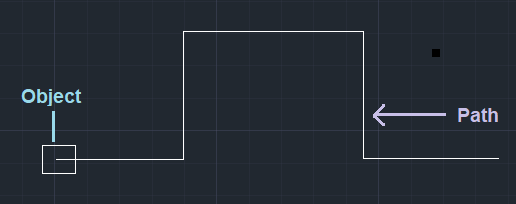
4. Select the Path Array from the drop-down list of the rectangular array on the ribbon panel. The path array icon will look like the given image: 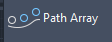
5. Select the object(rectangle) with the small square cursor and press Enter or Spacebar. 6. Now, select the path. 7. The path array will be created, as shown in the below image: 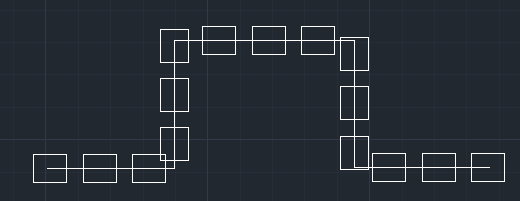
We can adjust the gap between the rectangles and rows according to the requirements.
Next TopicPolar Array
|
 For Videos Join Our Youtube Channel: Join Now
Feedback
- Send your Feedback to [email protected]
Help Others, Please Share


