Practice Question 2
Draw the below figure in AutoCAD
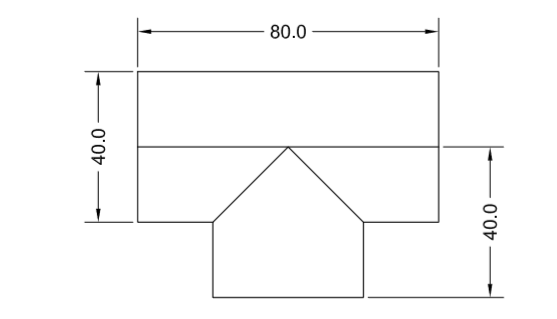
Note: Try to create the figure yourself first. If you are unable to create, follow the below steps.
The method to create a figure may involve different commands that can vary from person to person. We need to check if the output figure is correct or not.
Solution:
The steps to create the above figure in AutoCAD are listed below:
- We first need to specify the limits. Set the limit 150, 150. You can change it accordingly.
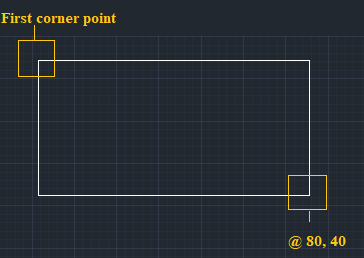
- Rectangle >specify first corner point on viewport< type @80, 40 < press Enter.
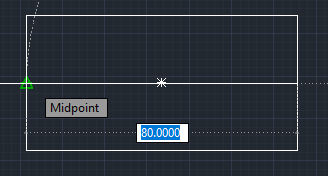
- Line < create a line of length 80 at the center of the rectangle < press Enter.
We can also use midpoint from the drafting settings.
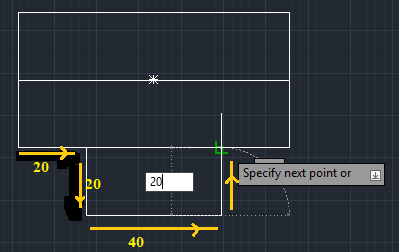
- Line < create a line of length 20 in the right direction from the lower-left corner of the rectangle < create a line of 20 in the right direction < create a length of 40 in left < create length 20 in left< press Enter.
- Line < create a line from endpoints of a small rectangle to the midpoint of a big rectangle< press Enter.
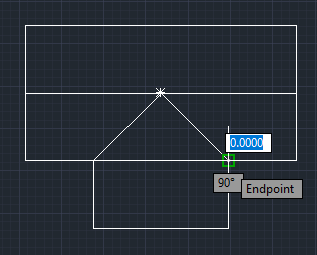
- Trim< press Enter < Select the top line of a small rectangle to trim> press Enter.
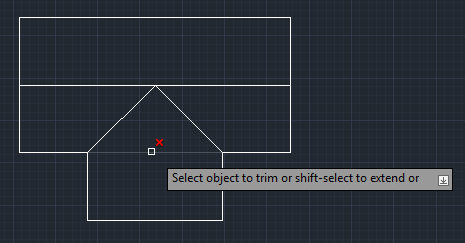
The figure will be created.
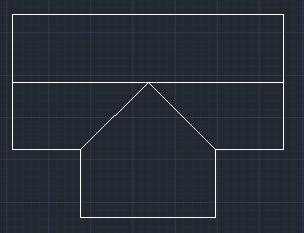
We can verify the dimensions using the linear dimension command.
|

 For Videos Join Our Youtube Channel: Join Now


