| |

Basic Linux CommandsThe commands are the instructions provided by a user that instructs a system executing an individual program or a set of connected programs. Generally, commands are issued by specifying them inside the command line and further pressing the enter key which can pass them to the shell. A cell can be defined as a program that can read these commands and execute them. These shells are the most common technique for any user for interacting with the computer. All the UNIX-like operating systems include at least a single shell. Bash is the default shell for almost all Linux systems. A program is an order of instructions that is readable by the CPU, the primary logic unit of the computer. It illustrates which operations a CPU must implement on a group of data. Usually, programs or files can be stored inside one of the bin directories like /usr/local/bin and /bin/usr/bin. Commands on the UNIX-like operating systems can be either external or built-in commands. The former is the division of the shell. The latter combines both executables and shell scripts. These executables are programs that have been specified in a programming language such as Java, C++, C and after that compiled into the binary. A shell script can be defined as a program specified in the Shell programming language such as sh, ksh, csh, or bash that permits users for issuing an individual command for executing consolidation of commands including commands with arguments or/and options together with redirection. These shell scripts are very much suited to automate general tasks and create custom-made filters. An option is sometimes known as flag or switch. An option is a code of a single letter or sometimes a set of words or a single word. It can change the nature of a command in a few predetermined ways. Every letter is positioned close to each other and could be in any sequence when more than one single-letter option is used. Usually, the group of options should be preceded through an individual hyphen, with no intervening space. An argument is also known as a command-line argument. It can be a file name or any other data that is given to a command in a sequence for the command to apply it as the input. The command includes the name of the command usually pursued by multiple strings (order of characters) that combine arguments and options. All of the strings are isolated by the white space (which combines multiple tabs or spaces). The basic syntax for a command is: These square brackets illustrate that the inserted item is optional. Almost all the commands include at least some options and could require (or accept) arguments. There are however a few commands that don't accept arguments and some with no options. The pwd command stands for print working directory. It tells the user the location and name of the current directory (that is the directory where the user is working currently), likewise doesn't accept arguments. Instead, it gets its input through the shell. It only contains two very common options version and help. Hence, it is always applied just as: 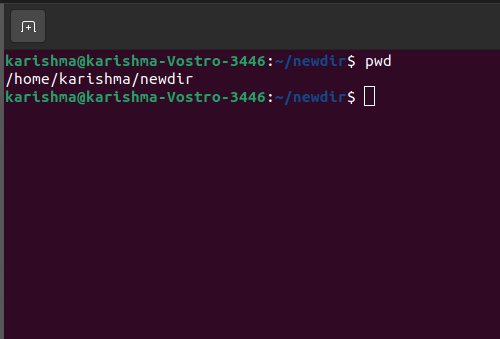
The shell avoids anything that is entered on a similar line after the pwd command, along with its option's exception and no bug messages are returned. Some other command examples that accept no arguments and only options are ps and dmeg. dmeg command displays the messages generated by the kernel (that is the operating system's core) at the time the system is starting up (or booting up). The ps command displays the processes (that are programs in the execution process) on the system currently. The ps command is unusual because the hyphen leading its options is optional (on a few versions at least). Thus, it doesn't accept the arguments. There is no feasibility of it hyphen less options with the argument. Hence, the below two commands generate identical outcomes: 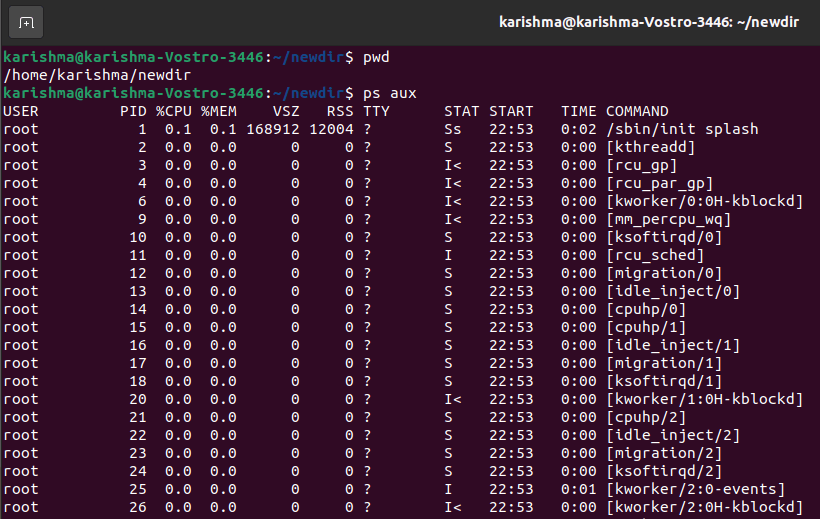
And, 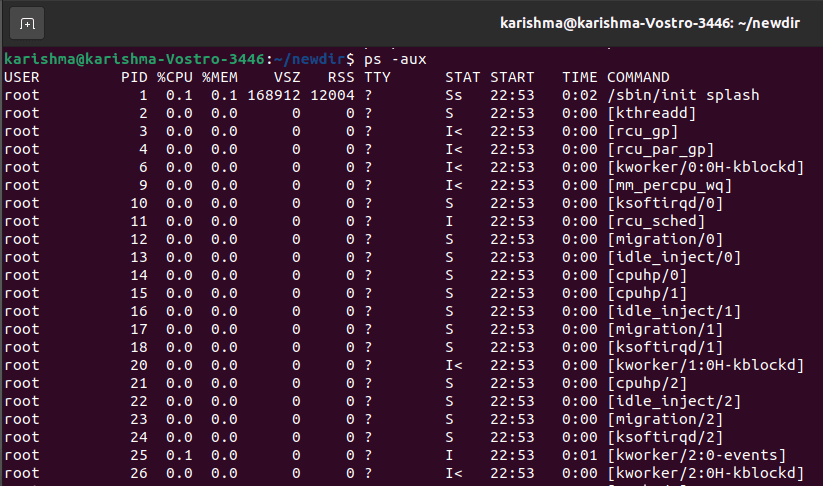
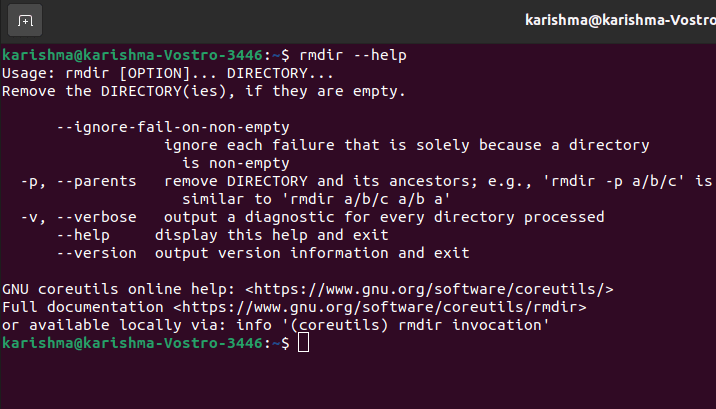
Basic CommandsNow, some of the basic commands which are widely used in Linux discussed below: rmdir & mkdir CommandApply the mkdir command if we require to make a directory or folder. For example, if we wish to create a directory known as "DIY", then we could type "mkdir DIY". If we wish to create a directory called "DIY Hacking", then we could type "mkdir DIY\Hacking". Apply the rmdir command for deleting any directory. However, the rmdir command can be applied for deleting an empty directory only. For deleting any directory including files, we can use rm. Options in rmdir
rm CommandApply the rm command for deleting directories and files. Apply "rm-r" for deleting only the directory. It can delete both the files and the folders it includes if using just the rm command. Options in rm Command
touch CommandThis command is applied for creating a file. It could be anything from an empty zip file to an empty txt file. For example, "touch new.txt". It is a standard command applied in Linux/UNIX operating system. It is used to modify, change, and create timestamps of the file. This command is used for creating the file without the content. The touch command is used to create the empty file. It can also be used if the user does not have data for storing during file creation. Touch command for creating a new file: We can create an individual file with the help of a touch command at a time. Syntax: 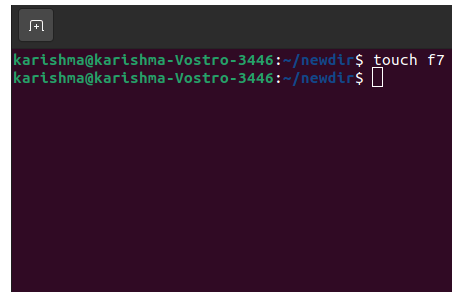
The created file could be viewed using the ls command. Also, we can apply the long listing command ls -l or ll command for getting more details of the file. Touch command for creating more than one file: Touch command could be used for creating more than one file at a time. However, these files will be empty at the time of creation. Syntax: 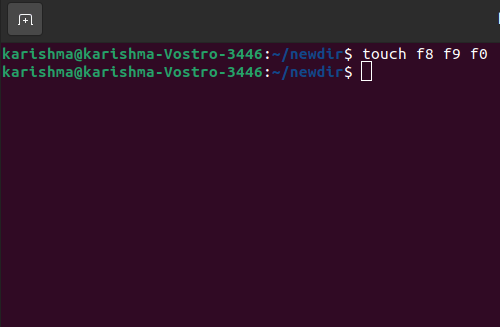
Options in Touch CommandThe touch command includes several options similar to the other commands. These options are useful for many purposes: 1. touch -a: This option is used for changing only access time. The -a command can be used to update or change the last modification or access times of any file. Syntax: 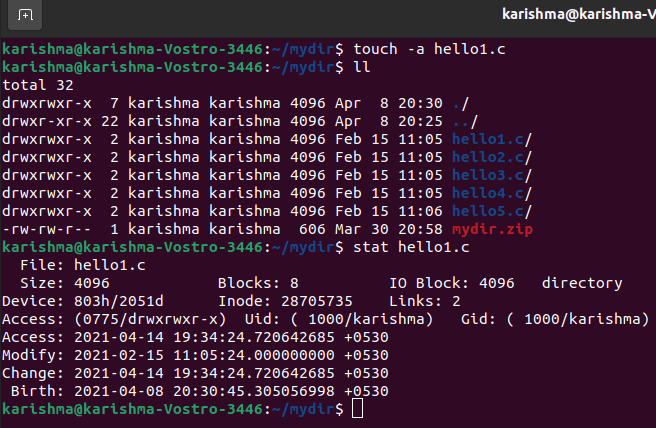
2. touch -c: This option can be used for checking whether the file has been credited or not. In case, if the file is not created then do not create it. Also, this option ignores creating files. Syntax: 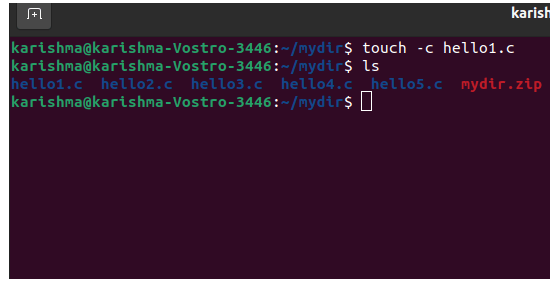
3. touch -c-d: It is applied for updating modification and access time. Syntax: 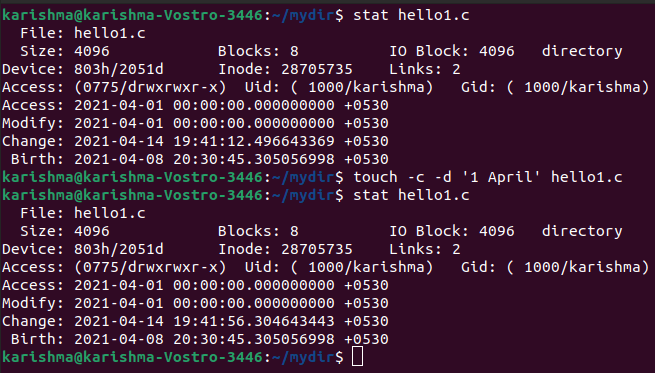
3. touch -m: This option is applied for a change in the modification time. It can only update the last modification time. Syntax: 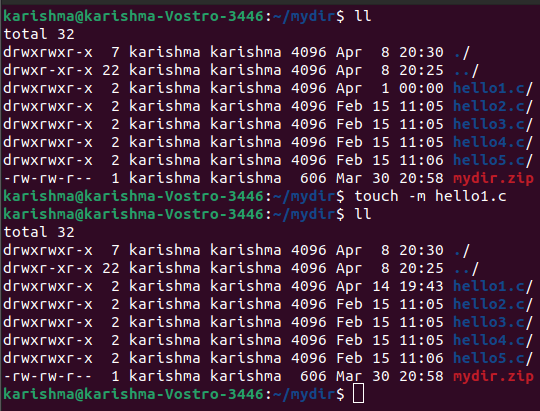
4. touch -r: It can be used for using the timestamp of other files. Syntax: 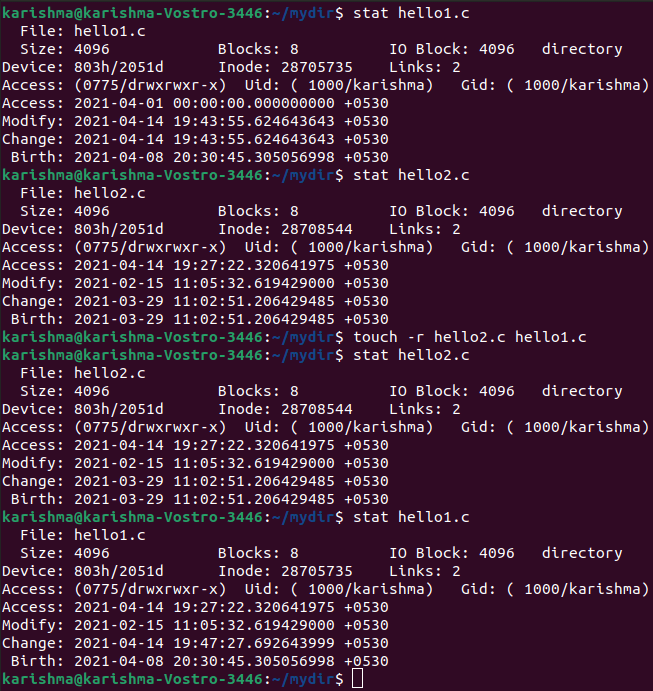
5. touch -t: It can be applied to make a file with the help of a particular time. Syntax: 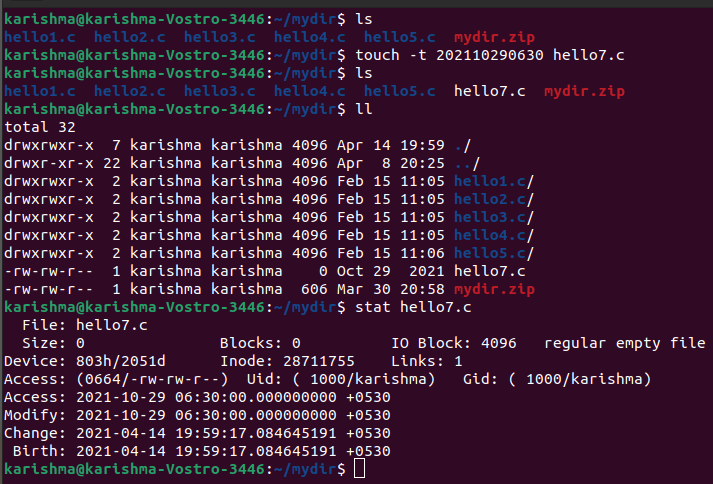
man & - -help CommandWe can apply the man command to understand the command in detail and also understand how to apply it. It displays the command's manual pages. For example, "man cd" displays the cd command's manual pages. Typing the name inside the command and the argument displays the ways in which the command could be used (e.g., cd -help). It gives an overall view of a command which contains the name, description, synopsis, options, return values, exit status, files, errors, authors, examples, versions, and others. All the manuals are categorized into the below sections:
Syntax: Options in man Command1. No Option: It shows the entire manual of a command. Syntax: Example: Output: 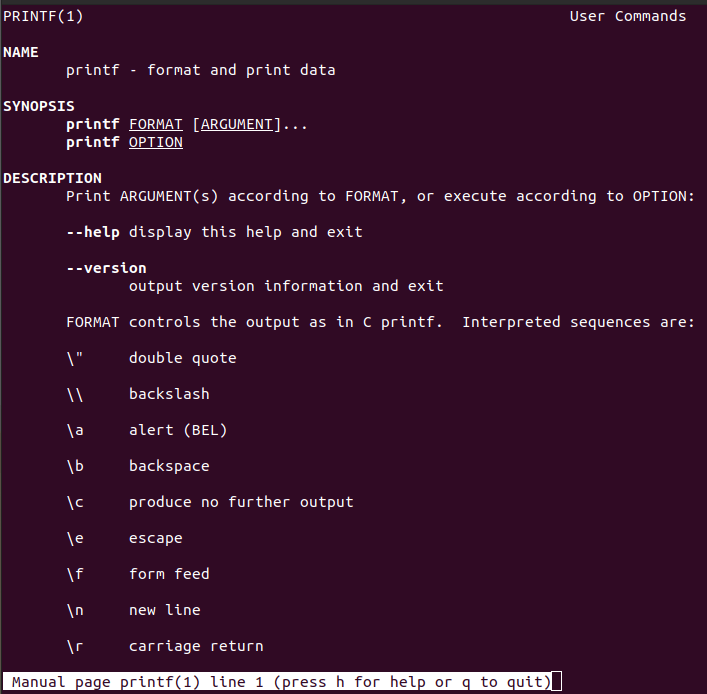
2. Section-num: As we know that the manual is categorized into more than one section, hence this command is applied f9r displaying only a specific part of the manual. Syntax: Example: Output: 
3. -a option: It supports us to show every page of the intro manual in the succession. Syntax: Example: Output: 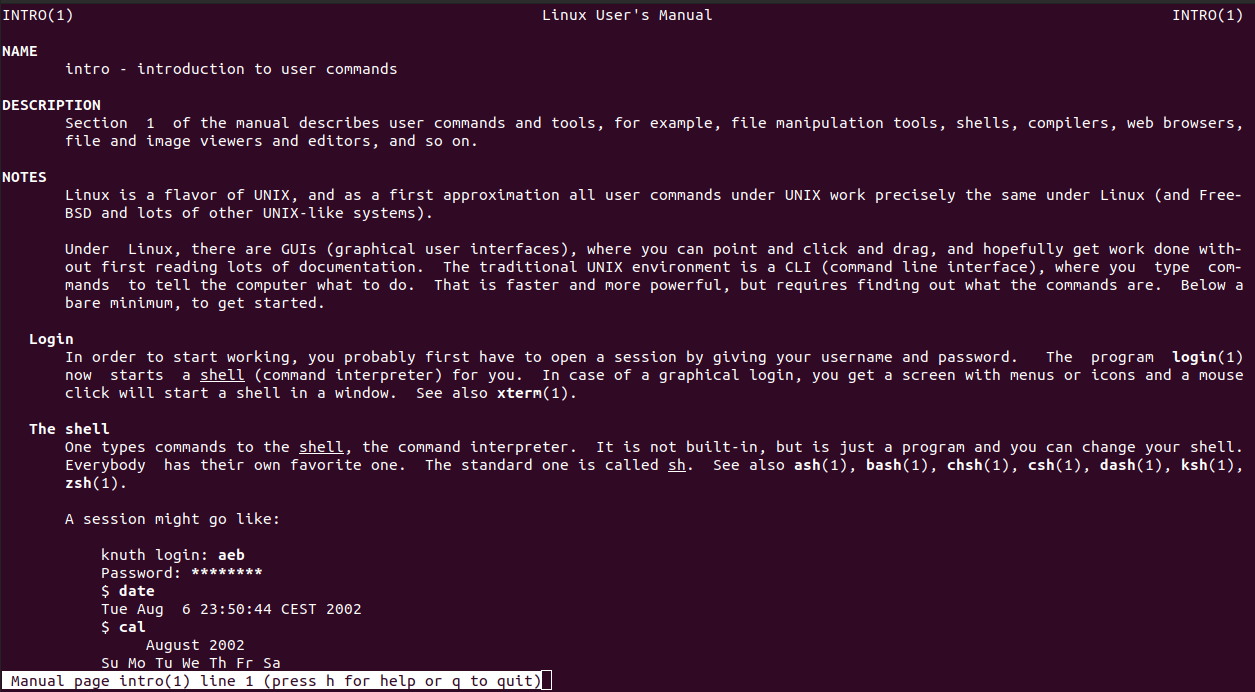
4. -k option: It can search the provided command as the regular expression inside each manual and it will return all the manual pages along with the section number where it is detected. Syntax: Example: Output: 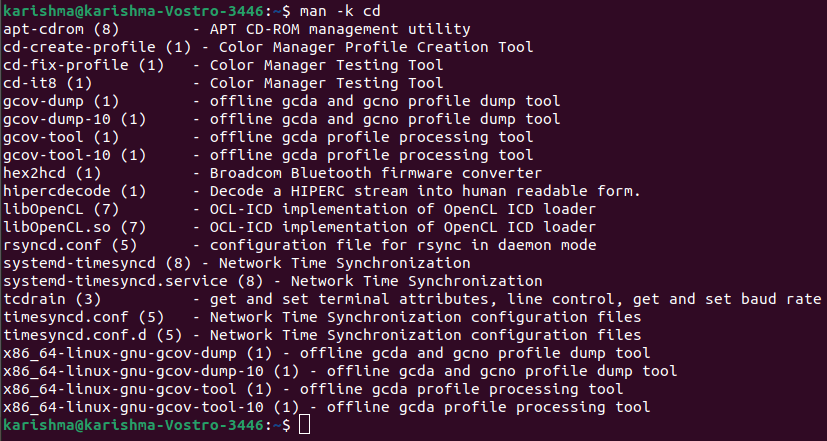
5. -w option: It can return the location where the manual pages of the provided command are available. Syntax: Example: Output: 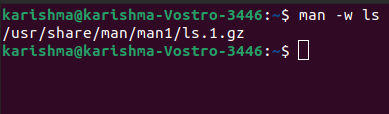
6. -I option: It examines a command as case sensitive. Syntax: Example: Output: 
cp CommandApply the cp command for copying files from the command-line. It can take two arguments:
The full form of cp is a copy. It can be applied for copying the directory, group of files, or files. It can create a similar image of the file over a disk along with a distinct file name. The cp command needs two filenames (at least) in its arguments. Syntax: The second and the first syntax are applied for copying source files to directory or destination file. The third syntax can be applied for copying more than one source file directory. Operation Modes in cpThe cp command can be implemented on three essential operation modes and these operations rely on the type and number of arguments that are passing inside the cp command: 1. Two file names: When the command includes file names, it will copy the contents of the first file to the second file. When the second file does not exist, it will create one and copt the content to it. 2. Multiple arguments: In case of the multiple arguments, describing names of the file and following these arguments (the argument describing the name of the directory then the command will copy all the source files to their destination directory along with a similar name) made when not available but when already available then it will be overwritten. 3. Two directory names: The cp command will copy each source directory file to the destination directory. It creates any directories or files required if the cp command consists of two directory names. This operation would need an extra option (often R) for indicating the recursive copy of directories. Options in cp commandThere are several options in command. We will explain a few of the helpful and useful options. 1. -i option: This option means Interactive copying. The system will warn the user before going to overwrite the destination file. The cp command can prompt for the response, when we click y it will overwrite the file. Example: 
2. -b option: The command can create the backup of a destination file in a similar folder with a distinct format and name. Example: 
3. -f option: It stands for force. Sometimes the system is unable to open the destination file to write operation using the cp command. In such cases, -f option found the destination file, and copies the content from the source to the destination file. Example: 
4. -R or -r: It is used for the copy directory structure. The co command displays its recursive nature with this option by recursively copying the whole directory structure. Example: 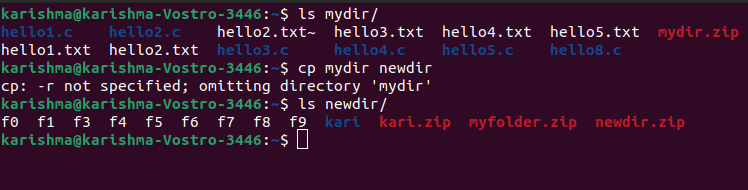
5. -p: It stands for the preserve. The cp command can preserve the following features of all the source files inside the related destination file with this option: The last data change time, the last access time, the permission-bits of the file, and the ownership. Note: We should be the system's root user for the preservation of the features otherwise the features will change.Example: 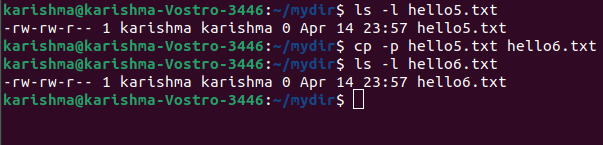
mv CommandApply the mv command for moving files from the command-line. Also, we can apply the mv command for renaming any file. Let's say, if we wish to rename a file "text" to "new", then we can apply "mv text new". It will take two arguments similar to the cp command. It means move. This command includes two different functions which are as follows:
No extra space will be consumed over a disk at the time of renaming. Normally, this command works silently. It defines that no prompt for confirmation. Syntax: Example: Options in mv command1. -i option: It means Interactive. This option can enable the command to ask the user for authorization before moving the file that will overwrite the existing file like in the cp command. We need to click to confirm moving. This option does not implement when the file does not exist. It simply moves it or renames it to a new location. Example: 
2. -n option: It stands for no-clobber. Using the -n option, the mv command prevents the existing file from being overwritten. Example: 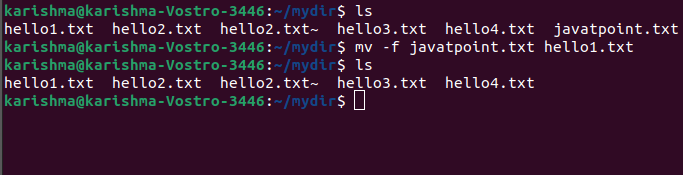
3. -b option: It is easier to keep a backup of the existing file that would be overwritten as an outcome of this mv command using this option. It will make a backup file along with a tilde (~) character appended to it. Example: 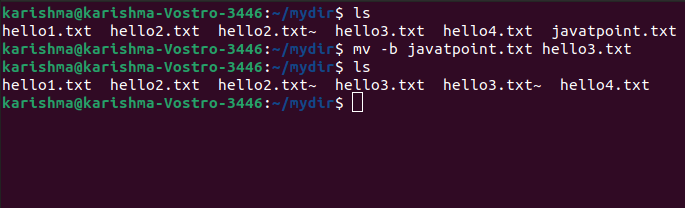
4. -version: It can be used for displaying the mv command's version which is executing on our system currently. Example: 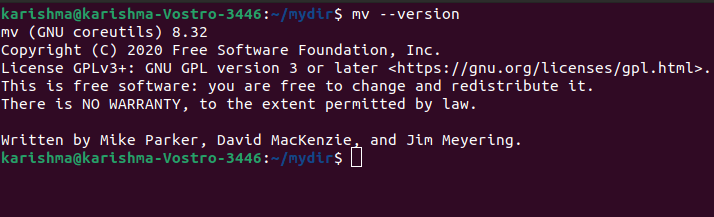
locate CommandThis command is applied for locating the file within the Linux system and similarly like in Windows (search command). The locate command is helpful when we do not know where the file is stored or the file's actual name. Applying the -i argument using the command supports avoiding the case (it does not matter if it is lowercase or uppercase). Thus, if we wish a file that contains the word "john", it provides the list of each file in our Linux system holding the word "john" when we type inside the "locate -i john". If we remember two words, then we can isolate them with the help of an asterisk (*). Let's say, for locating any file holding the words "john" and "jonny", we can apply the command "locate -i *john*jonny". The utility locate works faster and better than the find command counterpart due to finding the file system if the file search is launched, it will look by a database. The database includes parts and bits of files and their related paths on our system. The locate command by default doesn't inspect whether a file detected inside the database is still available. Syntax: The exit status of locate command: The locate command exits with 0 status if any described match is detected. It exits with 1 status when no match detects or any fatal error is encountered. Options in locate Command
Note: A database could be read-only once through the standard input.
Examples of locate CommandCommand to find a file with a particular name: The above command finds for note.txt in a specific directory. Limit Search Queries to a particular number: The above command will display 10 outcomes to the search of the file which is ending with .html. Show the matching entries numbers: The above command counts the files which are ending with .txt. Intermediate CommandsSome of the most used intermediate commands are listed and discussed below: 1. echo: The echo command supports us to move a few data, text into the file usually. For example, if we wish to make a new text file or include an already created text file, then we can only need for typing in, "echo hello, my name is john >> new.txt". We don't need to isolate the spaces by backward slash here. This is because we are putting inside two triangular brackets if we end what we need to specify. Example: 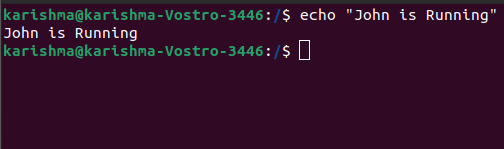
2. cat: This command stands for concatenate. It permits us for creating an individual or more than one file, concatenate files, file's view content, redirect result in files or terminal. We can apply the cat command for displaying the file contents. Usually, it is applied for easily viewing programs. The cat command can read data using the file and provides their content as a result.
Example: 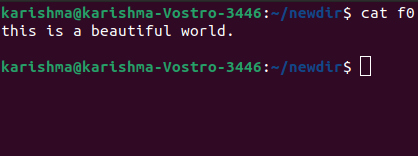
sudo: It is a mostly used command inside the Linux terminal. It stands for "SuperUser Do". Hence, if you wish a command to be implemented with root or administrative privileges, we can apply this command. Let's say, if we wish to edit any file such as viz.alsa-base.conf, which requires root permissions, we can apply the sudo nano also-base.conf command. We can apply the root command-line with the "sudo bash" command. Also, we can use the "su" command for doing this, but we need to fix a password for root before that. We can use the "sudo command" command. After that type inside the new root password. Example: 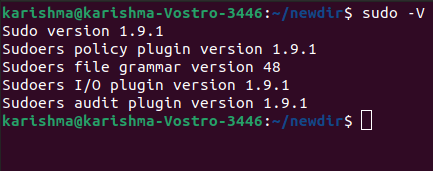
df: We can apply the df command for seeing the existed disk space inside all the partitions in our system. We can only type inside the df command in the terminal and we can see all the mounted partitions and also their available/used space in KBs and %. If we wish to it displayed in MBs, we can apply the "df-m" command. Example: 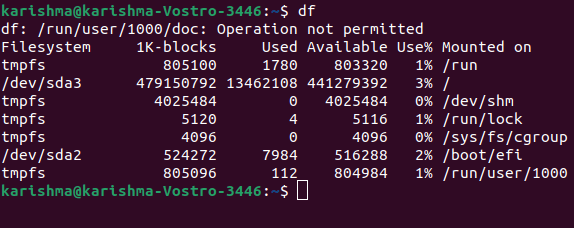
du: We can apply the du command to understand the usage of the disk of the file in our system. If you wish to understand the usage of the disk for a specific file or folder in Linux, we can type inside the df command and the name of the file or folder. For example, if we wish to understand the disk space utilized by the documents folder inside Linux, we can apply the "du Documents" command. Also, we can apply the "ls-lah" command for viewing the size of a file of each file inside a folder. Example: 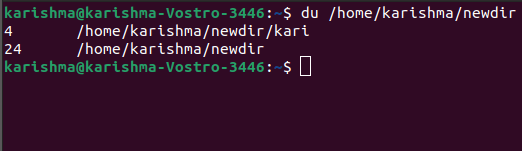
tar: We can use the tar command for working with tarballs inside the Linux terminal. It includes a long list of users. It could be applied for compressing and uncompressing distinct types of archives such as .tar.bz2, .tar.gz, .tar, etc. It operates based on various arguments provided to it. Let's say, "tar -cvf" to create a .tar archive, to untar the tar archive using -xvf, -tvf for listing the archive contents, etc. Example: 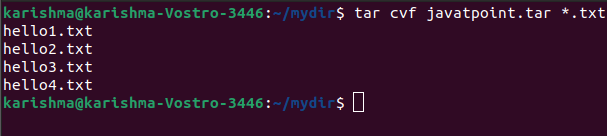
unname: We can use the unname command for showing the information of the system our Linux distro is executing. The unname -a command can print most of the details of the system. It can print the processor type, version, release date of the kernel. Example: 
zip and unzip: We can use the zip command for compressing files into the zip archive and unzip for extracting files through a zip archive. Zip Example: 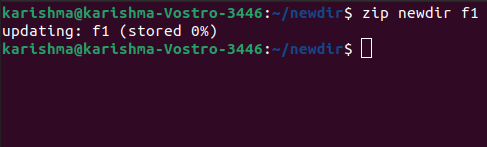
Unzip Example: 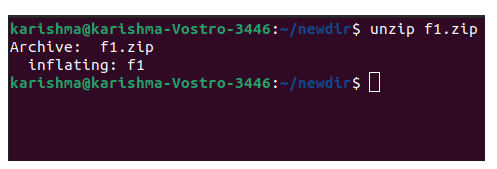
jed, vi, nano: vi, and nano are installed text editors inside the Linux terminal. The nano command is a better text editor that indicates keywords using color and could diagnose most of the languages. The vi command is easier than the nano command. We can make a new file or change the file with this editor. Let's say if we need to create a file known as "create.txt", we can make it by the "nano create.txt" command. After editing, we can save our files with the help of the sequence Ctrl+X, after that Y. For HTML editing, the Nano command does not seem better due to its color that's why we recommend the jed text editor. apt-get: We can use the apt command for working with various packages inside the Linux terminal. Also, we can use the apt-get command for installing packages. It needs root privileges; hence, we can apply the sudo command with it. Let's say, if we wish to install a jed text editor, we can input inside the "sudo apt-get install jed" command. Similarly, various packages could be installed like this. It's good to update our repository every time we try to install any new package. We could do that by using the "sudo apt-get update" command. We could upgrade our system by using the "sudo apt-get upgrade" command. Also, we could upgrade our distro by using the "sudo apt-get dist-upgrade" command. The "apt-cache search" command can be used for searching any package. If we wish to search for one, we can use the "apt-cache search jed" command (it does not need root). Example: 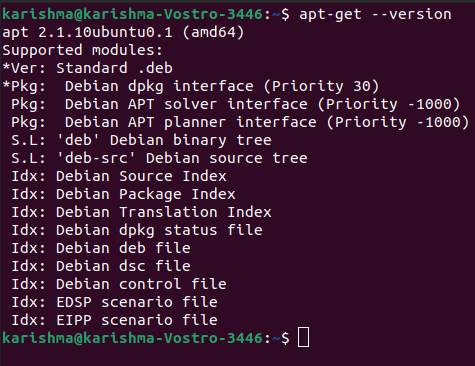
Next TopicKill command
|
 For Videos Join Our Youtube Channel: Join Now
Feedback
- Send your Feedback to [email protected]
Help Others, Please Share


