| |

Blue Prism InstallationBlue Prism has launched a trial version to help users understand the features and functionalities of this tool. We will use the trial version during this tutorial. Before we move onto the installation process, let's discuss basic pre-requisites before starting the installation:
We have divided the entire process of Blue Prism Installation into the following three phases: Request for DownloadThere is no direct download link to download the Blue Prism package. First, we need to request a download link from Blue Prism, then only we can download it. The following are the steps to request for a new download link: Step 1: First, we need to navigate to the following link: https://digitalexchange.blueprism.com/ It will look like the following image. Here, we need to click on the 'Register' option. Skip to 'Step 5' if you have already logged-in. 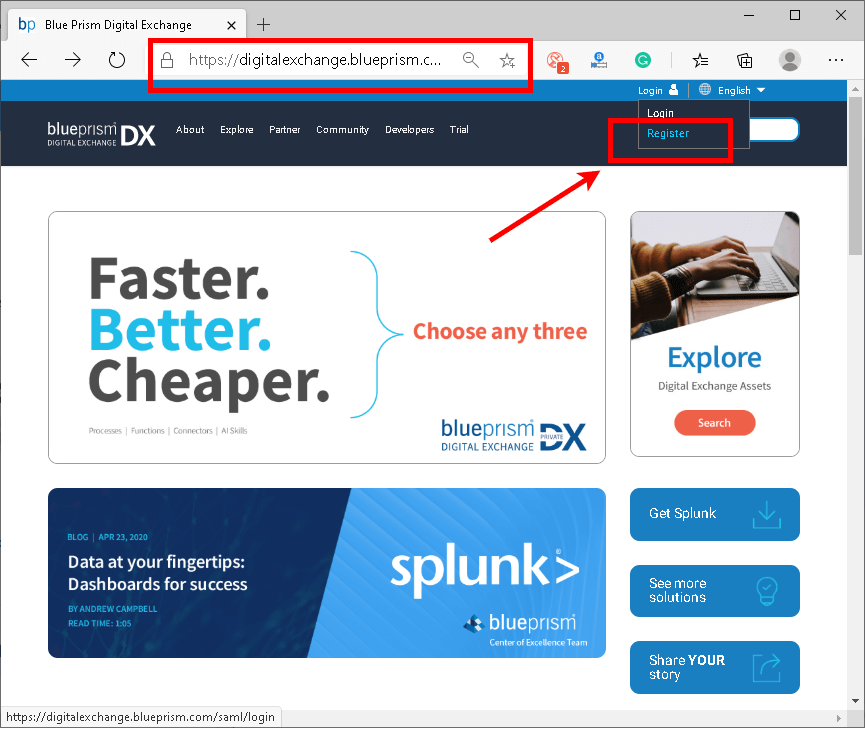
Step 2: Then, we will get to the login page, where we need to click on the 'Sign up here' link, as shown below: 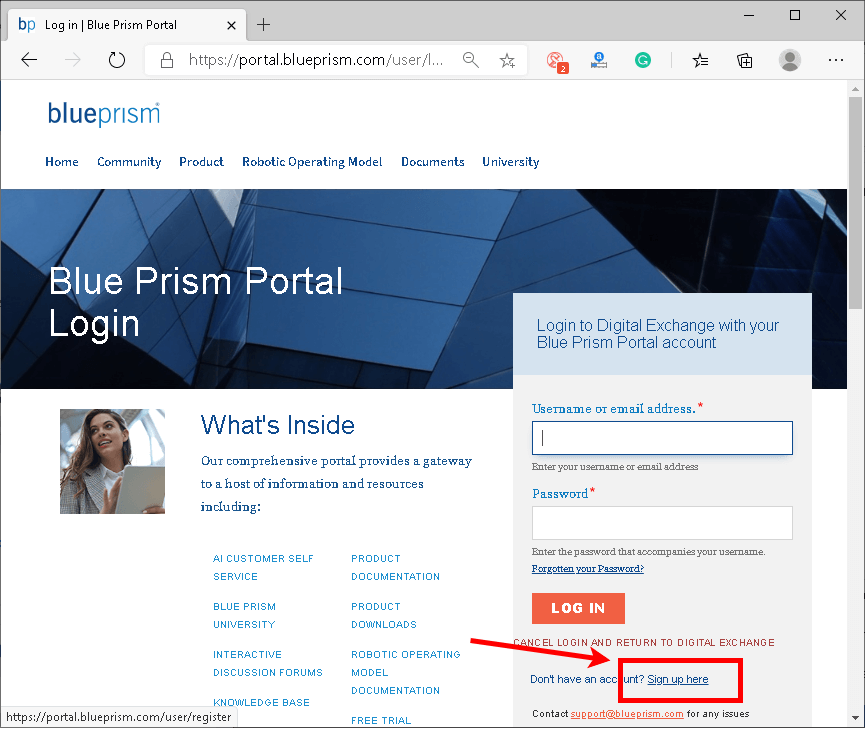
Step 3: Then, we will be redirected to a page where we need to fill some basic details, such as email address, name, time-zone, etc. After filling all the required details, we need to click on 'Create New Account'. 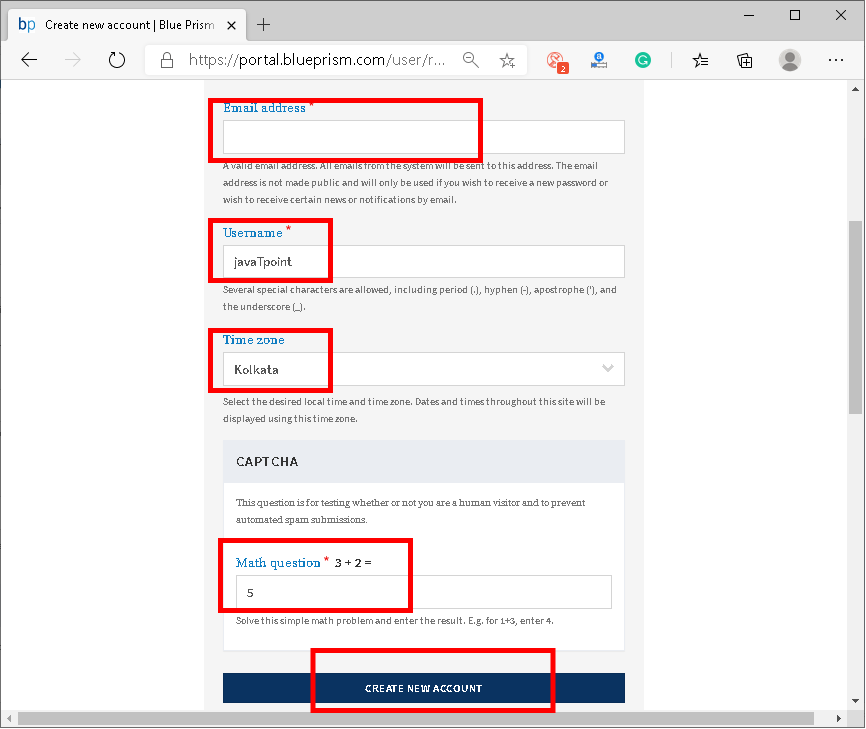
Step 4: Once we have submitted the details, we will receive an email with a link. We are required to login to our email account and open that link through the browser. It will look like the following image: 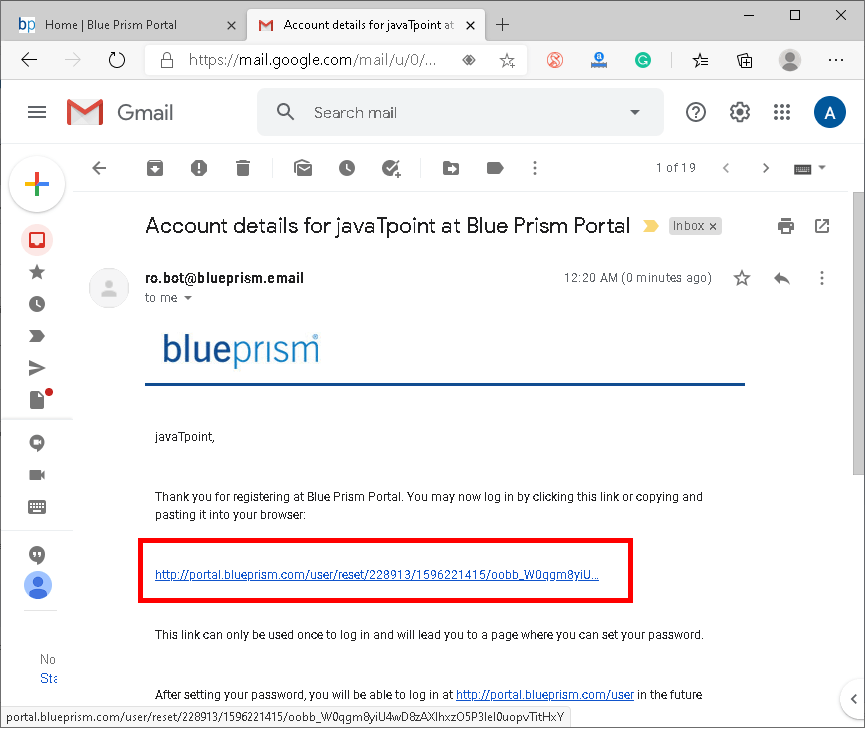
Note: This link can only be used only once to login to the Blue Prism account.
We need to set a new password for our account after we click and login through the given link. Fill all the required details and click on the 'Save' button from the bottom of the page. 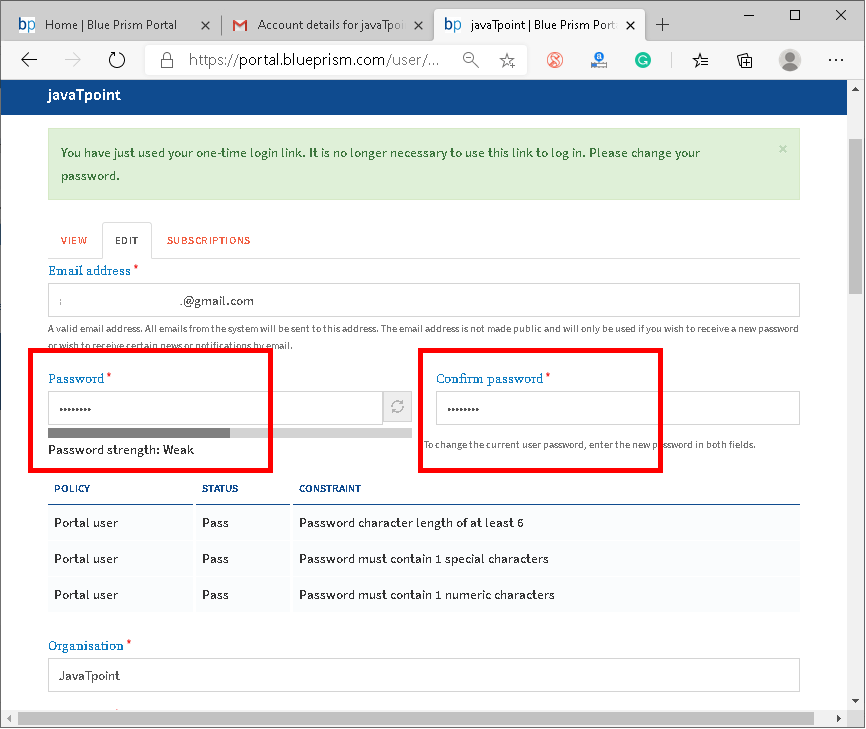
Step 5: The account will be created, and we need to request a download link using this account. Again, we need to navigate to the following link: https://digitalexchange.blueprism.com/site/global/software/index.gsp Then we need to click on the 'Free' button under the 'Try' tab, as shown below: 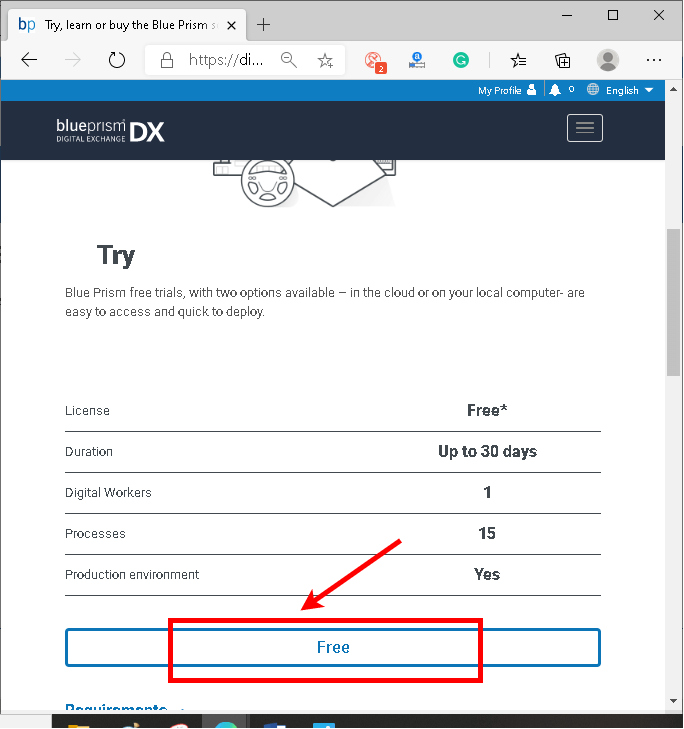
Step 6: On the next screen, we will get two different options for checking the Blue Prism trial version, Cloud and Local. We will be using Blue Prism locally on our system. Therefore, we need to click on the 'Free Download' button under the 'Run locally' tab: 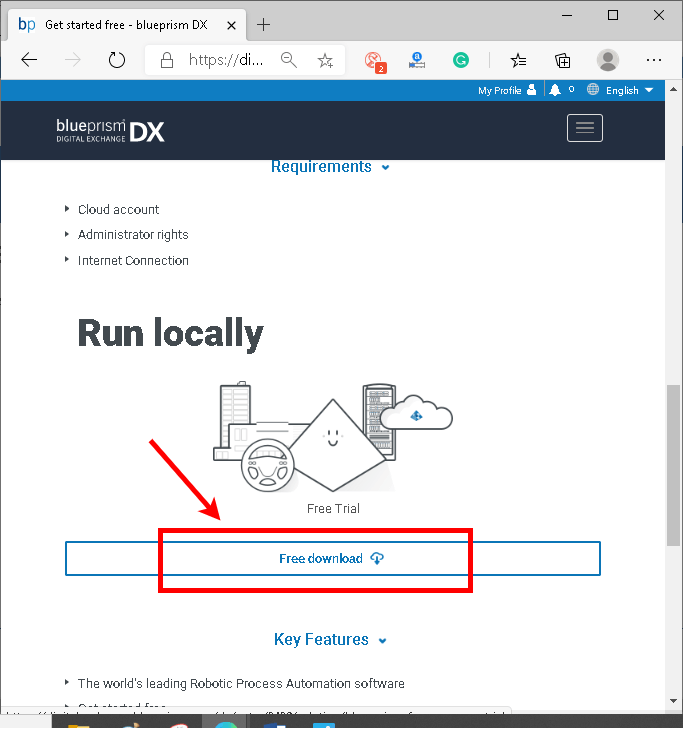
Step 7: Once we click on the 'Free download' button, we will be redirected to a page where we need to click on the 'Get Free Trial', as shown below: 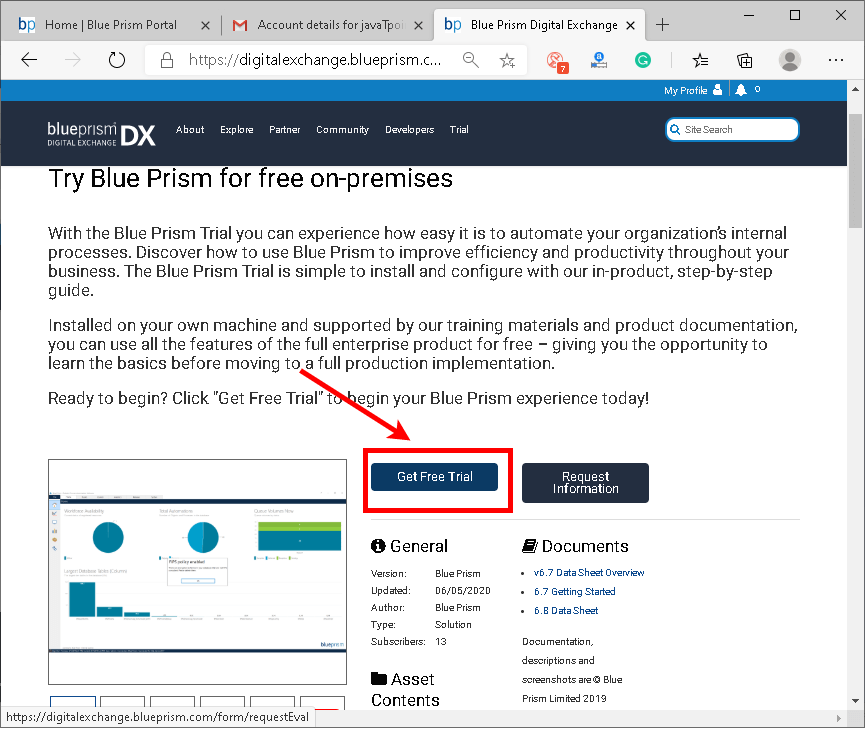
Step 8: It will open a new screen where we need to verify and submit our details to request a download link over an email. It is essential to fill up the correct email address because it will be used to send a download link. It will look like this: 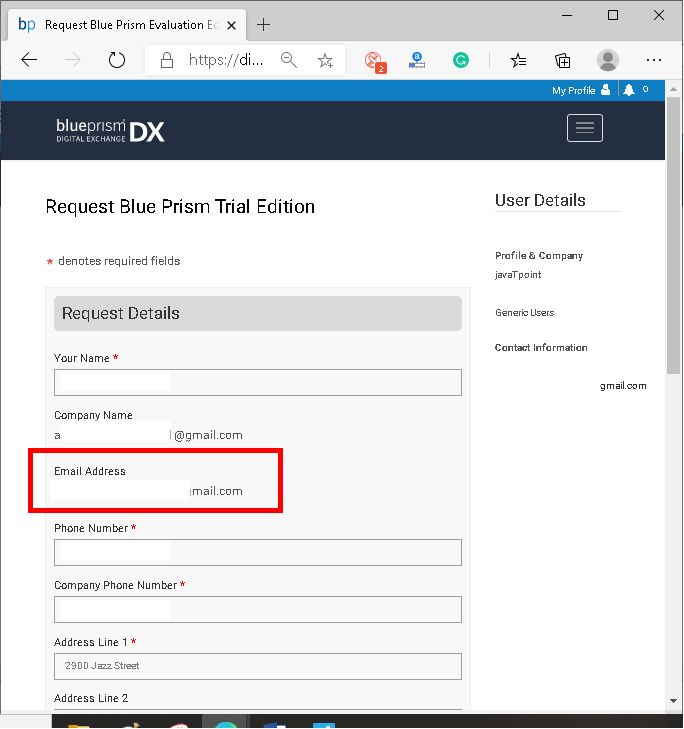
Step 9: After submitting the details, we will get another email with a download link. We are required to click on 'Download Blue Prism': 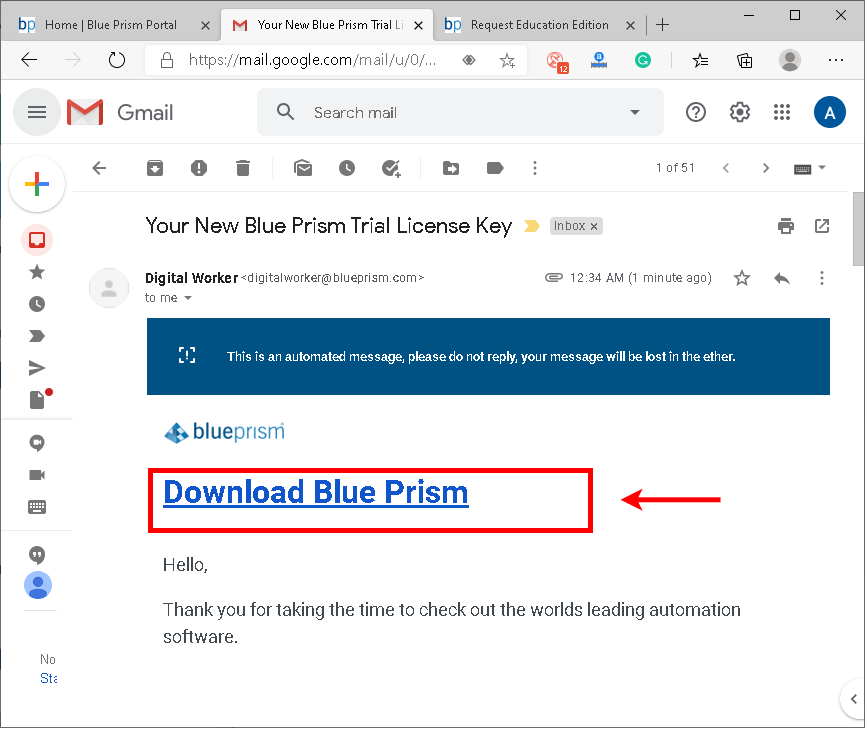
This mail also contains a license key file that we are required to download into our system. It is required to activate the Blue Prism after the installation. Step 9: After following the above step, we will be redirected to the following screen: 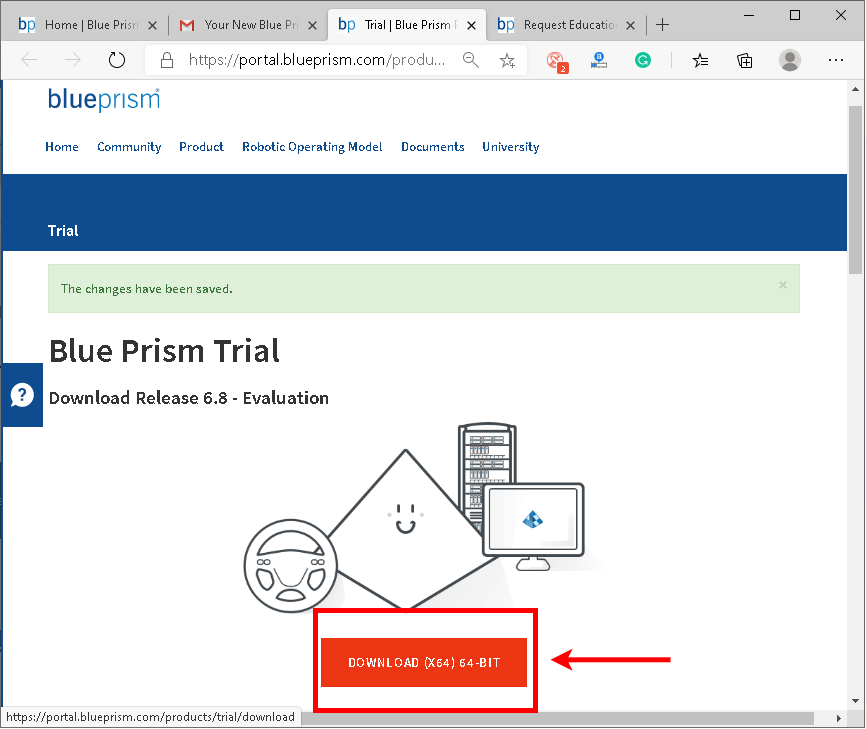
Here, we need to click on the 'Download' button, as shown here. Step 10: Once we click on the download button, the download will start: 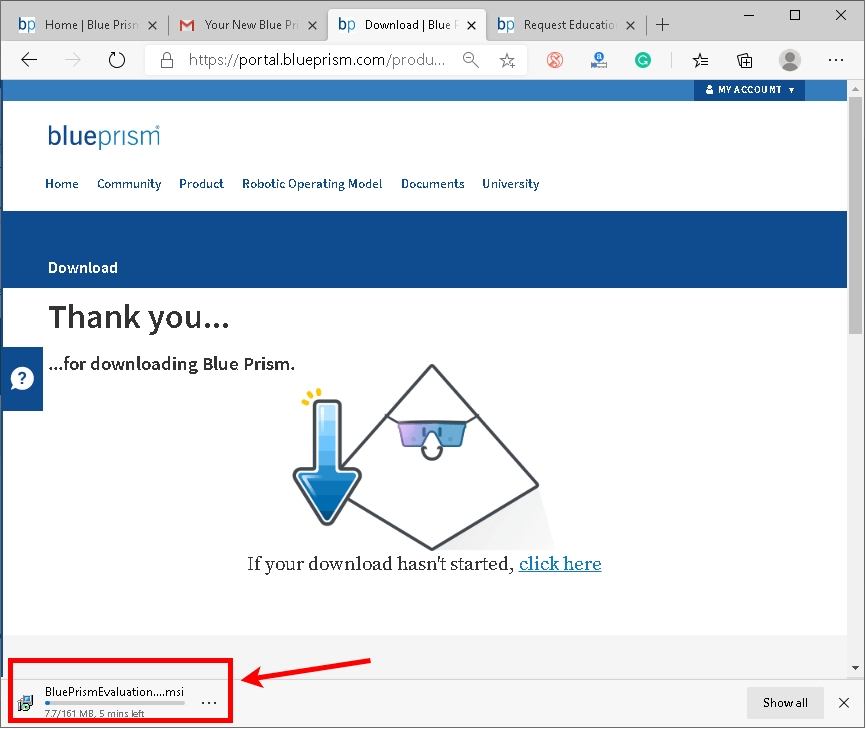
That is how we can download a Blue Prism Trial setup. InstallationNow, let's move onto the installation process. The following are the steps that we need to follow to install Blue Prism on our system, and understand how to configure and activate the trial version: Step 1: Once the download has finished, we need to double-click on the downloaded file to start the Blue Prism installation. The following wizard will come after running the downloaded file: 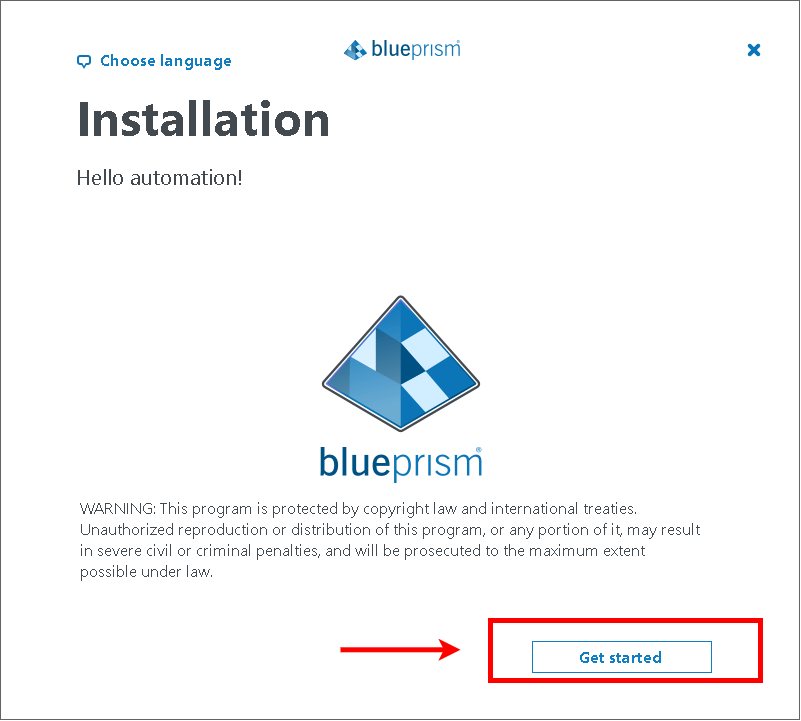
Here, we need to click on the 'Get started' button. Step 2: On the next screen, we must acknowledge the terms and conditions and accept the license agreement. We need to click on the radio button and then 'Next' button, as shown below: 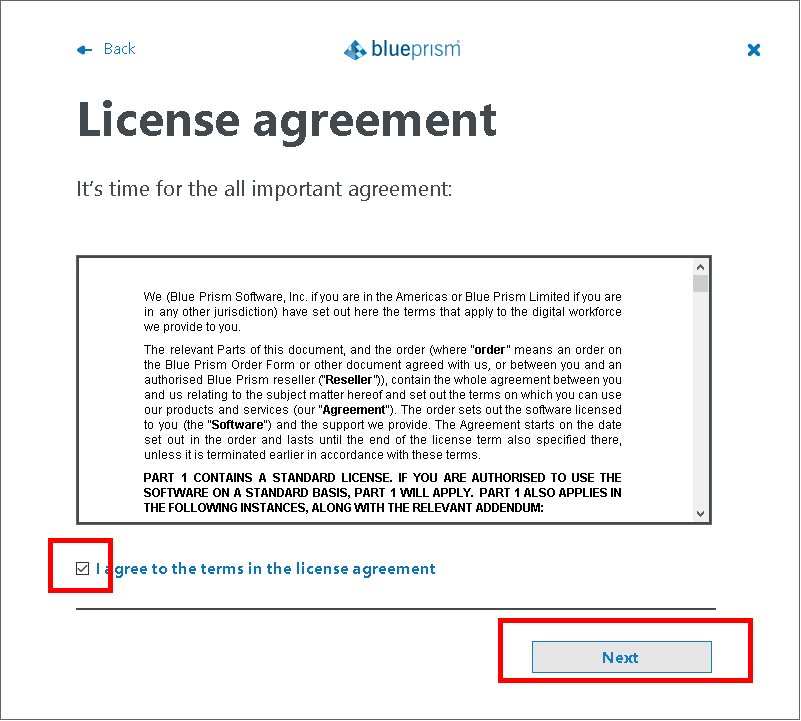
Step 3: After that, we need to select the location where we want to install Blue Prism. We will use the default destination folder and then click on the 'Install' button: 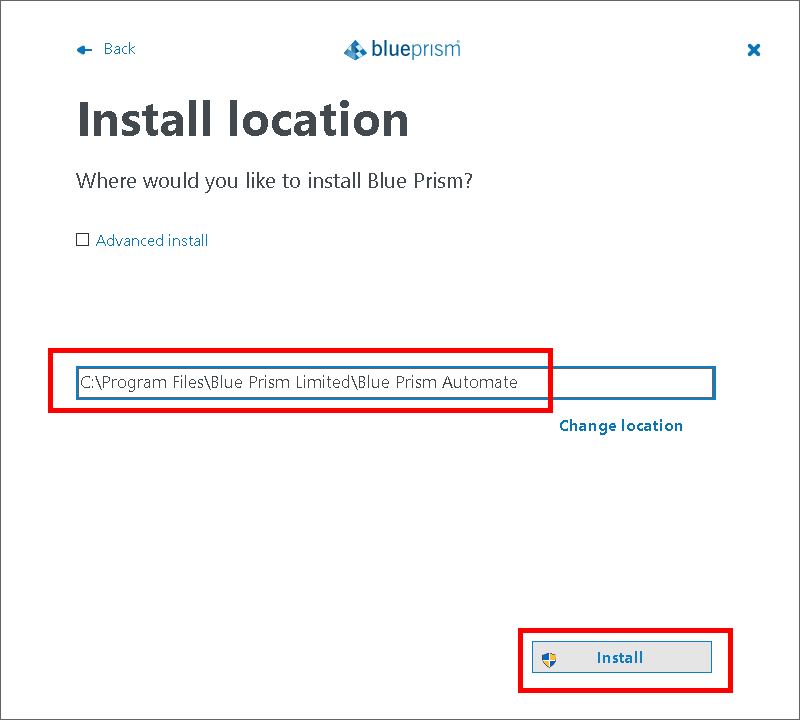
Step 4: After completing the above steps, the installation process will start, and we will see the following screen: 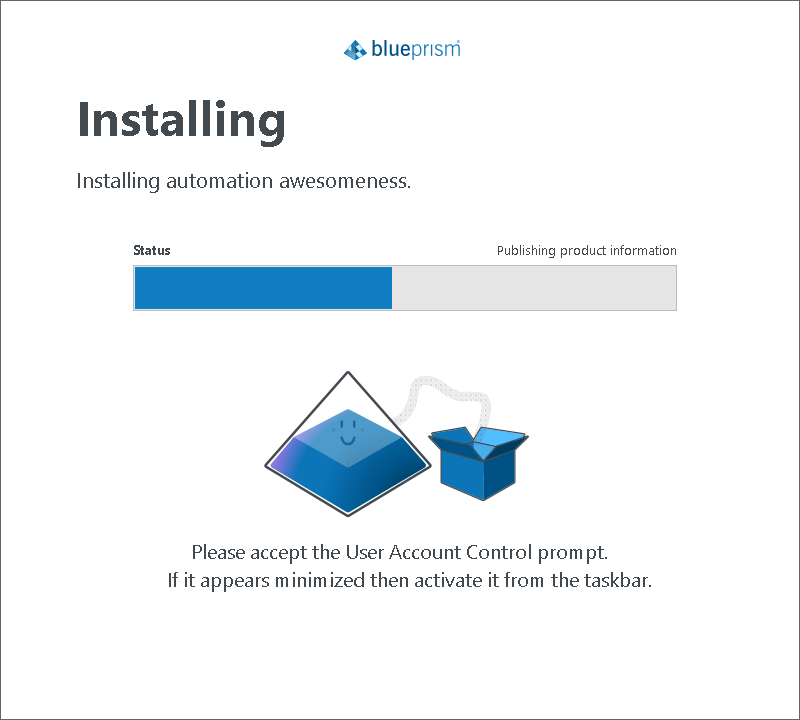
Step 5: Once the installation has finished, we will see the confirmation screen: 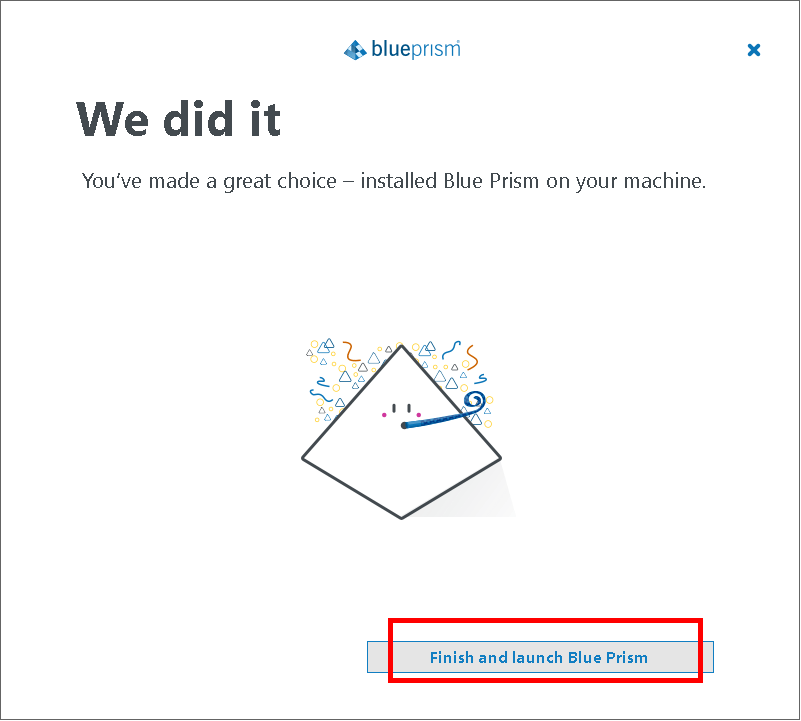
Here, we need to click on 'Finish and launch Blue Prism'. That is how we can install Blue Prism on the system locally. Configuration and ActivationAfter the installation has completed, we need to configure and activate the Blue Prism tool with the key that we have received. The following are the steps for configuring and activating Blue Prism tool: Step 1: As soon as we launch Blue Prism, we are required to set a password that will be used every-time when we open Blue Prism. Here, the username will be given by default. After setting a password, we need to click on the 'Save and continue' button. It provides increased security to our tasks and automated processes. It will look like the following image: 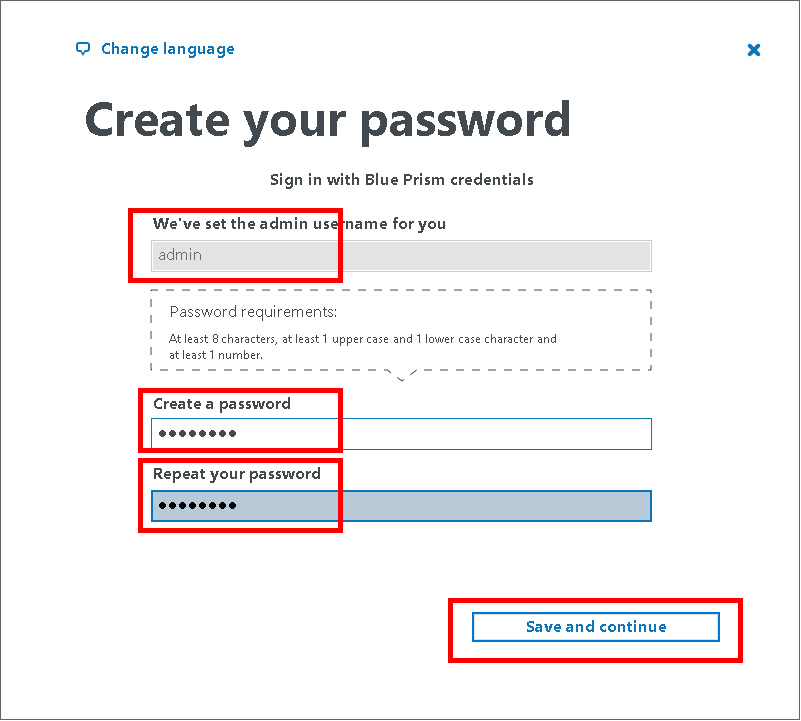
Step 2: On the next screen, we need to install a database for Blue Prism. Here, we are required to click on the 'Install' button, and the installation for the database will start: 
Step 3: Once the database installation is done, we will get the following screen: 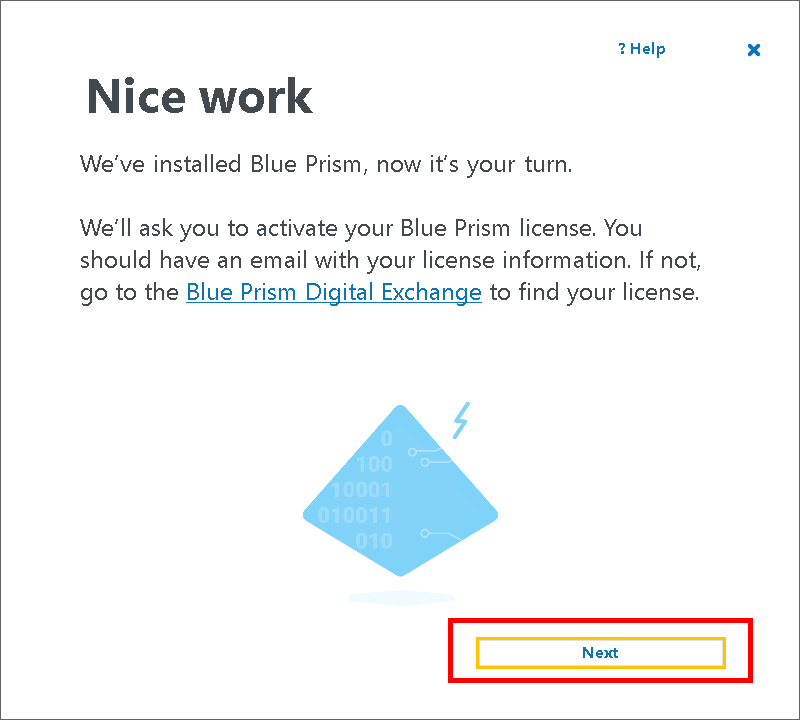
That means we have configured the Blue Prism. After that, we need to click on the 'Next' button to activate the Blue Prism. Step 4: After clicking on the Next button, we will get the following screen: 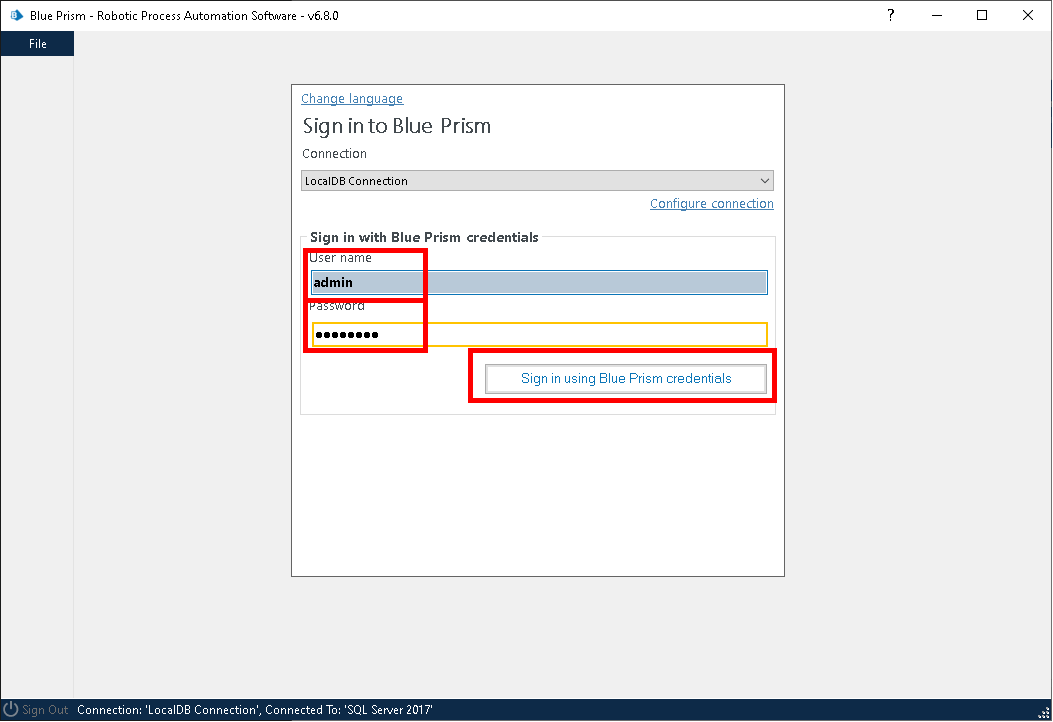
Here, we need to log in using the credentials that we created while configuring the Blue Prism. Step 5: Next, we are required to locate the license file that we have downloaded through the email. We will simply use the 'Browse' button to upload the downloaded license file and click on 'next': 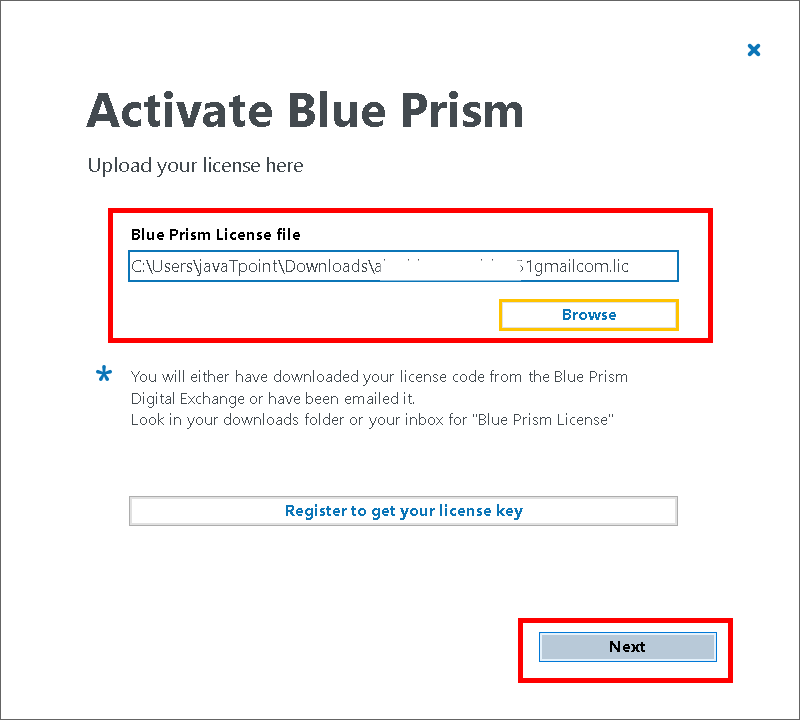
Step 6: On the next screen, we need to click on 'Generate the activation code', as shown below: 
Step 7: Next, we are required to copy the activation code using the 'Copy code to clipboard' button. Then, we need to click on the 'Next' button: 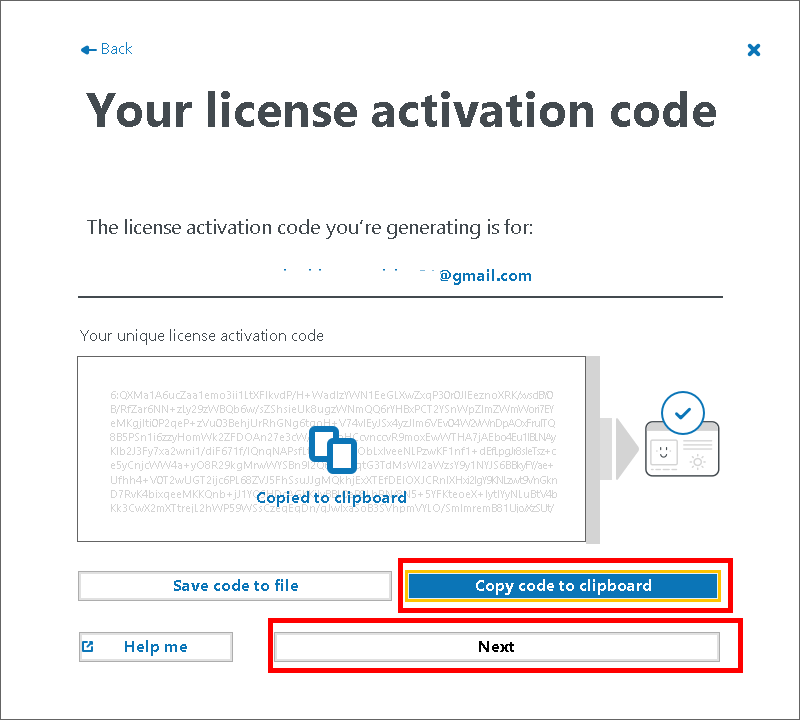
Step 8: After clicking on the 'Next' button, a webpage will be opened where we need to paste the copied activation code. Then we need to click on the radio button to accept Blue Prism EULA terms and click on the 'Submit License Activation' button: 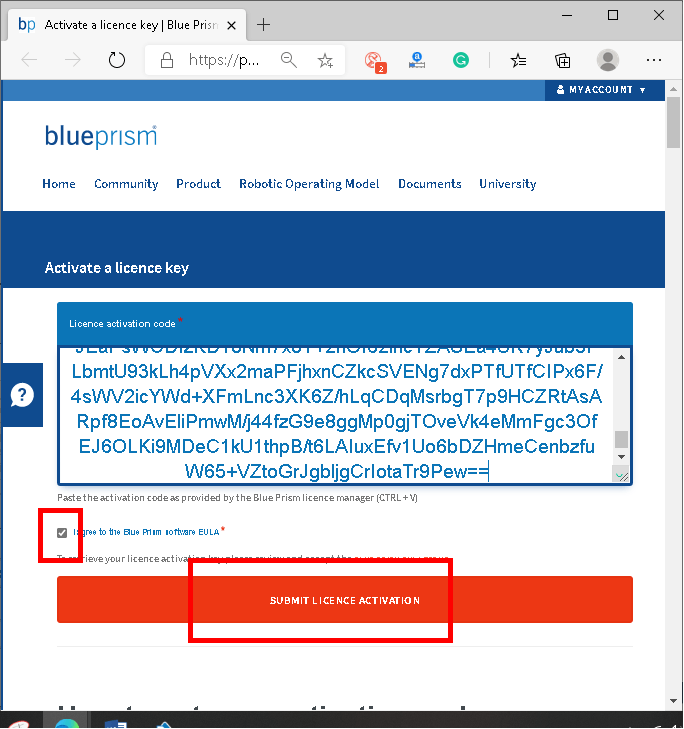
Step 9: Once we submit the license activation code, we will get the validation code on the next screen. We need to copy the validation code, the same as the above step. Then we need to paste the copied validation code in the Blue Prism Wizard using the 'Paste key from clipboard' button and click on the 'Next' button: 
Step 10: After click on the 'Next', we will get the confirmation screen for Blue Prism activation. Here, we need to click on the 'Next' button: 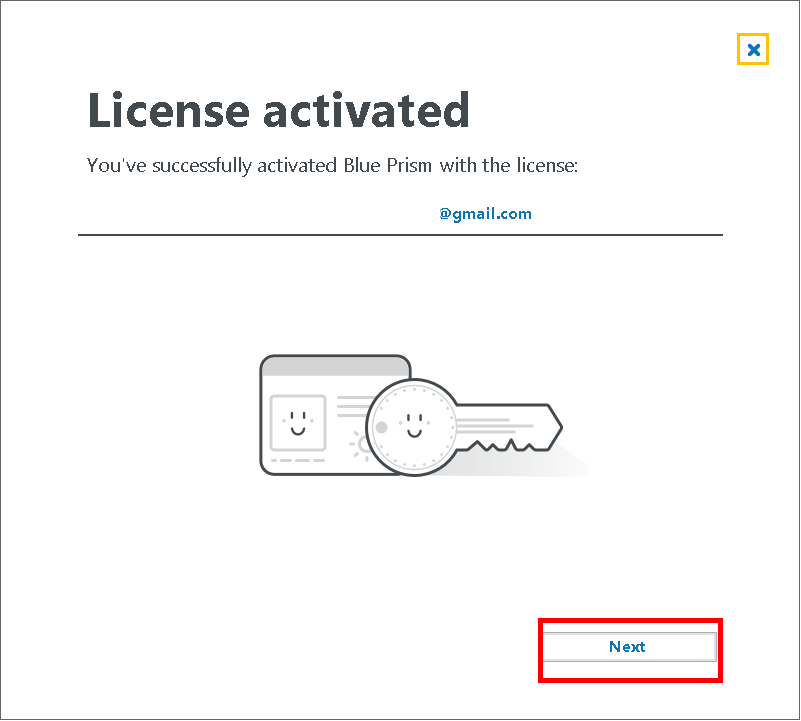
Step 11: On the next screen, we are required to click on the 'Finish' button, as shown below: 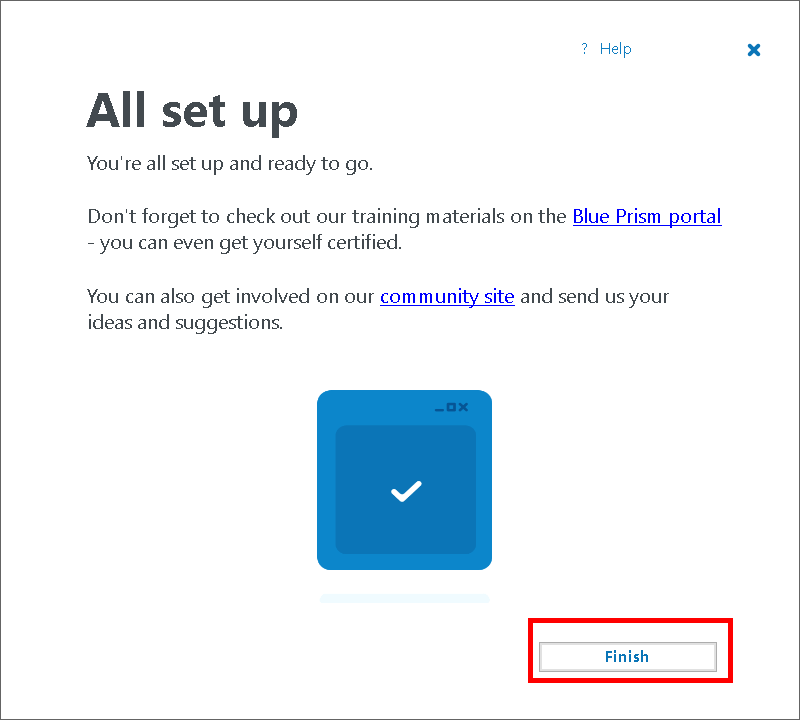
Step 12: After clicking on the 'finish' button, Blue Prism will be opened automatically. We can also launch Blue Prism from the desktop and start using it. The main screen of Blue Prism will look like the following image: 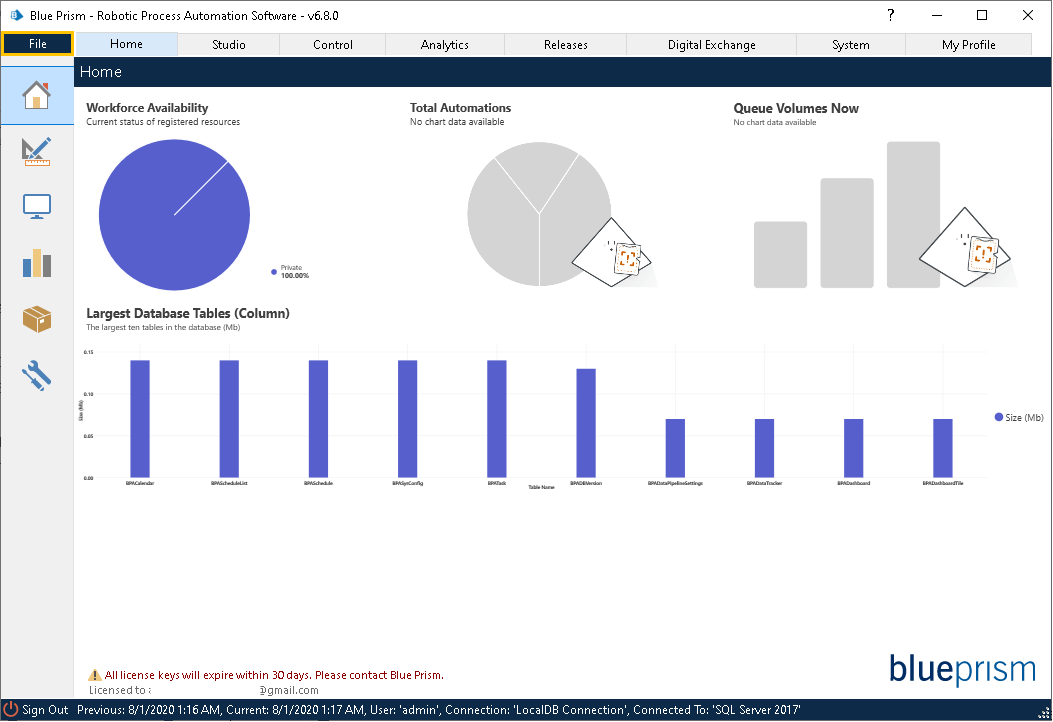
That is how we can configure and activate the Blue Prism. These are steps for the complete installation of the RPA Blue Prism tool.
Next Topic#
|
 For Videos Join Our Youtube Channel: Join Now
Feedback
- Send your Feedback to [email protected]
Help Others, Please Share


