| |

CorelDRAW: Filling ObjectsWe can add textured, patterned, colored, and some other fills towards an inside of objects enclosed areas. We can customize the fill and fix it as the default, thus all the objects we draw have a similar fill. This chapter includes the following essential topics:
Using uniform fillsWe can use the uniform fills in the objects. Uniform fill is a solid color we can create or select applying color palettes and color models. To use the uniform fills1. Choose the object. 2. Press any color over a color palette. 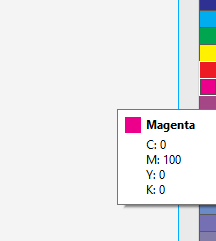
If we wish to mix the colors inside the uniform fill, click Ctrl, and press other colors over a color palette. Also, we can select the uniform fill through pressing
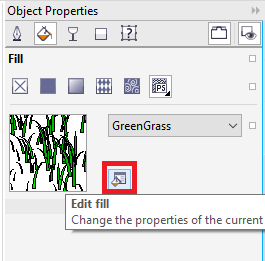
Using fountain fillsA fountain fill is also called gradient fills. It is multiple colors' smooth progression that inserts depth to the objects. There are some essential fountain fills types: rectangular, conical, elliptical, and linear. We can select the fountain fills through content exchange or from any personal library. The fountain fills could be changed to suit our requirements, and we can design our fills. The fountain fills could include multiple colors, which we can place anywhere inside the progression of fills. To use the fountain fill1. Choose the object. 2. Press Object > Object properties. 3. Inside the Object properties, click on Fountain fill to show various options of fountain fills. 
4. Open a Fill picker, click on the fill thumbnail. 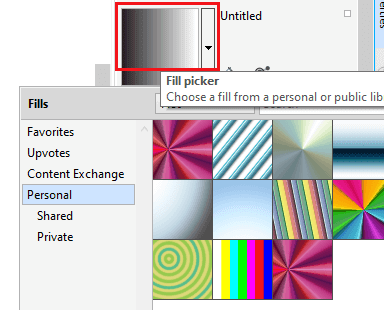
5. Press on the Apply button inside a pop-up window which appears. 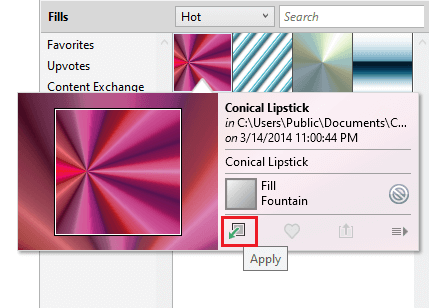
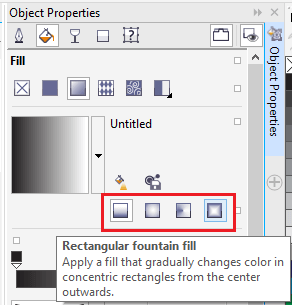
To create the fountain fills1. Choose the object. 2. Press Object > Object properties. 3. Inside the Object properties, click on Fountain fill to show various options of fountain fills. 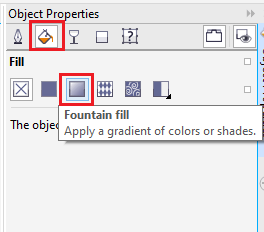
4. Press any one button to select a type of fountain fill:
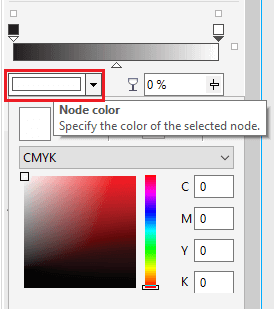
5. Click start node over a color band, open a Node color, and select the color. 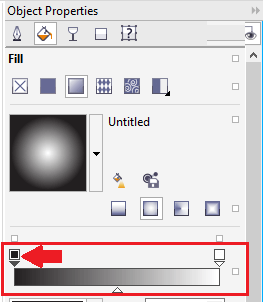
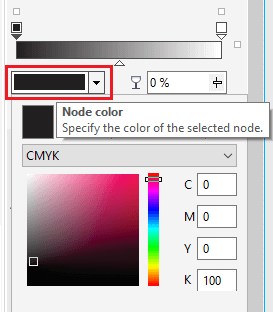
6. Click end node over a color band, open a Node color, and select the color. 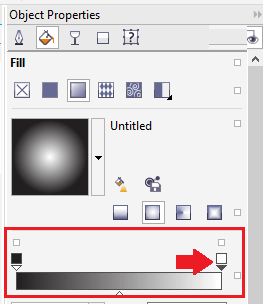
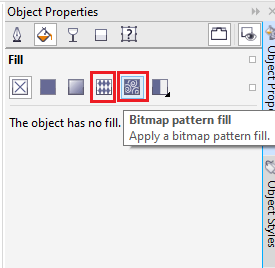
Using pattern fillsWe can fill the objects along with bitmap and vector pattern fills, also two-color fills. CorelDRAW facilitates a group of bitmap and vector patterns that we can access. We can browse some available patterns, find patterns through keywords, vote for some patterns that we like, mark patterns like favorites, or copy the patterns through a content exchange for our personal library. Also, we can create our patterns. Such as, we can create the patterns from workspace's areas and images that we import. Bitmap and vector patterns are created of some smaller units known as tiles. To use the bitmap and vector pattern fill1. Choose the object. 2. Press Object > Object properties. 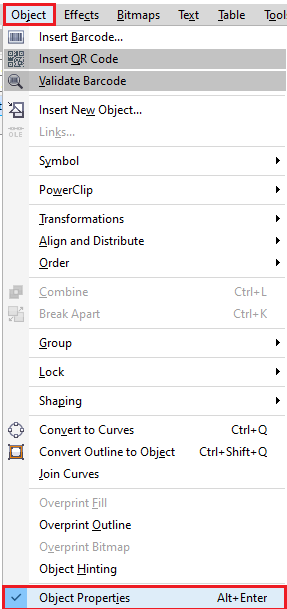
3. Inside Object properties, click any one button from the following:
4. Open a Fill picker, press on pattern thumbnail. 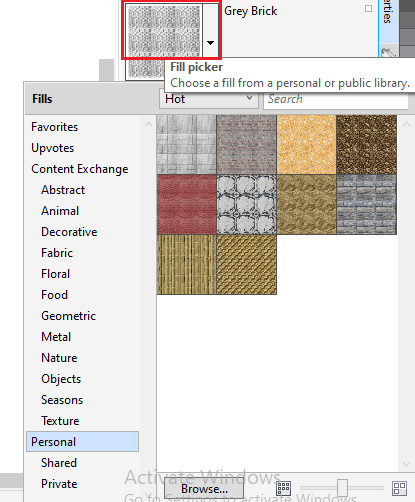
5.Press on Apply inside a pop-up window which appears. 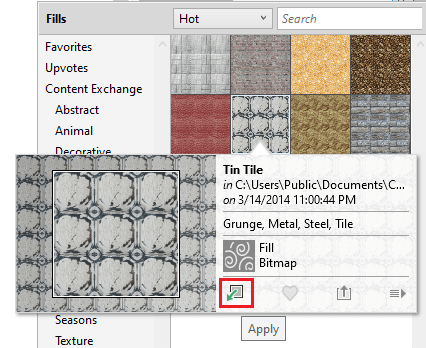
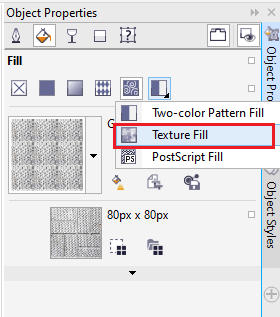
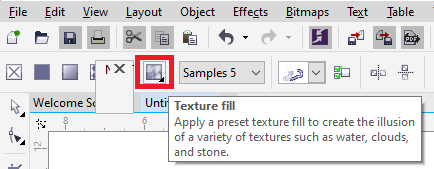
Using texture fillsThe texture fills are the randomly produced fills that we can provide to our objects for a general appearance. We can apply an existing texture fill, like clouds, minerals, and water, or we can edit the texture to design our texture fill. We can apply colors through the palette or color model. Also, we can skew and rotate the fill, change the texture's center, and adjust the size of the tile. To use the texture fill 1. Choose the object. 2. Press Object > Object properties. 3. Inside Object property's Fill area, click on flyout arrow over Two-color pattern fill, and click on Texture fill to show various options of texture fill. 
4. Select the texture library through a list box, i.e., Texture library. 
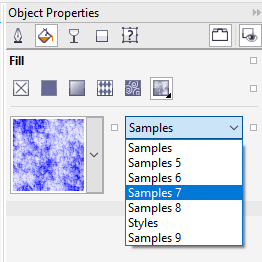
5. Select the texture from a Fill 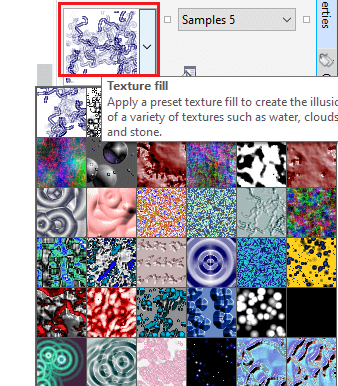
Also, we can use the texture fill through clicking on the Interactive fill inside a toolbox, pressing a Texture fill over a property bar, and then applying various controls over this property bar. 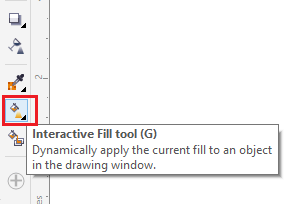
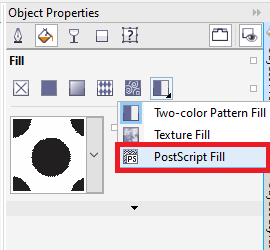
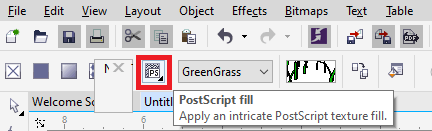
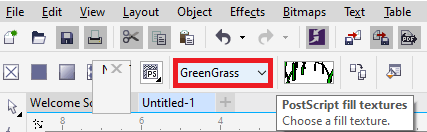
Using PostScript fillsWe can use PostScript fills in the objects. The PostScript fill is designed within the PostScript language. A few textures can be very complicated, and the large objects which include PostScript fill can take time for updating or to be printed over a screen. If we use the PostScript fills, we can modify various properties, like line width, gray amount, and size that appear within the background and foreground of texture. To use the PostScript fills1. Choose the object. 2. Press Object > Object properties. 3. Inside the Object properties docker, click on a flyout arrow over a Two-color pattern fill and click on the PostScript fill to show various options of PostScript. 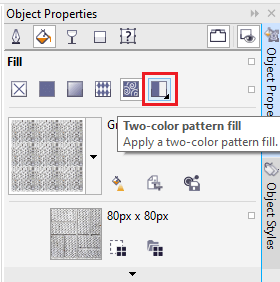
4. Select the fill from a list, i.e., PostScript fill textures. 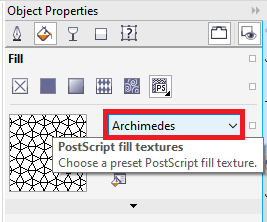
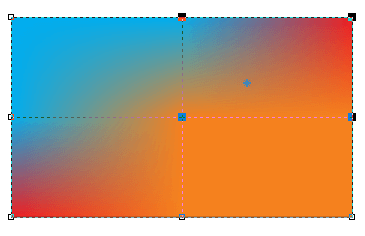
Using mesh fillsIf we fill any object along with the mesh fills, we can create some unique effects. Such as, we can design various color transitions within a direction without creating contours and blends. If we use the mesh fills, we describe the columns and rows numbers inside a grid, and we describe the interaction points of the grid. After we have designed the mesh object, we can format any mesh fill grid thru removing and adding interactions and nodes. Also, we can remove any mesh. The mesh fills can be used to an individual path or any closed objects only. When we wish to use any mesh fill for some complex objects, we should first design the mesh-filled object. We can insert color to the mesh fill's patch and to some individual interaction nodes. Also, we can select to some mix colors for an efficient blended appearance. To use the mesh to the object1. Choose the object. 2. Inside a toolbox, click on the Mesh fill 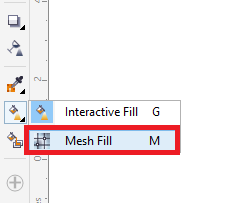
3. Fill the column's number inside the Grid size box's top portion over a property bar. 4. Fill the row's number inside the Grid size box's top portion over a property bar, and click Enter. 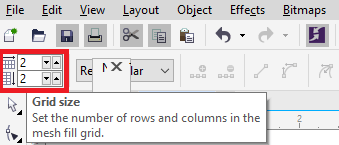
5. Adjust some grid nodes over the object. 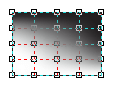
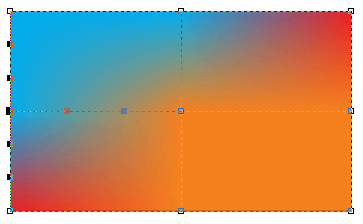
To fill colors in a mesh
To use transparency in the mesh fill
4. Over a property bar, and move a Transparency slider on the right side for increasing a selected area's transparency. 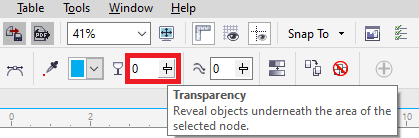
Fills implementationThere are various operations that are basic to every fill type. We can select the fill color (default) so that all the objects that we insert to any drawing have the same fill. Also, we can remove the fills, apply it for filling an area or copy it for other objects surrounded by the open curve. When we wish to use similar fill to another object or change several object's fill attributes simultaneously within the drawing, we can save various fill settings like the style. To select the fill color (default)1. Click on a blank area over a drawing page for deselecting every object. 2. Double-click on the Fill icon on the status bar. 3. Inside the dialog box Edit fill, select the fill type, select the fill color, and click Ok. 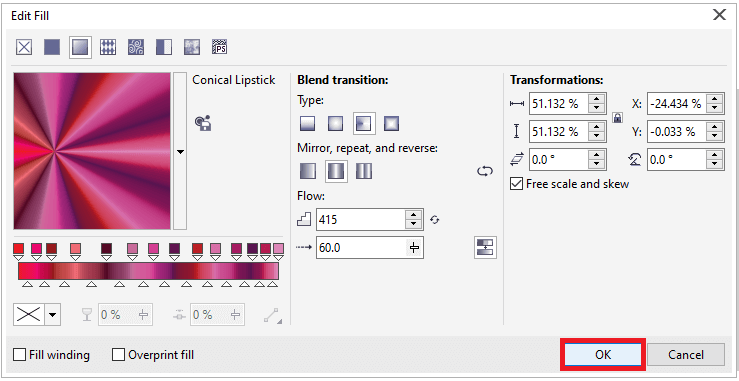
4. Inside the dialog box Change document defaults; let some checkboxes to object's type whose fill (default) we wish to modify. 
Also, we can modify the fill color (default) by formatting the style sets (default) inside an Object styles docker. To remove the fill
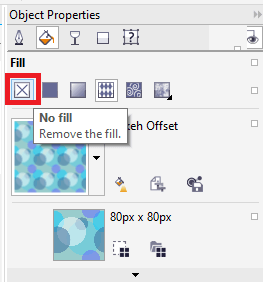
To display fills inside an open curve1. Press Tools > Options. 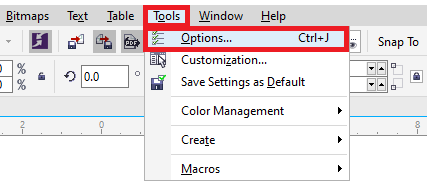
2. Inside the category's list, double-click on Document, and press General. 3. Enable the checkbox, i.e., Fill open curves. 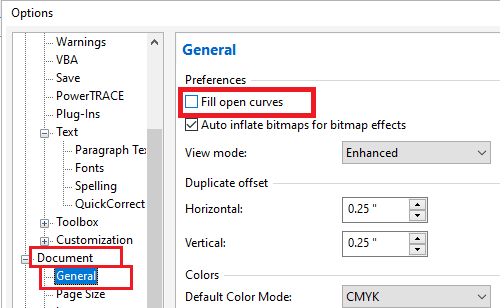
Next TopicCorelDRAW Workspace Customization
|
 For Videos Join Our Youtube Channel: Join Now
Feedback
- Send your Feedback to [email protected]
Help Others, Please Share


