| |

CorelDRAW: TablesThe tables facilitate the structured layout which enables us to present images and text in a drawing. We can draw any table, or we can create any table from the paragraph text. We can easily modify the table's look by changing the properties of the table. This chapter includes the following essential topics:
Inserting tablesCorelDRAW allows us to insert the table into a drawing for creating the structured layout. We can draw the table, or we can create the table from the existing text. To insert any table1. Click on the Table tool. 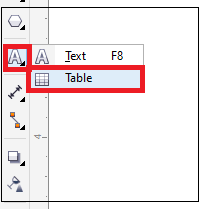
2. Fill the values within the Rows and columns boxes over the property bar. 
3. Diagonally drag to draw a table. 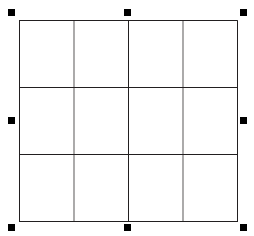
To create the table from any text1. Press the Pick tool. 2. Choose the text that we wish to convert into a table. 3. Press Table > Convert text to a table. 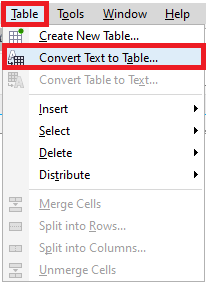
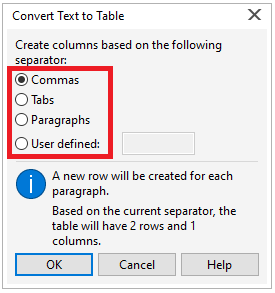
4. Select any option from the list of options within the Create columns based on the following separator area:
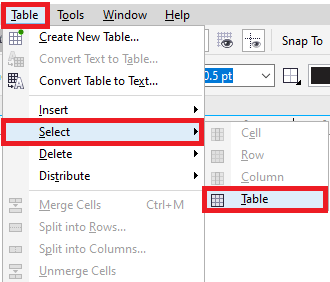
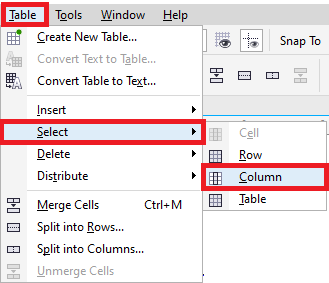
Moving, navigating, and selecting table elementsWe must choose the table, table cells, table rows, or table columns before we add columns or rows, modify the properties of table border, insert the color of background fill, or edit some other properties of the table. To choose the table, column, row1. Click on the Table tool, and press the table. 2. Implement anyone from the below tasks:

To move the table column or row1. Choose a table row that we wish to move. 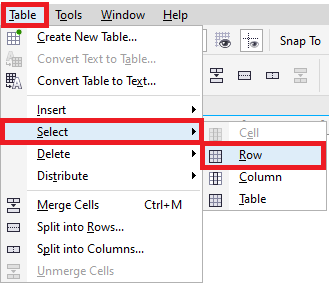
2. Drag the column or row to another location within the table. 
To modify the tab key's navigating direction1. Click on the Tools > Options. 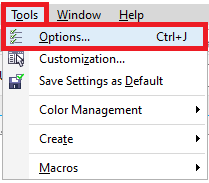
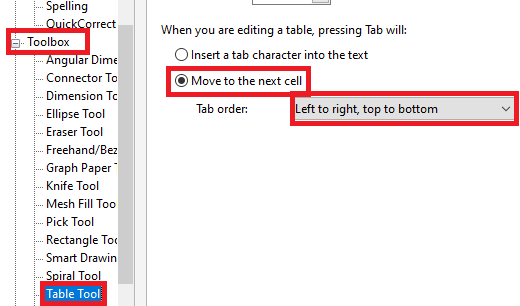
2. Within the Workspace, list of categories, i.e., Toolbox, and press Table tool. 3. Select the option, i.e., Move to the next cell. 4. Select from the below options in the list box, i.e., Tab order.
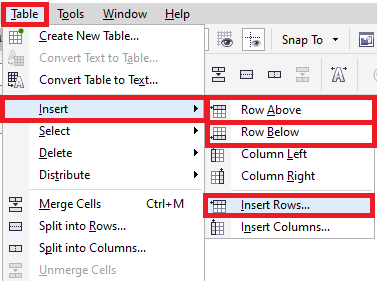
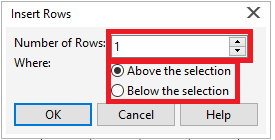
Deleting and inserting table columns and rowsWe can delete and add the columns and rows in any table. To add the table row1. Choose any row within the table. 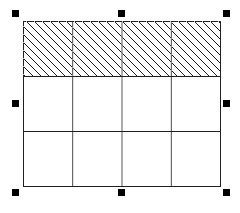
2. Implement from the below tasks:
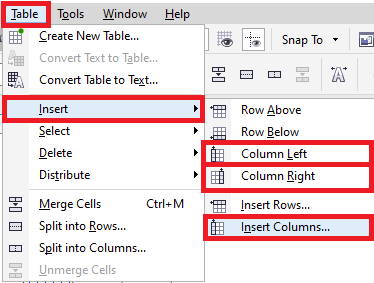
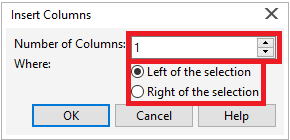
To add the table column1. Choose any column within the table. 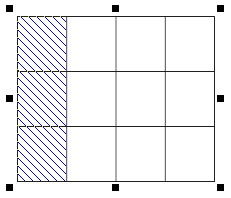
2. Implement from the below tasks:
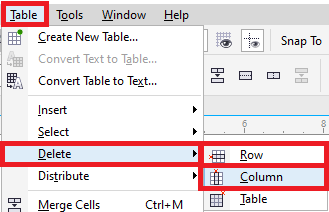
To delete the table row or column1. Choose the column or row that we wish to delete. 2. Implement from the below tasks:
Resizing table columns, rows, and cellsWe can resize the columns, rows, and cells. Besides, when we previously changed some columns and row's sizes, we can redistribute each column and each row hence they will be of the same size. To resize the table column, rows, and cells1. Click on the Table tool, press the Table. 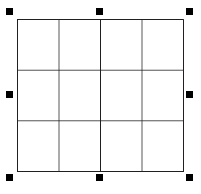
2. Choose the column, row, or cell that we wish to resize. 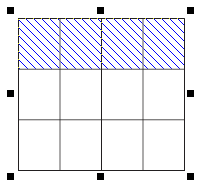
3. Type the values inside the Table width and height boxes over the property bar. 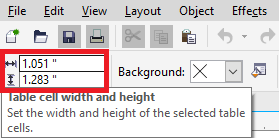
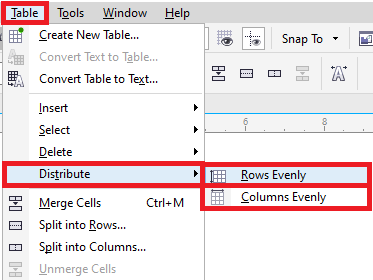
To distribute the table columns and rows1. Choose any table cell that we wish to distribute. 
2. Implement from the below tasks:
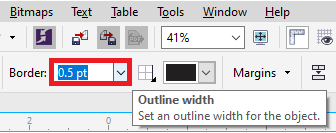
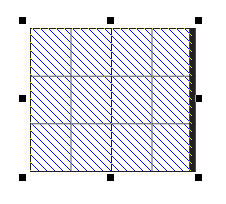
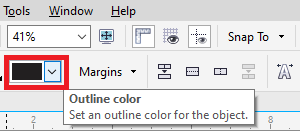
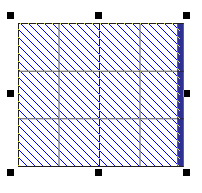
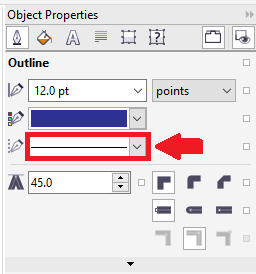
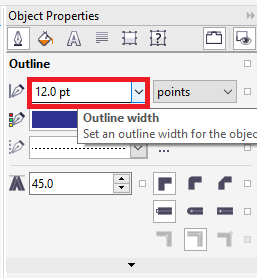
Formatting cells and tablesWe can modify the table's look by changing both cell and table borders. For example, we can modify the color or width of the table border. To change cell borders and table borders1. Choose the tables or table area that we wish to change. 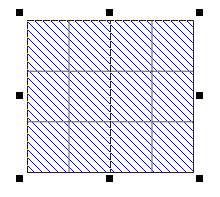
2. Click on the Border selection button over the property bar, and select any border that we wish to change. 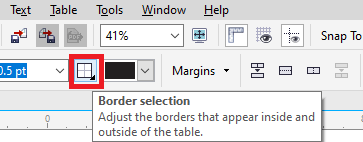 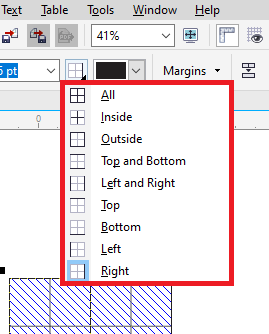
3. Implement from the below tasks:
Working with various texts in the tablesWe can insert text into tables easily, and change the text. We can modify the font, add indents, or add bullets into table text. We can modify the text properties of various table cells or only one table cell simultaneously. Besides, we can also insert tab stops into a table cell hence that text will be shifted away through the cell margin. If we type any text inside the new table, we can select to adjust the table cell's size automatically. To insert text inside the table cell1. Click on the Table tool. 2. Click on any cell. 
3. After that type text within the cell. 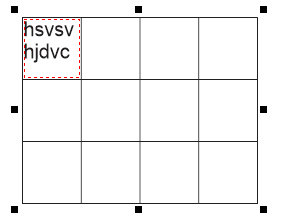
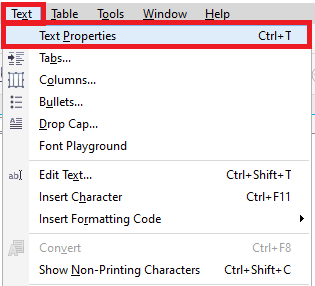
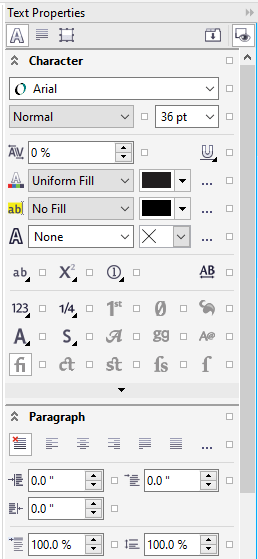
To modify the text properties inside the table cells
Transforming tables into textWe can transform any table text into paragraph text when we no longer wish to appear any table text inside the table. To transform the table into text1. Select the Table tool, press any table. 2. Click on the Table > Convert table to text. 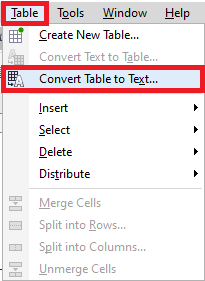
3. Select from the below options within the Separate cell text with area:
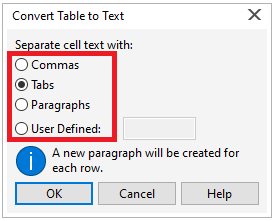
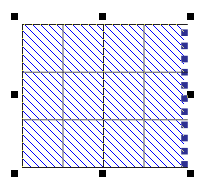
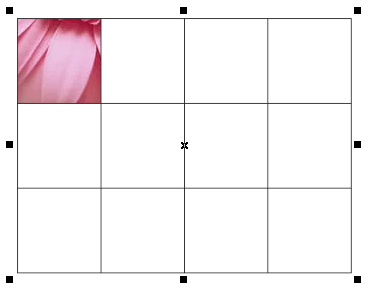
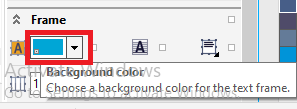
Note: If we select the option, i.e., User-defined, we must fill the character inside the User-defined box.Adding backgrounds, images, and graphics into tablesWhen we wish to arrange vector graphics, images, or bitmap within the structured layout, we can insert them into tables. Also, we can modify the table's look by inserting any background color. To add a graphic or image into the table cells
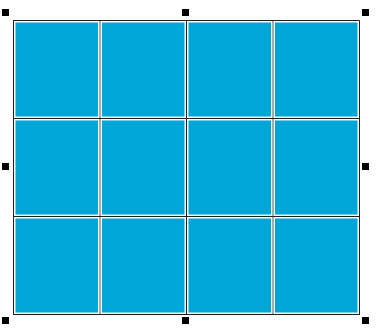
To insert the background color into a table
Next TopicCorelDRAW Tracing bitmaps
|
 For Videos Join Our Youtube Channel: Join Now
Feedback
- Send your Feedback to [email protected]
Help Others, Please Share


