| |

CorelDRAW: Usage of ObjectsThis chapter contains the following essential topics:
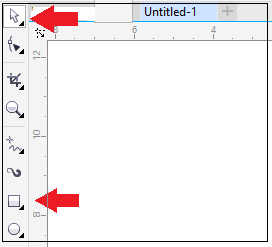
Choosing objectsBefore we modify the object, we must choose it. We can choose the objects in that sequence in which these objects were created. We can marquee choose objects by disclosing them along with the rectangle's selection area or an irregular shape. We can make selection collections that enable us to choose specific objects without collecting them simultaneously. Selection collections are connected with some numbers from range 0 to 9 and can be saved along with the document. To choose the object
To choose multiple objects
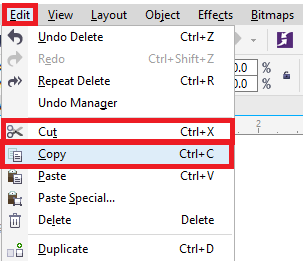
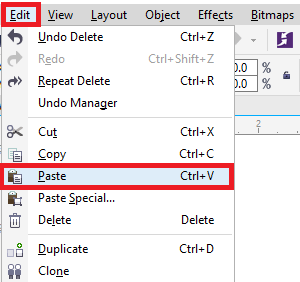
Deleting, duplicating, and copying objectsCorelDRAW facilitates us with various ways ideas to copy the objects. If we no longer require the object, we can also delete it. Pasting, copying, and cuttingWe can copy and cut an object for placing it over a clipboard, paste these objects into the drawing or other applications. Cutting the objects place it over a clipboard, remove these objects from drawing. Copying the objects and place these objects over a clipboard however keep an original one within a drawing. To copy or cut the object1. Choose an object. 2. Press Edit, and press any one from the following:
To paste the object
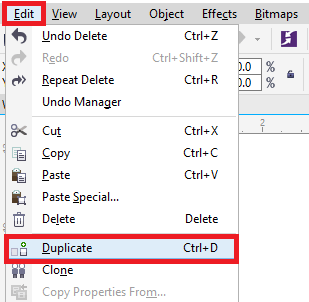
DuplicatingPasting and copying an object is slower than duplicating. We can also describe the distance among the original and duplicate objects with the x-axis and y-axis. The distance is called offset. To duplicate the object
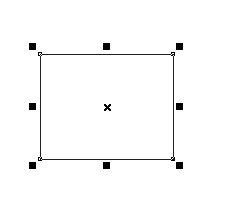
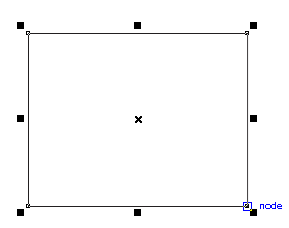
Transforming ObjectsWe can modify the object's representation inside a drawing window. Some essential key points are discussed as follows: Sizing: It enables us to change the height and width of the object. Scaling: It enables us to size the object to the original size's percentage. To scale or size an object
Skewing: enables us to slant the object to only one side. To skew an object

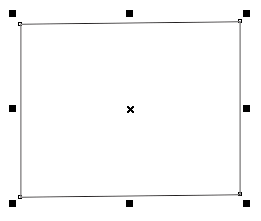
Stretching: It enables us to modify the width and height of the object non-proportionally. To stretch an object
Mirroring: It enables us to create a vertical and horizontal mirror image of the object. To mirror an object
Rotating: It enables us to turn any object around the center point or an axis relative to the position. To rotate an object
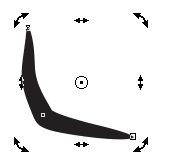
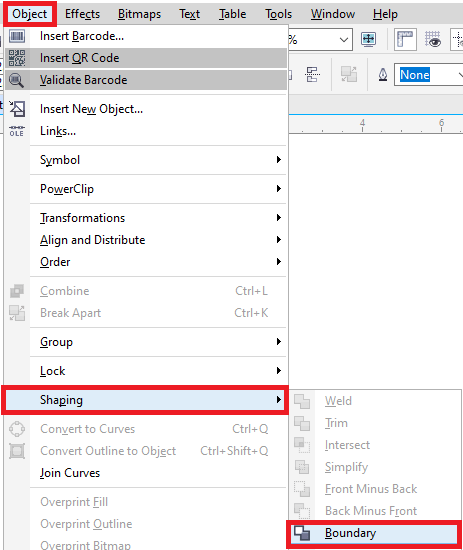
Making boundary around chosen objectsWe can automatically make any path around chosen objects over a layer for making the boundary. It can be useful for several objectives, like to generate cut lines and keylines. The boundary can be made by the closed path which pursues the selected object's shape. The default outline and fill attributes use to an object made by a boundary. To make the boundary around chosen objects
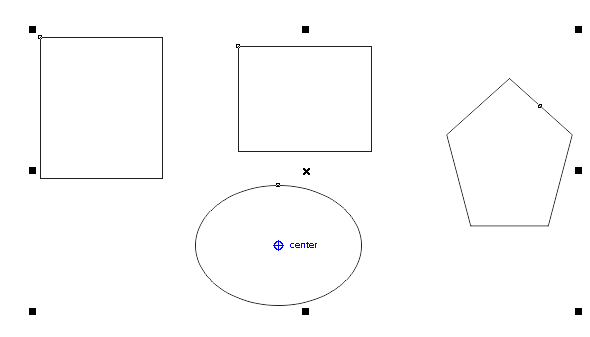
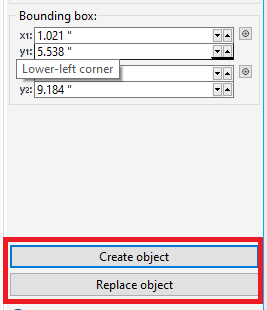
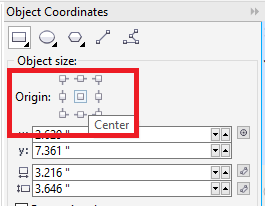
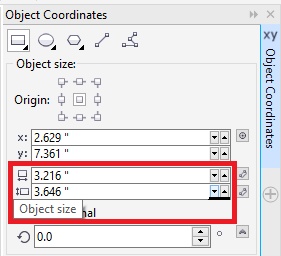
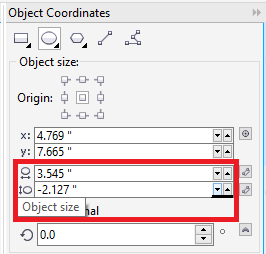
Making objects from disclosing areasWe can make objects from various areas disclosed by some other objects. Such as, when we draw the freehand line and these lines cross on it for creating loops. We can make objects from a loop shape. An object can be created inside the area's shape if an area is fully enclosed. Object coordinates usage to modify and create objectsWe can apply the docker object coordinates to modify and create lines and shapes precision. A live preview within a drawing window enables us to see our adjustment's effects. Creating Squares and rectanglesTo create a rectangle along with precision, we can describe the origin point that can be defined as only one point of the rectangle (a center point, four midpoints, four corner points). When we rotate a rectangle, an origin point can be applied as the rotation's center. Also, we can describe the rotation's angle and height and width of the rectangle. To modify or draw the rectangle with object coordinates1. Press Window > Dockers > Object coordinates. 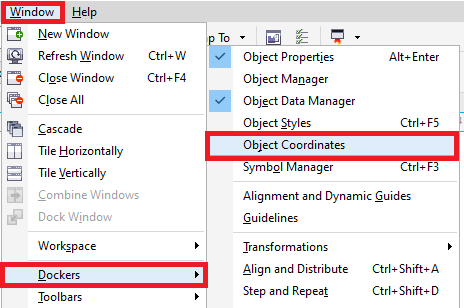
2. Press on the Rectangle 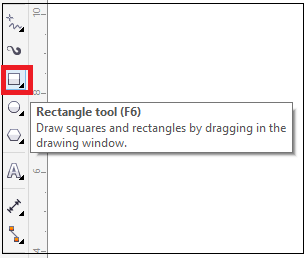
3. Select any one adjustments from the following:
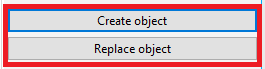
4. Press any one from the following:
Creating circles and ellipsesTo create an ellipse along with precision, we can describe the origin point, and these can be used to draw around an ellipse. This origin point can be applied to the rotation's center. To create a circle, we can define an origin point, rotation's angle, and diameter. To modify or draw an ellipse with object coordinates1. Press Window > Dockers > Object coordinates. 
2. Press on the Ellipse 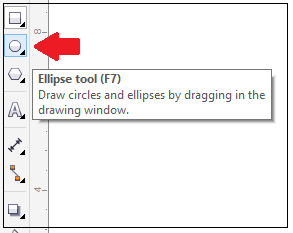
3. Select any one adjustments from the following:
4. Press any one from the following:
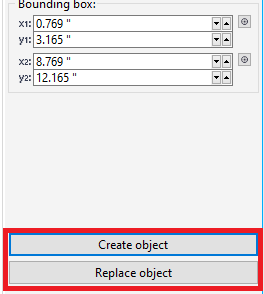
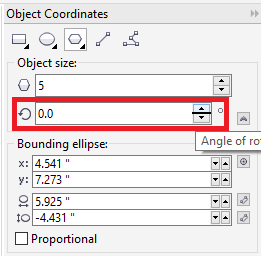
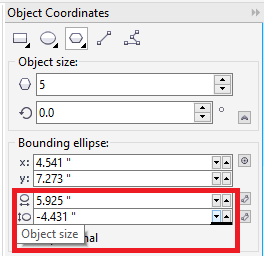
Creating PolygonsTo create a polygon, we can define the side's number, rotation's angle, or a center and boundary ellipse's diameter that could be created around a polygon. The boundary ellipse's center also called "polygon center", can be applied as the rotation's center. To modify or draw the polygon with object coordinates1. Press Window > Dockers > Object coordinates. 2. Press on the Polygon 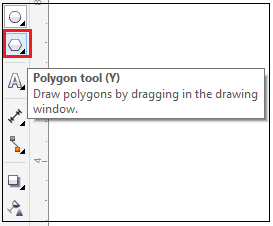
3. Fill the value inside the Points or sides box within the Object size 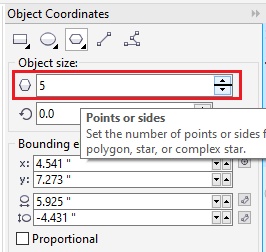
4. Select any one adjustments from the following:
5. Press any one from the following:

Creating LinesWe can create a line with the use of some methods. We define the starting and ending point of a line with this first method. We can define the length, start point, and rotation's angle of a line with this second method. By specifying multiple points' coordinates, we can make various complex lines. To modify or draw the polygon with object coordinates1. Press Window > Dockers > Object coordinates. 2. Press on the 2-point line 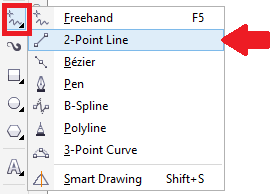
3. Fill the value inside the y and x box within the Points area to describe the endpoint and start point with y and x rulers. 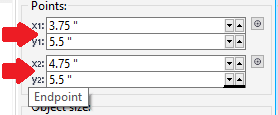
4. Press any one from the following:
Copying objects effects, transformations, and propertiesCorelDRAW enables us to copy properties from a single object to other objects. We can copy the object properties like text properties, fill, and outline. We can copy the object transformations like positioning, rotation, and sizing. Also, we can copy the effects used to the objects. To copy the object properties like text properties, fill, and outline from a single object to other objects1. Inside a toolbox, click on Attribute eyedropper. 
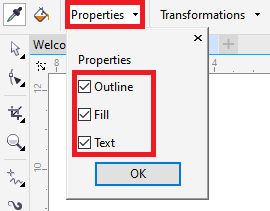
2. Click on Properties flyout over a property bar enable one of the below essential checkboxes:
3. Click on the object whose attributes we wish to copy. Attribute eyedropper automatically switches into the mode Apply object attributes. 4. Click on the object for which we wish to use copied properties. 
The options are enabled within the Effects and Transformations flyout over a property bar is also used if we copy properties. To copy the effects from a single object to other objects1. Inside a toolbox, click on Attributes eyedropper. 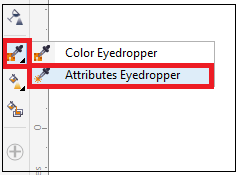
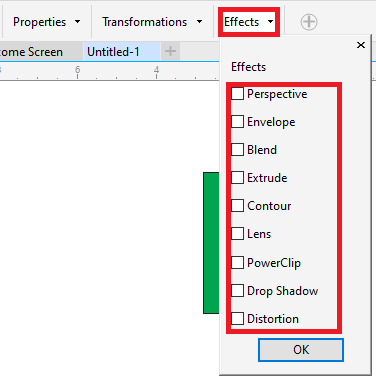
2. Click on Effects flyout over a property bar enable one of the below essential checkboxes:
3. Click on the object whose attributes we wish to copy. Attribute eyedropper automatically switches into the mode Apply object attributes. 4. Click on the object for which we wish to use copied properties. 
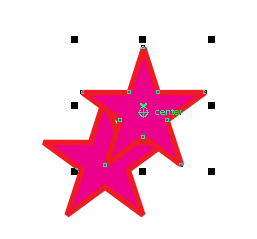
Cloning objectsIf we clone the objects, we create the object's copy that is connected to an original one. Any modification we make to an original object is reflected inside a clone automatically. The modification we make to a clone is not reflected inside the original one automatically. We can remove the modifications made to a clone thru reverting to an original one. Cloning enables us to change the object's copies simultaneously by modifying a master object. These types of changes are especially helpful when we wish to master objects and clone to differ by various properties, like outline color and fill, however wish a master object for controlling some other properties, like the shape. We can apply the same object several times, rather than using the clones for keeping the size of the file manageable. To clone the objects1. Choose the object. 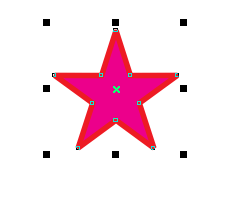
2. Click on Edit > Clone. 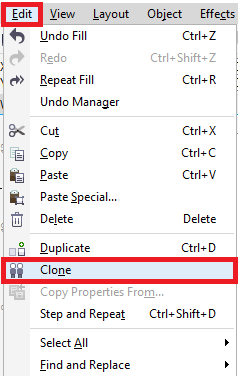
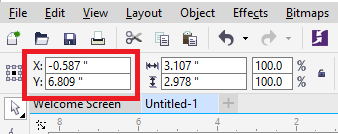
We can't clone the clone but we can clone the master objects. Positioning objectsWe can position an object by dragging them into the new location, by describing, or by nudging their vertical and horizontal coordinates. Nudging enables us to move the objects within the increments through pressing an Arrow key. An increment value can be called "nudge distance". Also, we can change the super-nudge and micro-nudge values. To position the objects, we can set vertical and horizontal coordinates which are connected to a center anchor point, and another anchor point, of an object. To position the object by y and x coordinates1. Choose the object. 2. Fill the values inside the below boxes:
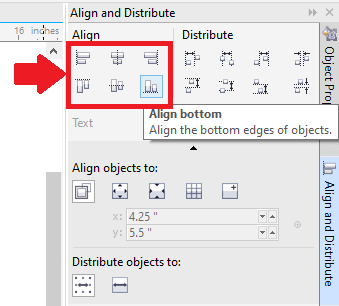
3. Click Enter. Distributing and aligning objectsCorelDRAW enables us to distribute and precisely align the objects within the drawing. We can align the objects along with one another and with various drawing page's parts like the grid, edge, and center. If we align the objects along with some objects, we can also line-up them with their edges and center. We can align several objects vertically and horizontally along with the drawing shape's center. Also, we can align the objects along with the reference point through describing its x coordinates and y coordinates. Distribute the objects automatically inserts s space among them on the basis of their center points, width, and height. We can also distribute the objects. Hence, the selected edges and center points (such as right or top) represent at an equal interval. We can distribute the objects on an extent of a boundary box around them or on the whole drawing page. Note: We can align each object along with a page center, horizontally and vertically, by clicking P.To align the objects1. Choose the objects. 2. Press Object > Align and distribute > Align and distribute. 
3. Within the docker's Align area, press anyone from the below options:
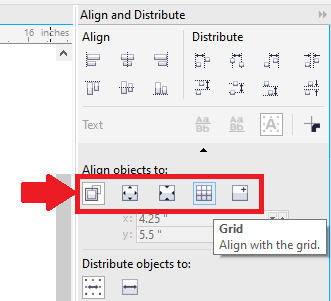
4. Within the Align objects to area, implement from the below tasks:
To distribute the objects1. Choose the objects. 2. Press Object > Align and distribute > Align and distribute. 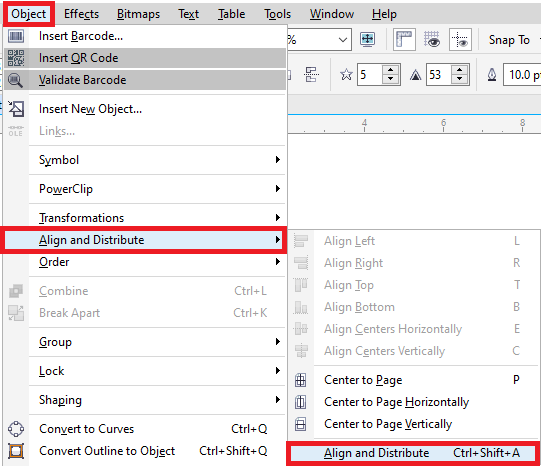
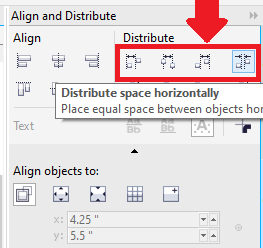
3. Press the below options to distribute the objects horizontally:
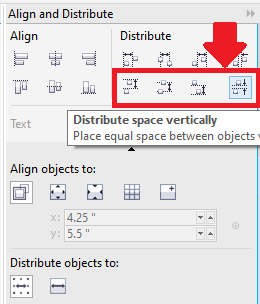
4. Press the below options to distribute the objects vertically:
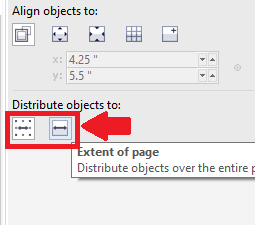
5. Press the below buttons inside the Distribute objects to area to select an area for which various objects have been distributed:
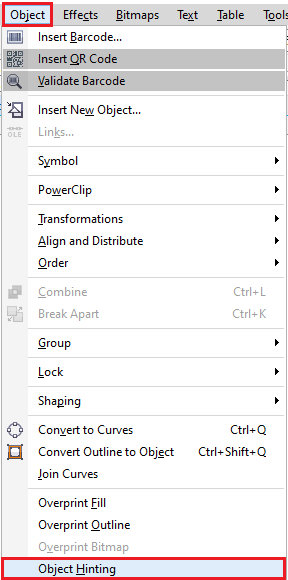
Using object hintingThe object hinting allows us to enhance the object rendering through adjusting an object's display. Hence, it lines-up along with a pixel-grid. Such as, when we are making the button to web, we can enable the object hinting for ensuring an object represents sharp and clean if export it as the bitmap. To use the object hinting
Next TopicWhat's new in Graphic Suite X7 CorelDRAW
|

 For Videos Join Our Youtube Channel: Join Now
Feedback
- Send your Feedback to [email protected]
Help Others, Please Share


