| |

CorelDRAW: Working with layout and pages toolsCorelDRAW allows us to describe the background, scale's unit, orientation, and size of any drawing page. We can display and customize page guidelines and grids to support us organize several objects and fix them where we want exactly. This chapter includes the following essential topics:
Describing page layoutWe can work over drawings by describing various settings for layout style, orientation, and size of a page. Various options can be selected if describing the page layout could be applied as the default for each new drawing we create. Also, we can adjust the orientation and size settings of the page for matching the paper settings to print. Page orientation and size settings1. Press Layout > Page setup. 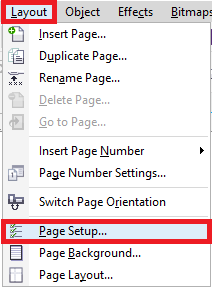
A dialog box will appear, i.e., Options along with the Page size page shown. 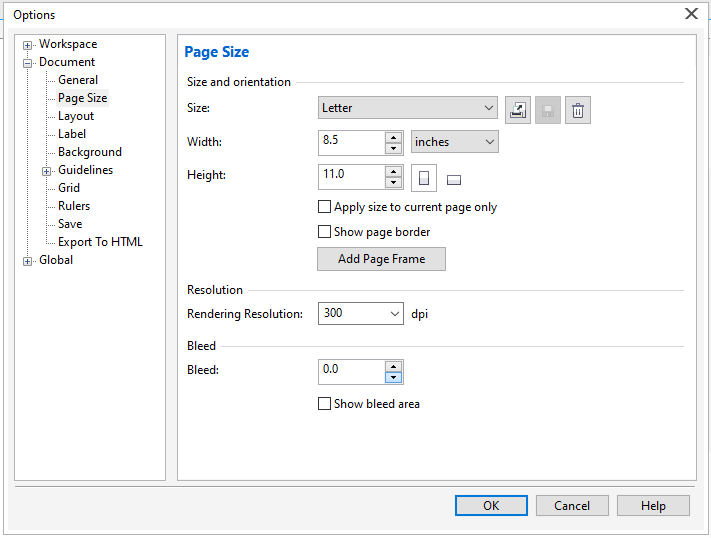
2. Implement an operation from the below tasks:
To select the layout style1. Press Layout > Page layout. 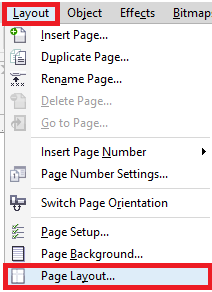
2. Select the layout style through the Layout list box within the Options dialog box. 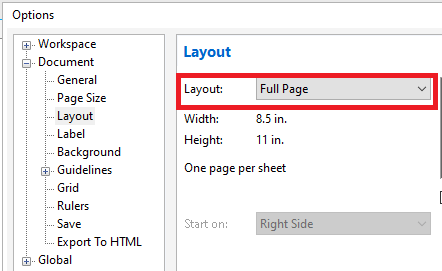
Selecting the page backgroundWe can select the type and color of the background for any drawing. We can apply any solid color when we wish the uniform background. When we wish a dynamic or intricate background, we can apply the bitmap. A few bitmap examples contain clipart, photographs, and textured designs. If we select the bitmap as a background, it will be embedded by default inside the drawing. When we no longer require any background, we can also remove it at any time. To apply any solid color for the background1. Press Layout > Page background. 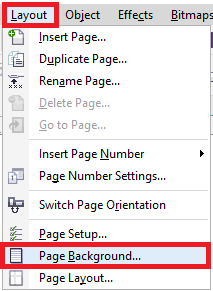
2. Select the Solid 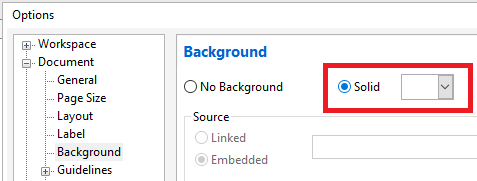
3. Press the color picker, click on any color. 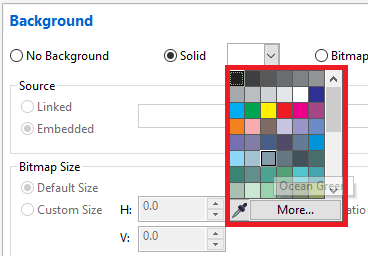
To apply a bitmap for the background1. Press Layout > Page background. 2. Select the Bitmap 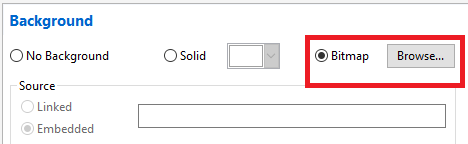
3. Press Browse. 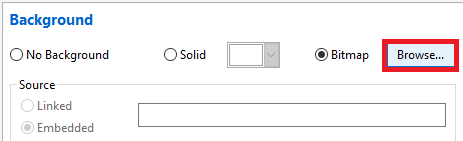
4. Place the folder where the file has been stored. 5. Double-click on the filename. 
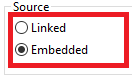
6. Enable anyone from the below options within the Options dialog box:
7. Select anyone from the below options:
To remove the background1. Press Layout > Page background. 
2. Select the No background 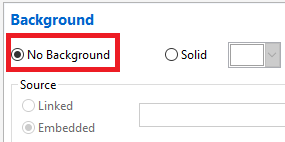
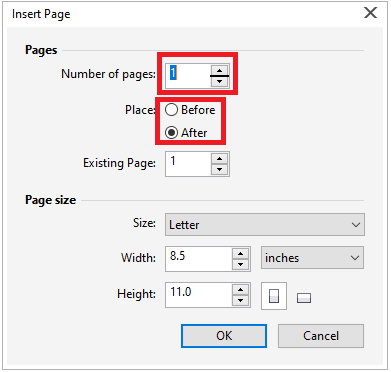
Inserting, renaming, deleting, and duplicating pagesCorelDRAW allows us to insert pages into the drawings. It allows us to duplicate the existing pages. Also, we can delete all the pages or an individual page and rename pages. We can move the objects from a single page to other pages. If we duplicate the page, we can select to copy the structure of the layer of a page only or for copying various layers and each of its objects they include. To insert the page1. Press Layout > Insert page. 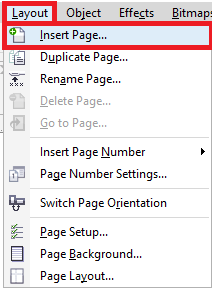
2. Fill the page's number we wish to insert in the box, i.e., Number of pages within the Pages area. 3. Select anyone from the below options to place any new page after or before a current page:
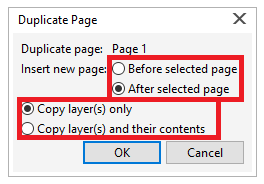
To duplicate the page1. Press Layout > Duplicate page. 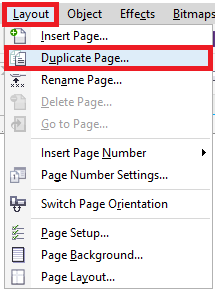
2. Select anyone from the below options within the Insert new page place of the dialog box, i.e., Duplicate
3. Select anyone from the below options at the dialog box's bottom area:
To rename the page1. Press Layout > Rename page. 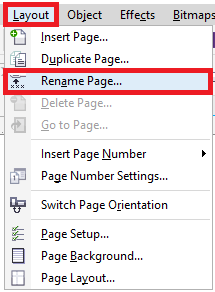
2. Fill the page's name inside the Page name box. 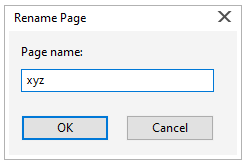
To delete the page1. Press Layout > Delete page. 
2. Fill the page's number that we wish to delete inside the dialog box, i.e., Delete page. 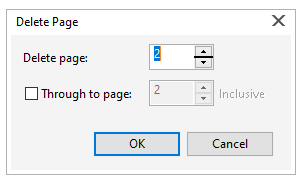
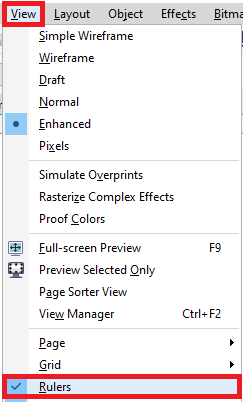
Ruler usageWe can show rulers inside the drawing window for supporting us to align, size, and draw objects precisely. We can move the rulers to other positions or hide the rulers inside the drawing window. Also, we can customize the settings f rulers to suit our requirements. To display or hide the rulers
To customize the settings of the rulers1. Press Tools > Options. 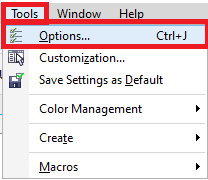
2. Within the Document list of categories, press Rulers. 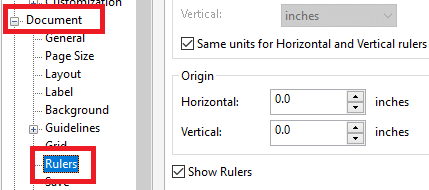
3. Within the Units area, select the unit of measure through the Horizontal list box. 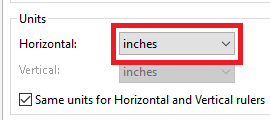
4. Within the Origin area, fill the values inside the below boxes:
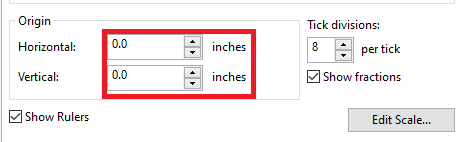
5. Fill the value inside the Tick divisions 
Document grid settingsThe document grid can be defined as the series of various non-printing intersecting lines that we can show inside the drawing window. We can use any document grid to position and align objects precisely. To hide or display the document grid
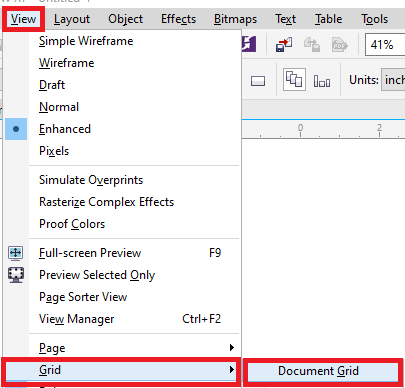
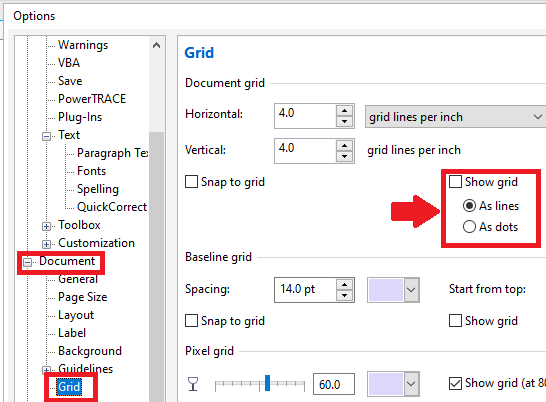
Grid display settings1. Click on the Tools > Options. 
2. Inside the Document list of categories, press Grid. 3. Select the Show Grid checkbox, and choose anyone from the below options:
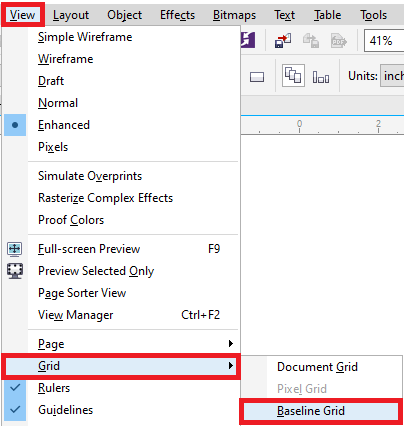
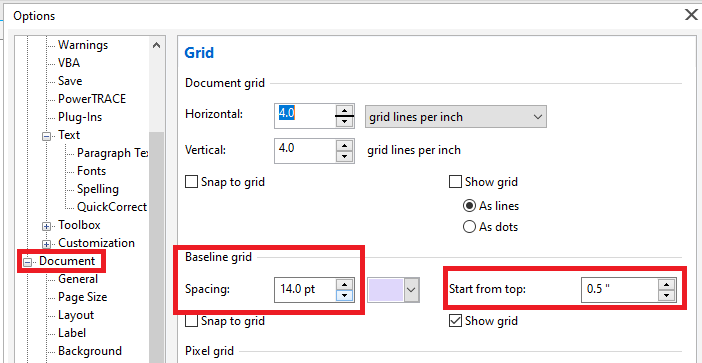
The baseline grid settingsThe baseline grid's guides run across any drawing page. It follows the ruled notebook's pattern. We can hide or display a baseline grid, change any grid color, line spacing setting, and turn snapping off or on. The line spacing by default is 14 pt. To hide or display the baseline grid
The Baseline grid color and spacing settings1. Press Tools > Options. 
2. Within the Document list of categories, press Grid. 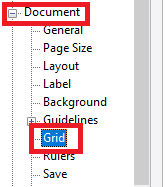
3. Implement anyone task from the below tasks:

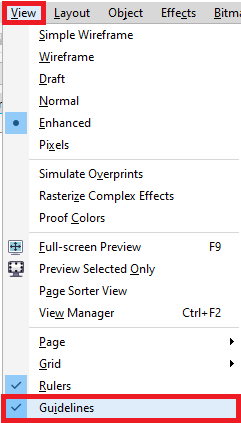
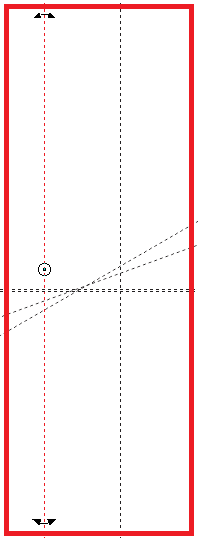
Guidelines settingsGuidelines are the lines that could be positioned anywhere within the drawing window. Guidelines are also called guides in a few applications. Guidelines can be categorized into three types: angled, vertical, and horizontal. Also, we can apply various objects the same as the guides. To hide or display the guidelines
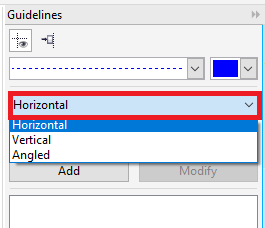
To insert a vertical or horizontal guidelines1. Press Window > Dockers > Guidelines. 
2. Within the Guidelines type list box, select anyone from the below options:
3. Describe the guideline's location inside the y or x 4. Press Add. 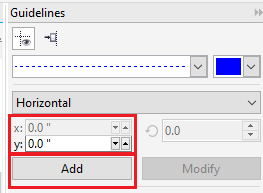
To insert any angled guidelines1. Press Window > Dockers > Guidelines. 
2. Within the Guidelines type list box, select Angled. 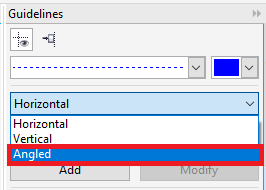
3. Describe the guideline's location inside the y or x 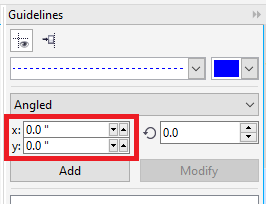
4. Fill the value inside the Angle of rotation 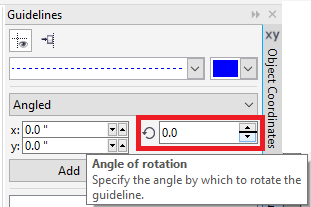
5. Press Add. 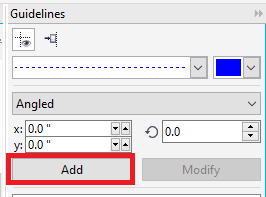
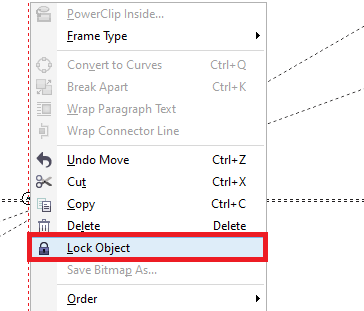
Changing the guidelinesAfter we insert any guideline, we can choose, rotate, lock, or move it in position. Also, we can modify the guideline's color and line style. To choose any guideline
To unlock or lock any guideline
Guideline color and line style setting1. Press Window > Dockers > Guidelines. 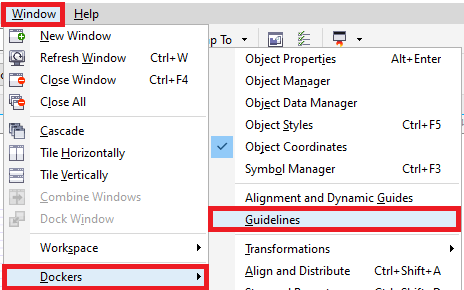
2. Open a Guideline color picker, and select the guideline color. 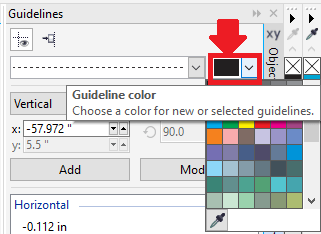
3. Open a Guideline style picker, and select the line style. 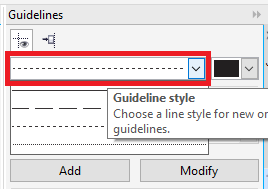
The drawing scale settingsWe can select the custom or preset drawing scale; hence the distances are proportionate in the real world within the drawing. The drawing scale (preset) enables us to fix any typical scale, like 1:10 or 1:2. The drawing scale (custom) enables us to fix the distance over a page to correspond in the distance of the real-world. The drawing scale is particularly helpful when we are creating any architectural or technical drawing along with the dimension lines. To select the drawing scale (preset)1. Press Tools > Options. 2. Within the Document list of categories, press Rulers. 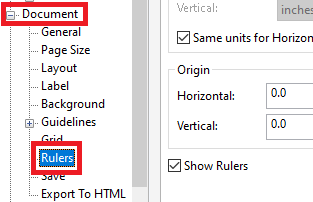
3. Press Edit scale. 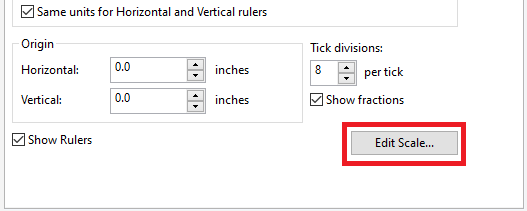
4. Select the drawing scale through the list box, e., Typical scales. 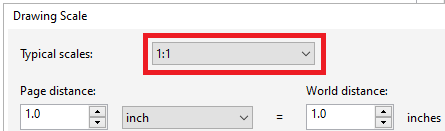
Next TopicWorking With various layers
|
 For Videos Join Our Youtube Channel: Join Now
Feedback
- Send your Feedback to [email protected]
Help Others, Please Share


