| |

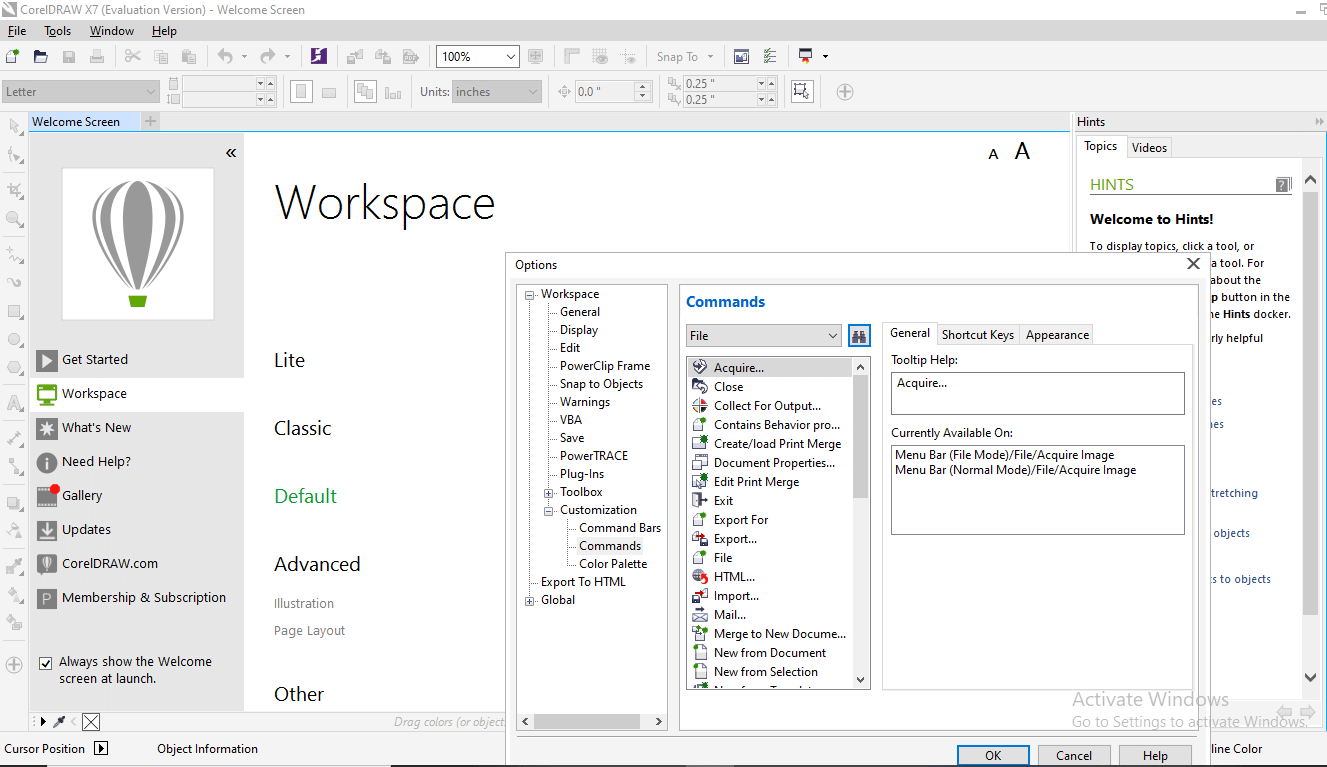
CorelDRAW Workspace CustomizationWe will define some essential ways for CorelDRAW workspace customization that most of our usable tools will be right at our fingertips. Let's begin by defining where the customization options places are inside the CorelDRAW. Go to Tools > Customization. Inside this option's dialog box, we will see a Customization division inside the left side menu. It is where we control what kinds of toolbars are shown. We will also add Commands (buttons) to the Command Bar (toolbar). 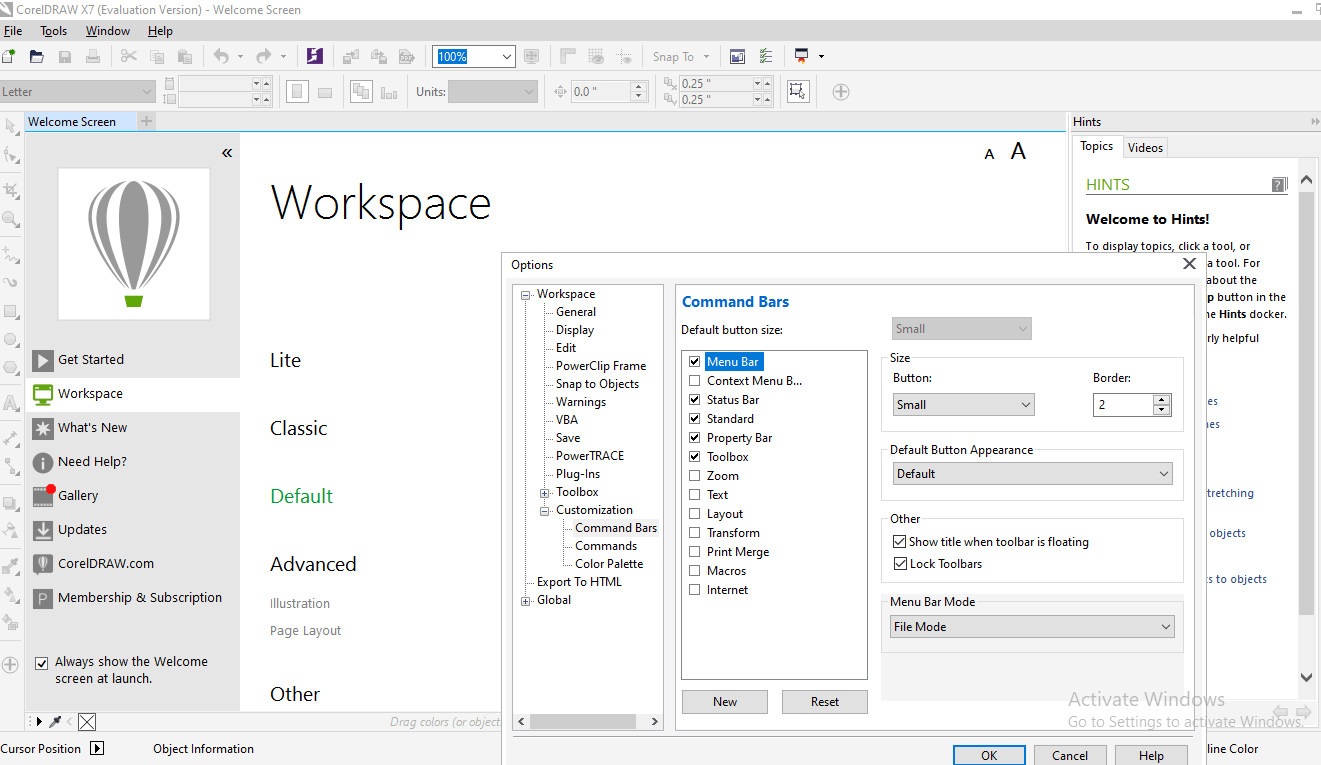
New Workspace CreationWe will have to create any newer workspace because it is an initial step for CorelDRAW workspace customization. Inside the dialog box of Customization Options:
Our workspace must have now any checkmark alongside it, illustrating it is a workspace that is in use. New Toolbar CreationIn this division, we will design the custom toolbar (known as Command Bar also).
Somewhere inside the workspace, our newer toolbar will have appeared, although it could be complex to see as it is any tiny box along with X in the right corner's top. We should move the dialog box of Options to a side and click on OK for closing it in an order to define the newer toolbar. We can drag this toolbar everywhere we wish inside the workspace. We suggested left it floating over the page's left side while we include the commands into it. We can dock it later. 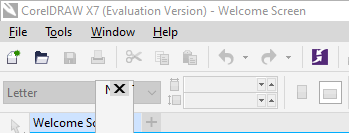
Docking our ToolbarWe can dock our toolbar inside the Property Bar on the interface top.
Note: If we wish to move our toolbar to other spots, right-click on any tool and then uncheck the Lock Toolbars. A dotted gray line will present, illustrating that we can move our toolbar now.When we insert any tollbar to a Property Bar, our workspace may compress the tools. We will detect two tiny right-side pointing arrows. It defines there are some more tools which are not shown. We can expand our toolbar by dragging a thin line to the right side until every button will be visible. Substituting toolbar icons to CaptionsWe can turn our most widely used icons of toolbar into some captions (also called tool names), thus we can efficiently identify them. We will apply Ungroup and Group, as an illustration, although we require to create a few objects, we could group, in an order to enable them to display up. Activate the tool Rectangle and make three rectangles over the page anywhere. Activate the tool Pick and lasso these rectangles thru designing the marquee over them. Right-click over the button Group objects and select Customize > Toolbar element > Caption Only. We will see a Group object caption rather than the button. Click over it to a rectangle the group together. Repeat this creating caption process to the Ungroup All and Ungroup buttons. Saving Our Custom WorkspaceOnce we have finished various modifications for CorelDRAW workspace customization, it is essential to store it, thus we could reload it anytime or can share it with other users. Go in Tools > Customization. Our newer workspace must have a check along with it, illustrating that the workspace is in the use. Click the button Export. 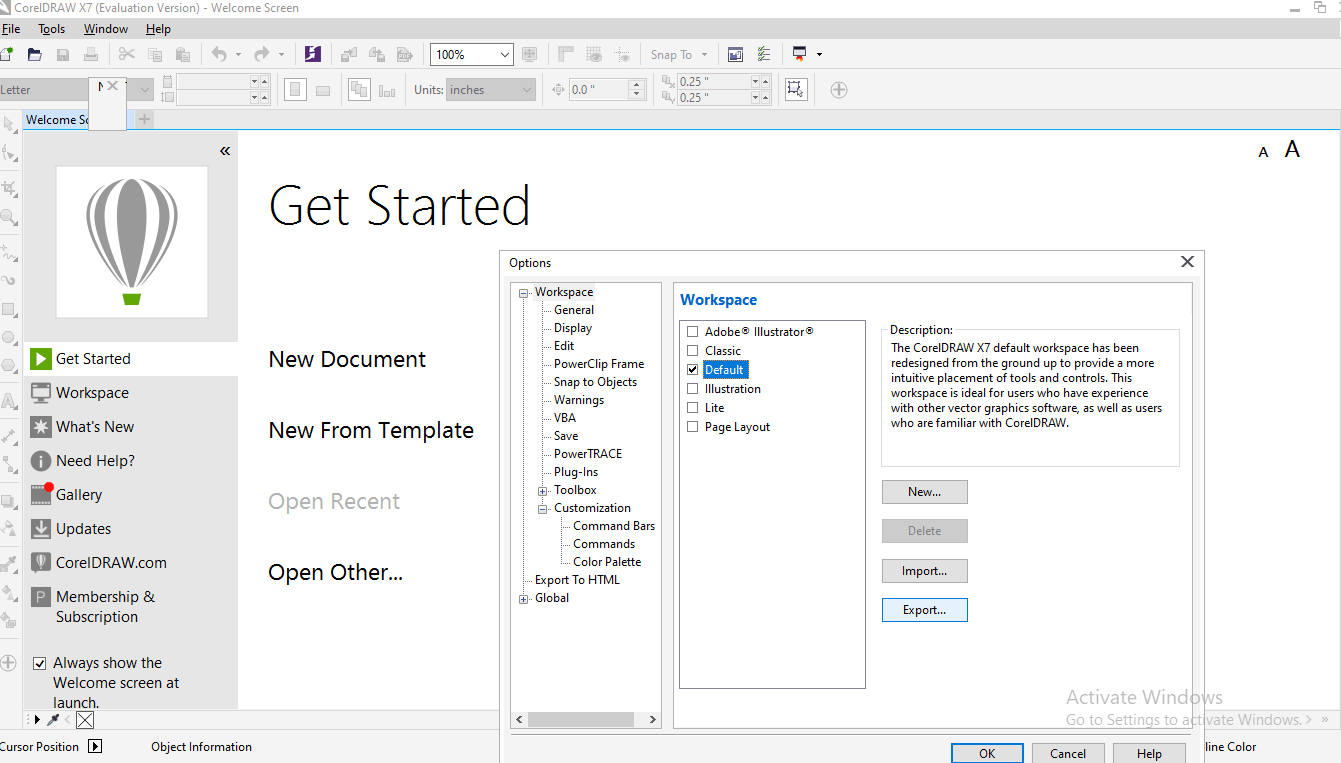
We will get an option to choose which of the workspace items we wish to export. After that select, any location on our system to store it, enter the name of the file, and click on the Save. 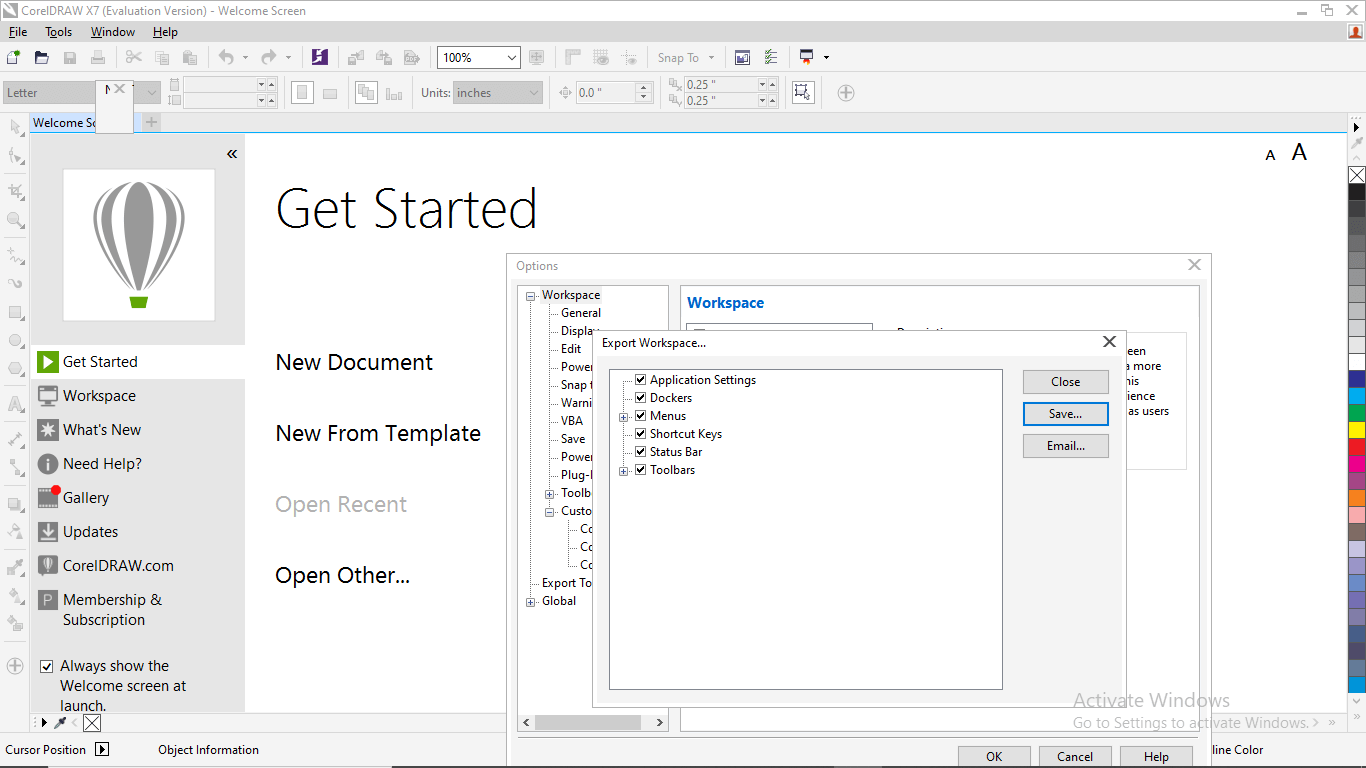
If we require to reinstall our workspace, go in tool > Customization and then click over the workspace. After that click on the button import and browser to our stored workspace, choose it, and press Open. Select the workspace items to import. In case, if we wish to import within any current or new workspace, then press on import. Now we are familiar with a few ways to CorelDRAW workspace customization. We can make any workspace that can put our favorite tools on our fingertips and grow up our workflow efficiently.
Next TopicCorelDRAW Drawing Shapes
|
 For Videos Join Our Youtube Channel: Join Now
Feedback
- Send your Feedback to [email protected]
Help Others, Please Share


