| |

Crash Report in Firebase CrashlyticsIn our previous section, we learned about Firebase Crashlytics and how we can set up and configure it with our application. Now, we will test our Firebase Crashlytics implementation. So we have to set up the app for the crash to happen in order to know the Crashlytics is working properly. Firebase Crashlytics provides four logging mechanisms for giving more insight into crash reports. These mechanisms are:
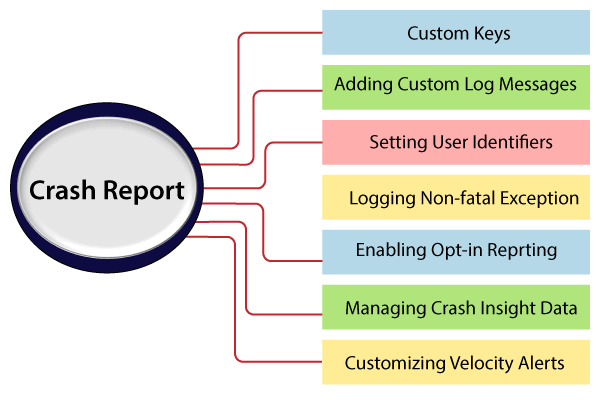
Custom KeysCustom keys help us to get the specific state of our app, leading up to a crash. Custom keys associate arbitrary key/value pairs with our crash reports and see them in the Firebase console. There are five methods to set keys, and each of them handles a different data type. Re-setting a key updates its value: Adding Custom Log MessagesWe can add custom Crashlytics logs in our app for giving more context for the events leading up to a crash. It associates the logs with our crash data and makes them visible in the Firebase console. We can write logs to a crash report with the Crashlytics.log method and with Log.println(): Setting User IdentifiersTo diagnose an issue, it's often helpful to know which of our users experienced a given crash. Crashlytics include a way to identify users in the crash reports anonymously. For adding user IDs to the reports, we have to assign each user a unique identifier in the form of an ID number, token, or hashed value: If we ever need to clear a user identifier after setting it, reset the value to a blank string. When we clear a user identifier, it will not remove existing Crashlytics records. Logging Non-fatal ExceptionLogging non-fatal exception means that we can log caught exceptions in our app's catch blocks: All logged exceptions appear as non-fatal issues in the Firebase console. The issue summary contains all the state information which we normally get from crashes, along with breakdowns by Android version and hardware device. Crashlytics processes exception in a dedicated background thread, and the performance impacts on the app is minimal. Enabling Opt-in ReportingBy default, Firebase Crashlytics automatically collects crash reports for all app's users. We can use Opt-in Reporting by enabling more control over the data, they send. We have to disable automatic collection and initialize Crashlytics only for opt-in users. We can turn off the automatic collection with a meta-data tag in our AndroidManifest.xml file: We can enable collection for selected users by initializing Crashlytics from one of our app's activities, Fabric.with(this, Crashlytics()). Managing Crash Insight DataCrash Insights let us resolve the issues by comparing your anonymous stack traces with those of other Firebase apps. Crash Insight Data helps in the following two ways:
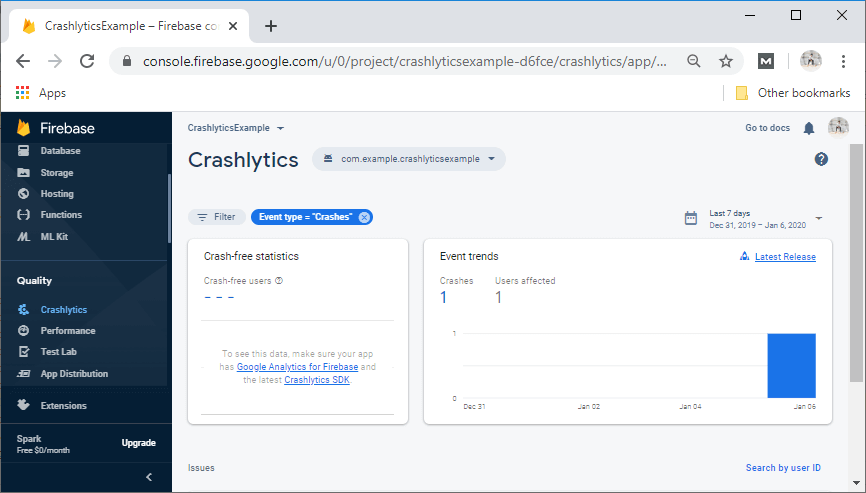
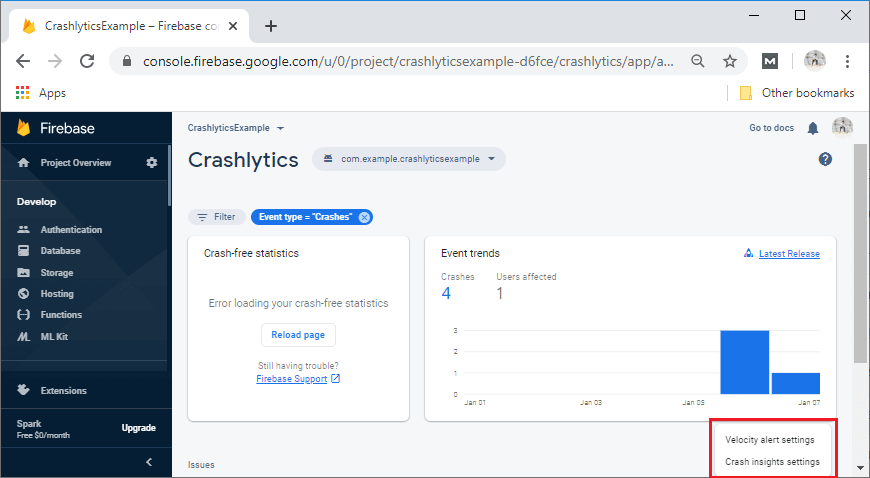
Crash Insight uses aggregated crash data to identify common stability trends. We can opt-out of Crash Insight from the Crash Insight menu at the top of our Crashlytics issue list in the Firebase console. Customizing Velocity AlertsVelocity alerts can notify our team when any individual issue is causing an urgent problem in our app. The velocity alerts are triggered when an issue in our app crosses a threshold which we had defined in the Firebase console. The threshold is defined in terms of a percentage of user sessions that were impacted by a crash, and the value is set in between 0.1% and 1% of sessions. An alert is triggered if, during a specific time period, the following are true:
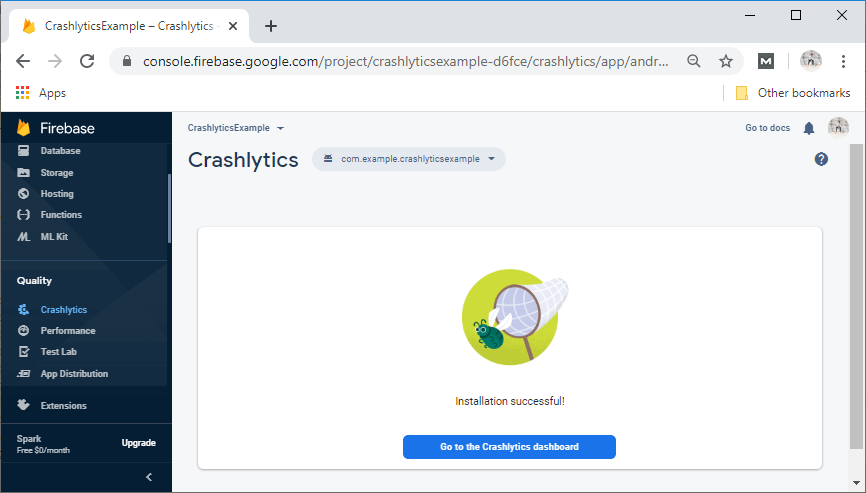
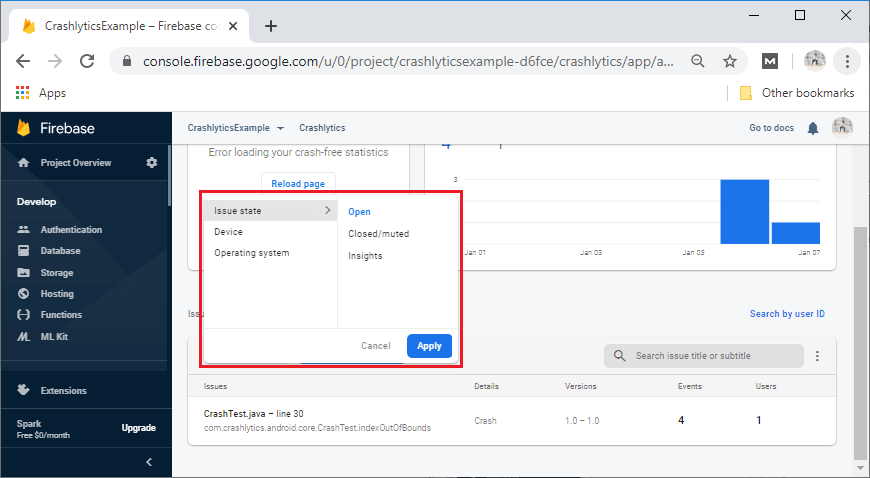
For updating velocity alerts, we must have the necessary permissions. In the Firebase console, go to Crashlytics dashboard:
We can route velocity alerts to our team using either emails or integrations. Let's see an example in which we will create an application that has a button which is going to simulate a crash. activity_main.xml 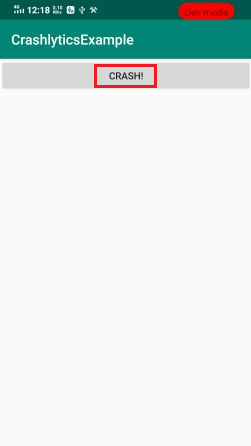
MainActivity.kt
Next TopicFirebase Cloud Messaging
|
 For Videos Join Our Youtube Channel: Join Now
Feedback
- Send your Feedback to [email protected]
Help Others, Please Share


