Create and Manage CMS (Content Management System) in Magento 2In this section of the Magento 2 tutorial, we will discuss the use of Magento 2 CMS. With the help of Magento 2 CMS, we can create new pages, widgets, and blocks for our store. We can combine these three elements to create custom static pages for products and service information.
Add New PageTo add a new page, follow the below instructions: Step 1: On the Magento 2 Admin panel sidebar, Go to CONTENT >> Elements >> Pages. 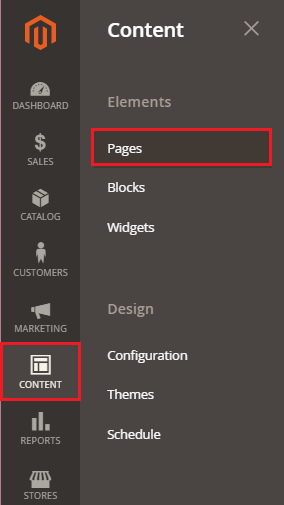
Step 2: A list of existing pages will display in front of you. Click on Add New Page button to create a new page. 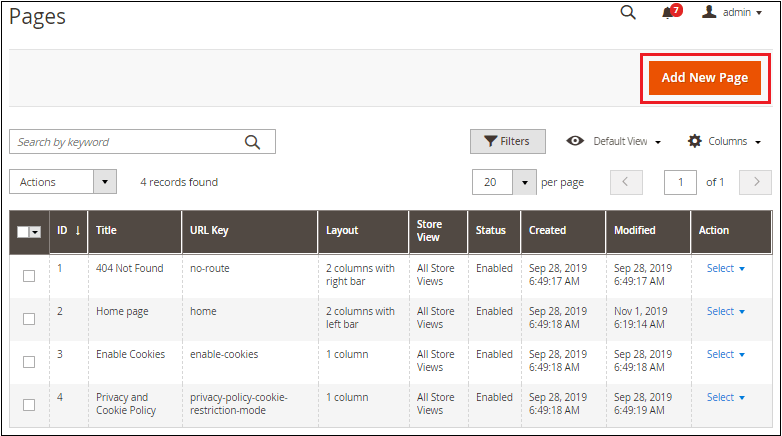
Step 3: Set the page Enabled or Disabled and provide the name of the new page in the Page Title field. 
In the Content section, enter the heading for the page and content which you want to display. You can also insert the image, table, and widgets. 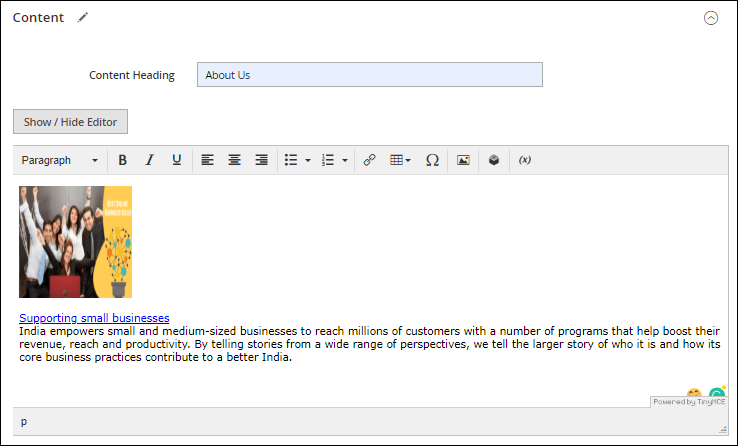
Set a URL Key for the new page. If you have not provided the URL, then it will automatically take according to the Page title and replace the spaces with a hyphen (-). 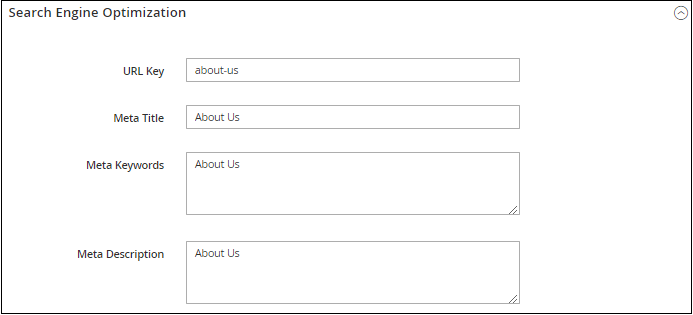
In Page in Websites section, you can also select the store views under which it will display. For a particular store, select store from here otherwise select All Store View for all stores. 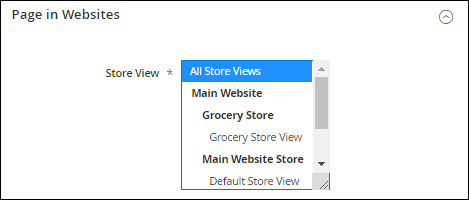
In the Design section, choose the Layout of the page. 
In the Custom Design Update section, you can set design or theme and layout for a particular date. 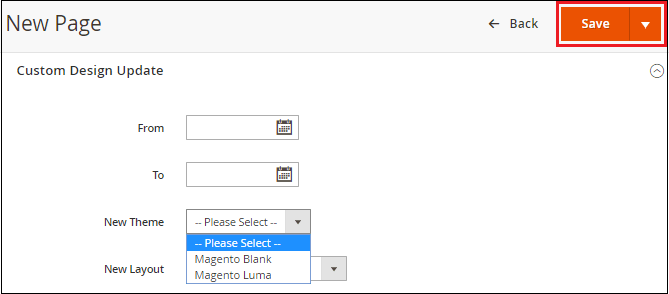
After completing all the required information, click on the Save button at the top, and continue. Note: To add a new page into a website, we need to create the block under which we will add the new page.Add New BlockBlocks are used for several purposes, such as separating product features on product pages or featuring different product categories on the homepage. To add a new block, follow the below instructions: Step 1: On the Magento 2 Admin panel sidebar, Go to CONTENT >> Elements >> Blocks. 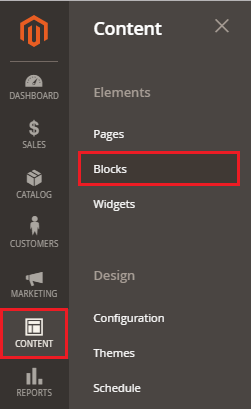
Step 2: Here, we can add a new block. Click on the Add New Block button to create a new block. 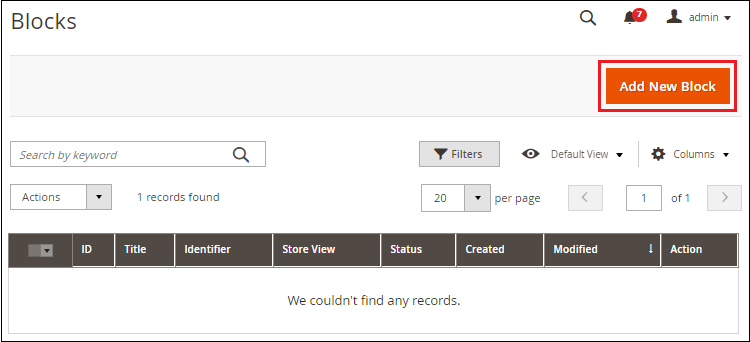
Step 3: Add all the required information here. The Identifier field is the most important field because we need this field to add our newly created block into a page. It should be unique to the block and must be created using only lowercase letters separated by an underscore instead of spaces. 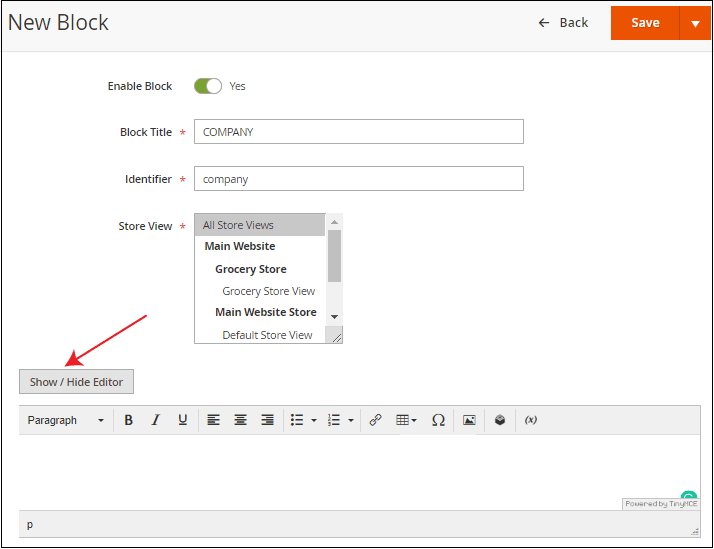
Click on the Show/Hide Editor button to create the link. When choosing this, you will see a list of additional settings like Insert Image, Insert Widget, Insert variable, etc. Step 4: Add the below code to create a link for About Us page in a block section 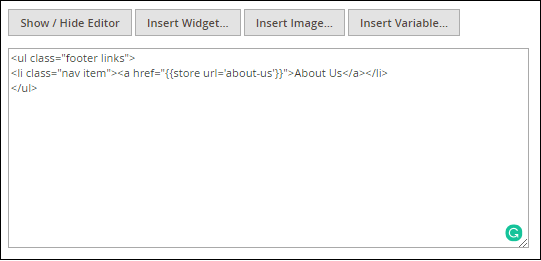
After completing all the information, click on the Save button to create the new block. To access the widget management page, follow the below steps: Step 1: Go to CONTENT >> Elements >> Widget from the left sidebar of your Magento 2 Admin Panel. 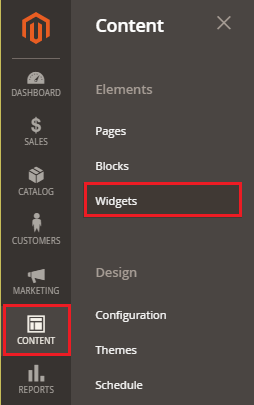
Step 2: Here, we could not find any record of the widget, as you can see in the below screenshot. We can add a new widget. Click on the Add Widget button to create a new widget. 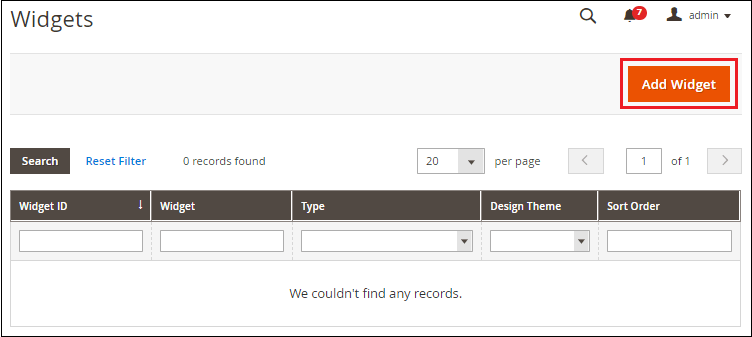
Step 3: Now, select the type of widget and design theme and click on the Continue button. 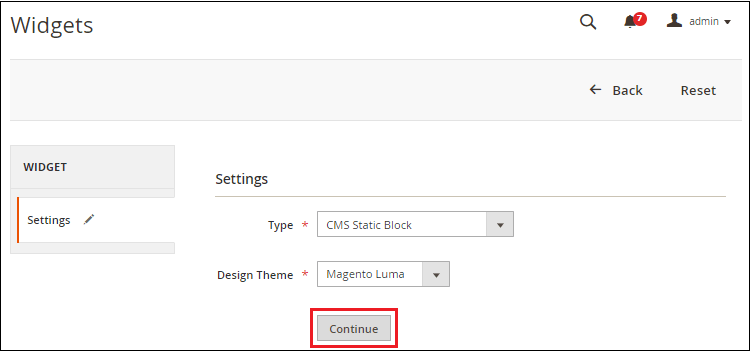
In Storefront Properties, we need to set Widget Title, and assign it to Store Views and also define the widget Sort Order. 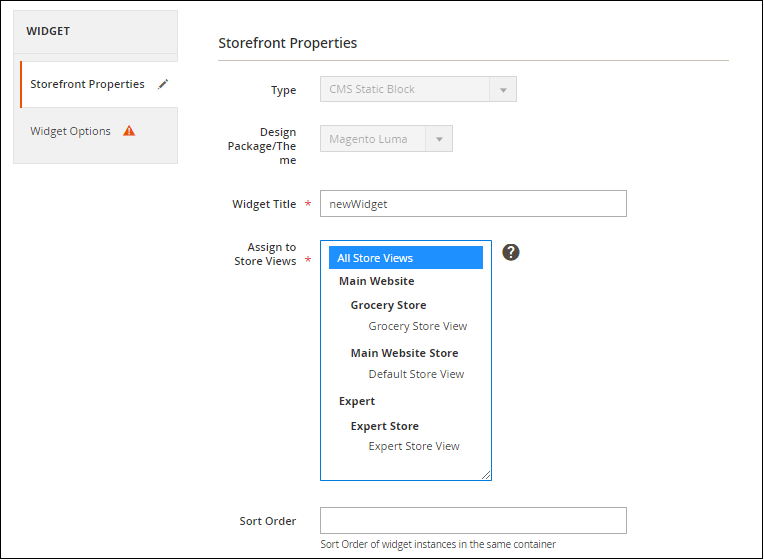
We can also update the layout for the widget from the Layout Updates section below the Storefront properties. Click on the Add Layout Update button to add a layout. 
Choose the Display on and Container, on which the block will be displayed. 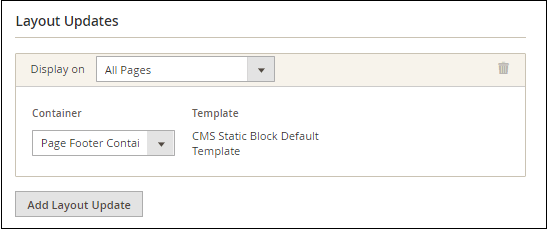
Now click on the Select Block button inside the Widget Options section on the left below the Storefront Properties. 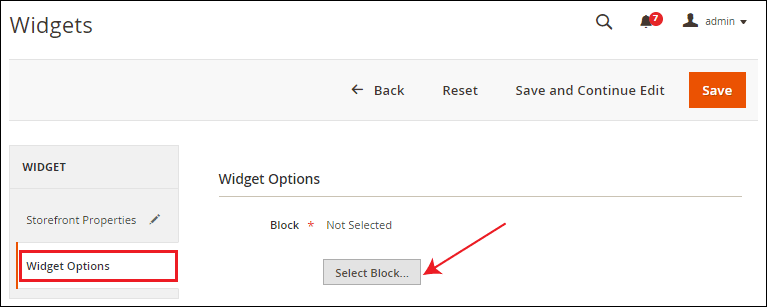
Add the Block from here, which we want to display on the frontend. Here, we select the COMPANY block to add in a widget. 
Now, you can see in the below screenshot that the COMPANY block is added. When everything is done, click on the Save button to save the Widget. 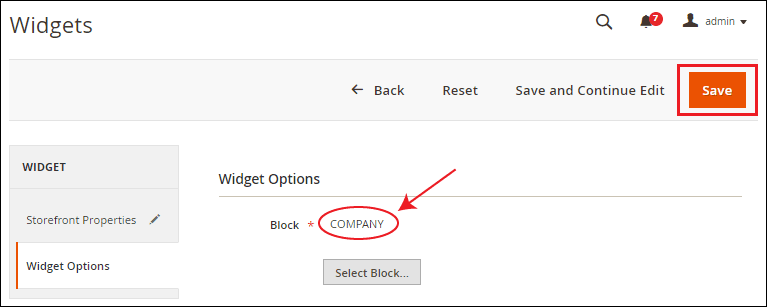
Refresh the frontend of the website where you can see that the About Us page is added in the footer. 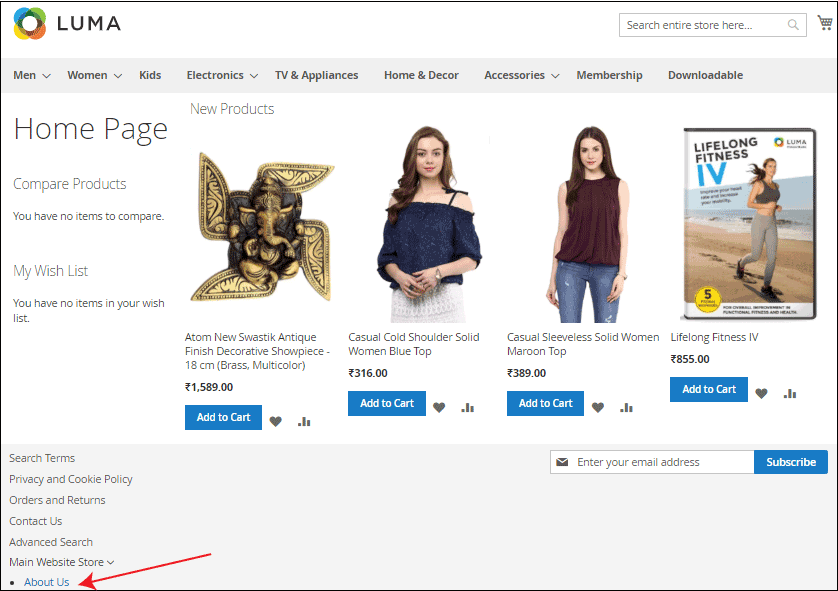
Note: If the About Us page link does not appear on the frontend, clear the Magento Cache, and then refresh the frontend of the website again.Click on the About Us link to see how it is visible. 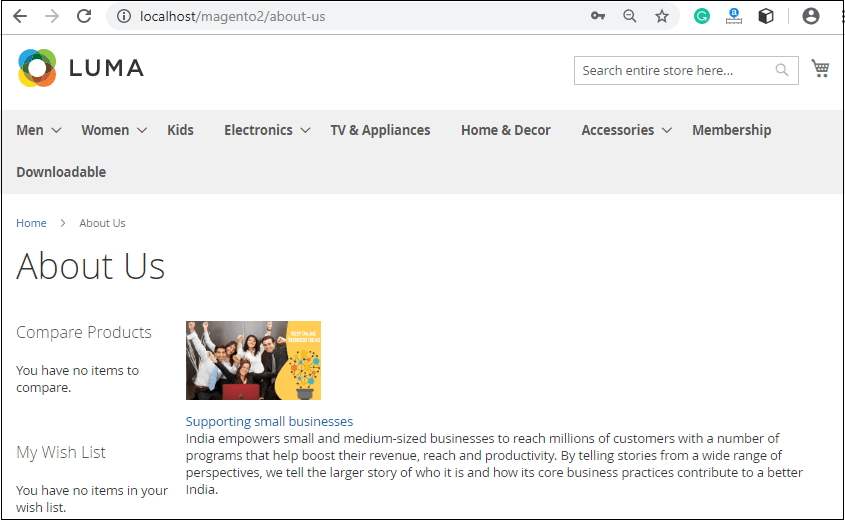
Next TopicInventory Management in Magento 2
|
 For Videos Join Our Youtube Channel: Join Now
Feedback
- Send your Feedback to [email protected]
Help Others, Please Share


