| |

Creating thumbnailsIn our previous section, we learned about the options for taking the pictures and how we can take the pictures using PhoneGap. In this section, we will learn about how we can create thumbnails with our images. It is very easy to create thumbnails using PhoneGap. We will use our previous example and make some changes to it. These are the following steps used to obtain the image using PhoneGap: 1) Create index2.htmlWe will create a new file index2.html with the same code as preset in the index.html. We will make changes later in index2.html file not in index.html. 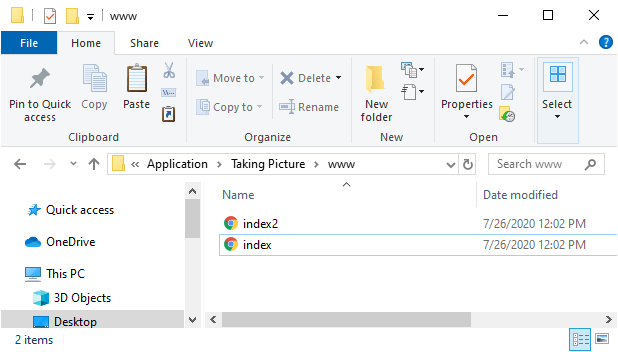
2) Create checkboxesNow, we will create checkboxes for thumbnail and high quality. If the user will check the thumbnail checkbox and take a picture from camera using PhoneGap then the picture will be shown as compressed picture. If the user will check the high quality checkbox and the take a picture from camera using PhoneGap then the picture will be shown as high quality picture. We will use the <input></input> tags for creating checkboxes and give labels to it in the following way: 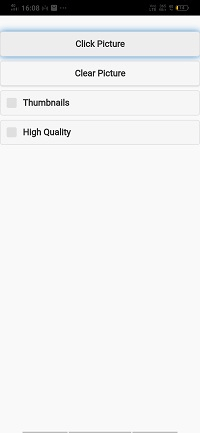
3) Make changes in takePic function.Now, we will convert the image either into a thumbnail or high quality. We will use the JQuery for this purpose. If the Thumbnail checkbox is checked, the width will set the width to 150 and height to 100. This will create the thumbnail of the picture. If the "high quality" checkbox will be checked, we set the quality option to 90. These conditions are added below the options and above the getPicture() function. Now, we are ready to run our project on the PhoneGap Developer App. Complete ProjectOutput 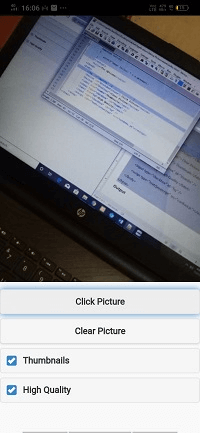
Next TopicSelecting picture from library
|
 For Videos Join Our Youtube Channel: Join Now
Feedback
- Send your Feedback to [email protected]
Help Others, Please Share


