| |

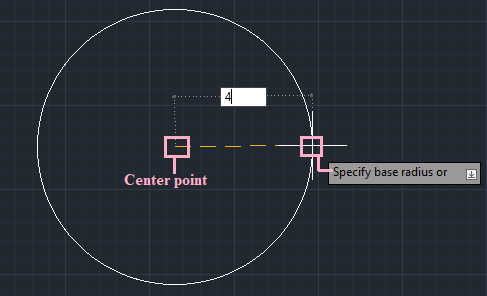
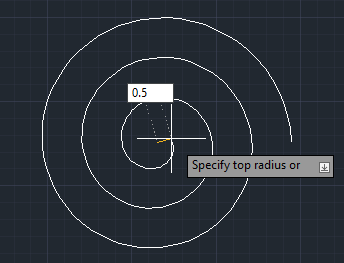
Donut and Helix in AutoCADDonutThe donut is defined as a solid-filled circle or filled ring object. It consists of polyline connected end to end in a circular shape. We are required to specify the inside and outside diameter that determine the width of the donut. The donut with specified input and output diameter will look like the below image: 
If we want to create a solid filled circle, we need to specify the inside diameter of 0, which will look like the below image: The donut with specified input and output diameter will look like the below image: 
The donut command in AutoCAD is used to create a donut-shaped object, which can be used in different ways in a drawing, like the wheel of four-wheelers, design circuits, etc. Consider the below image: 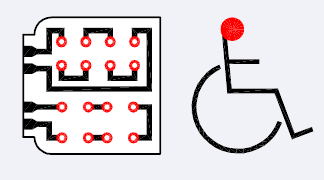
The above image displays how donut can be used. Let's understand by an example. The steps are listed below:
The created donut is shown below: 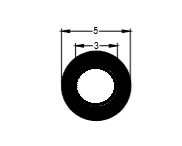
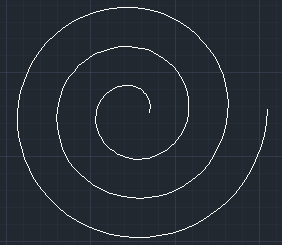
HelixThe helix is defined as the 2D or 3D spiral structure. It is also used to create threads, circular stairways, and springs. We are required to specify a center point, radius, and base of the helix in 2D. In 3D, we are required to specify a center point, radius, base point, and height of helix. Consider the below image: 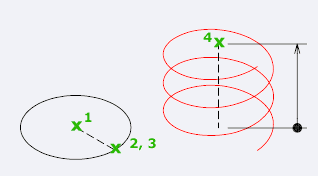
It signifies the points required to create a helix. Let's understand with an example. The steps are listed below:
Next TopicAutoCAD Trim and extend
|
 For Videos Join Our Youtube Channel: Join Now
Feedback
- Send your Feedback to [email protected]
Help Others, Please Share


