| |

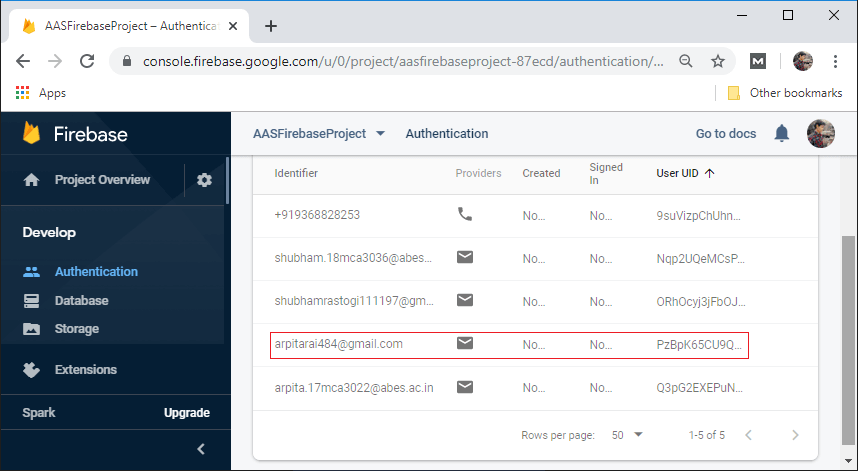
Firebase UI: Authentication using email linkIn the previous section, we learned how we could use Firebase UI libraries to provide email, phone, and Google authentication. Similarly, we will learn how we can use Firebase UI libraries to provide email link/no password authentication. So let's see the step by step process to understand how we can perform authentication using email link/ no password. These steps are as follows: Step1: In the first step, we will create a new project and add Firebase to it using any of the methods either from manually or Google Assistance. For connecting Firebase to the project, please go through the following link: https://www.javatpoint.com/adding-firebase-to-app. Step 2: After connecting Firebase to our application and applying plugins, we have to enable email link authentication in Firebase console. 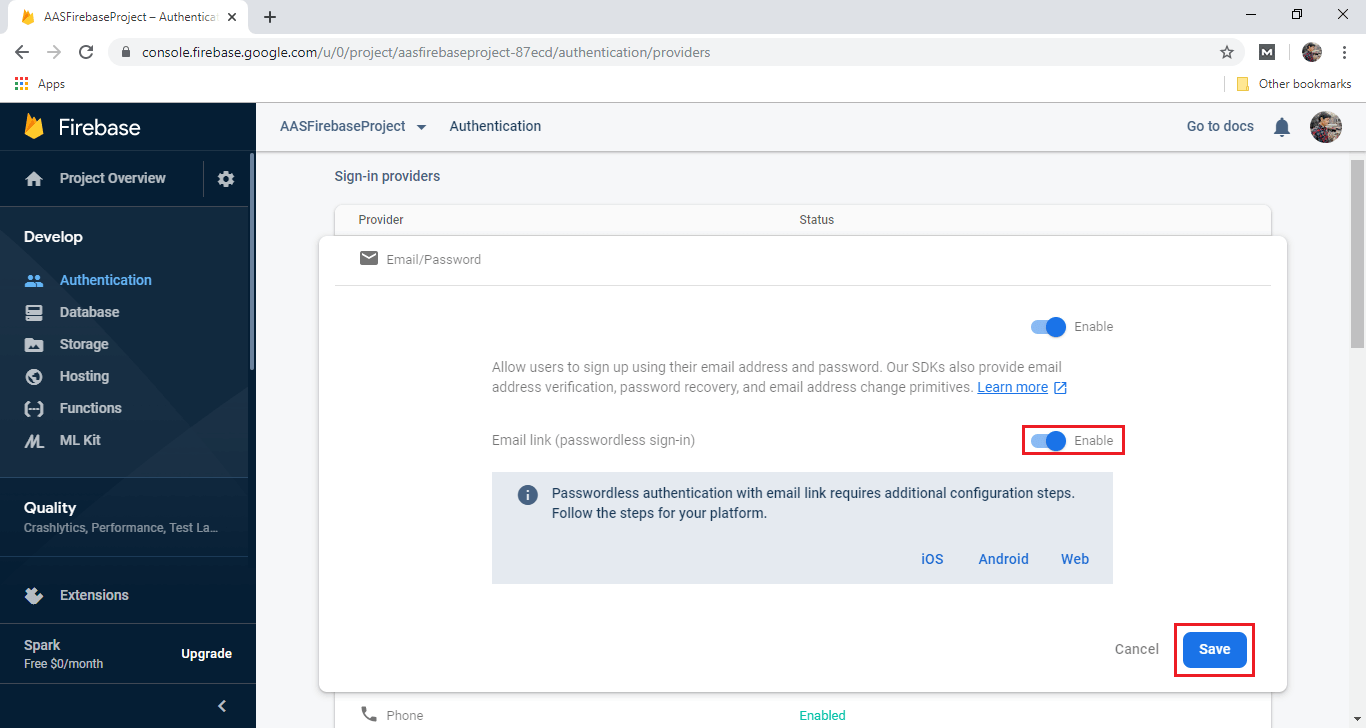
Step 3: In the next step, we will enable the dynamic links for the email link. For this, we need to add a link. So just click on get started. 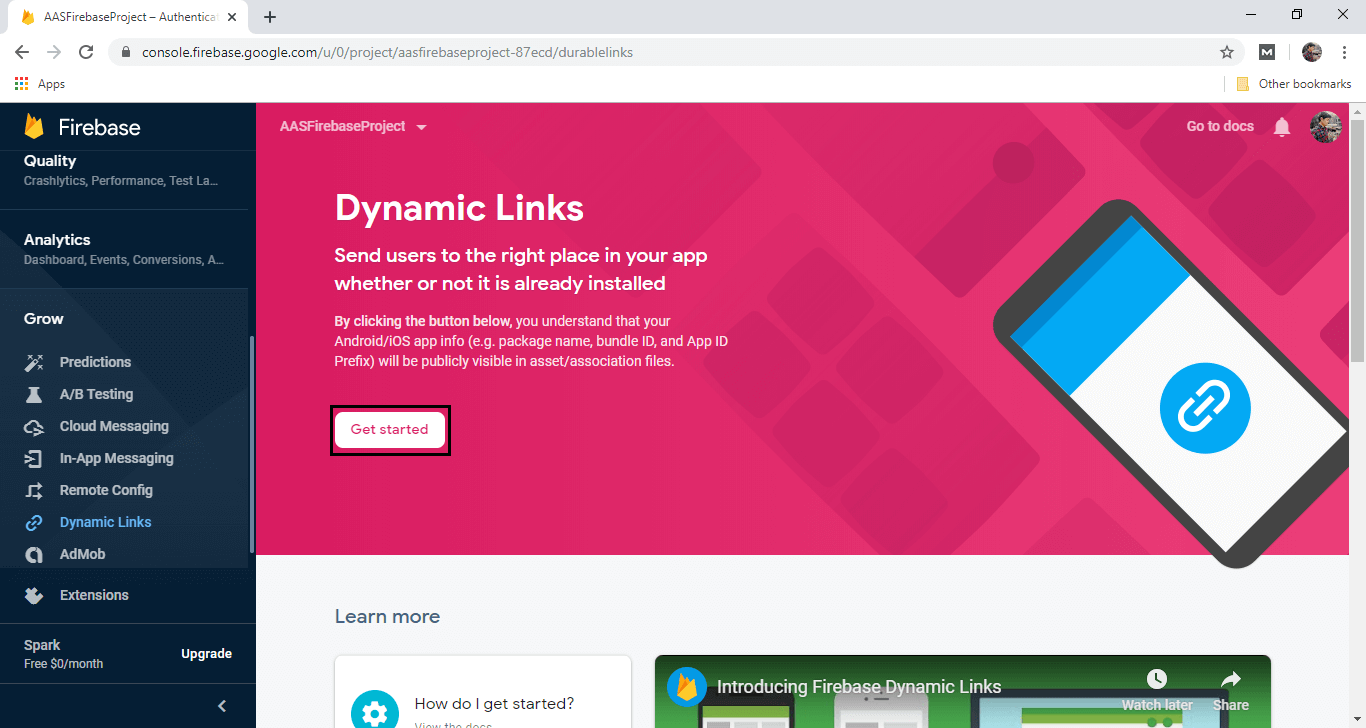
After clicking on get started, a new pop up box will be shown. Add a URL prefix and ensure that the page link has not been used in the past. 
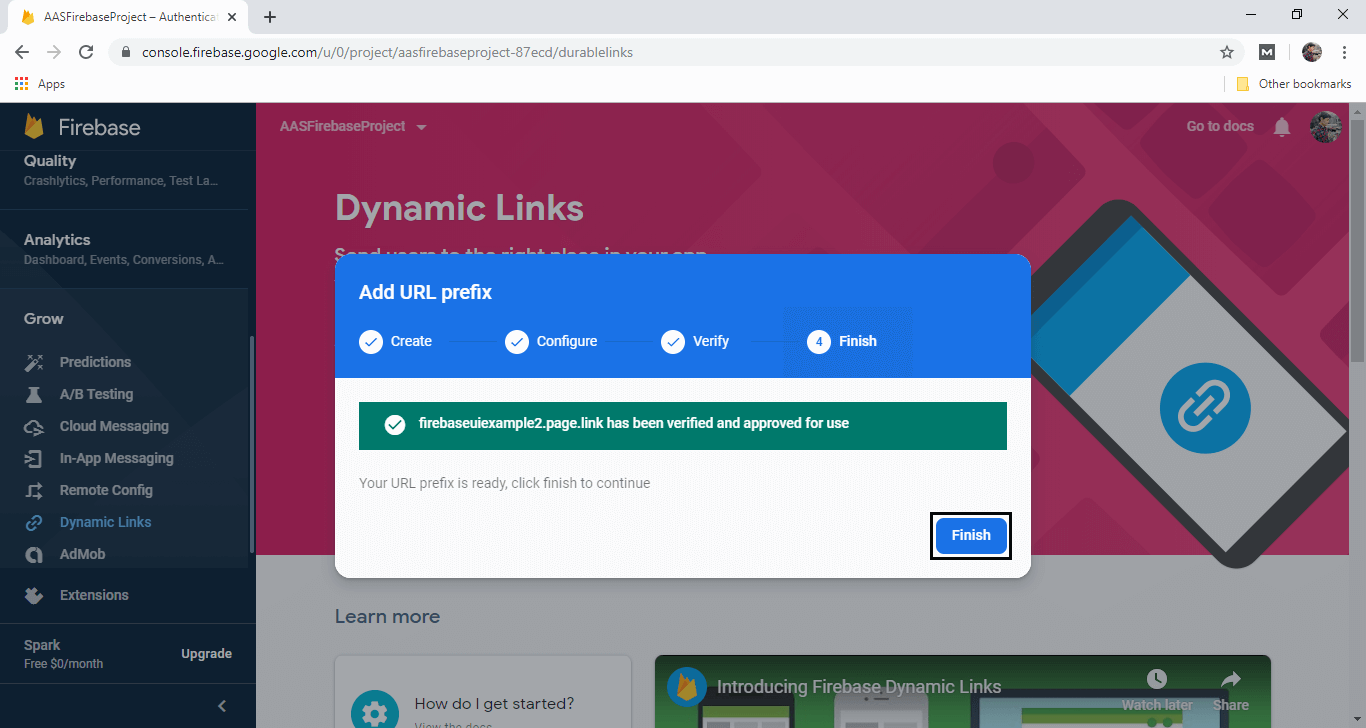
After clicking on Finish, the dynamic link will be created successfully 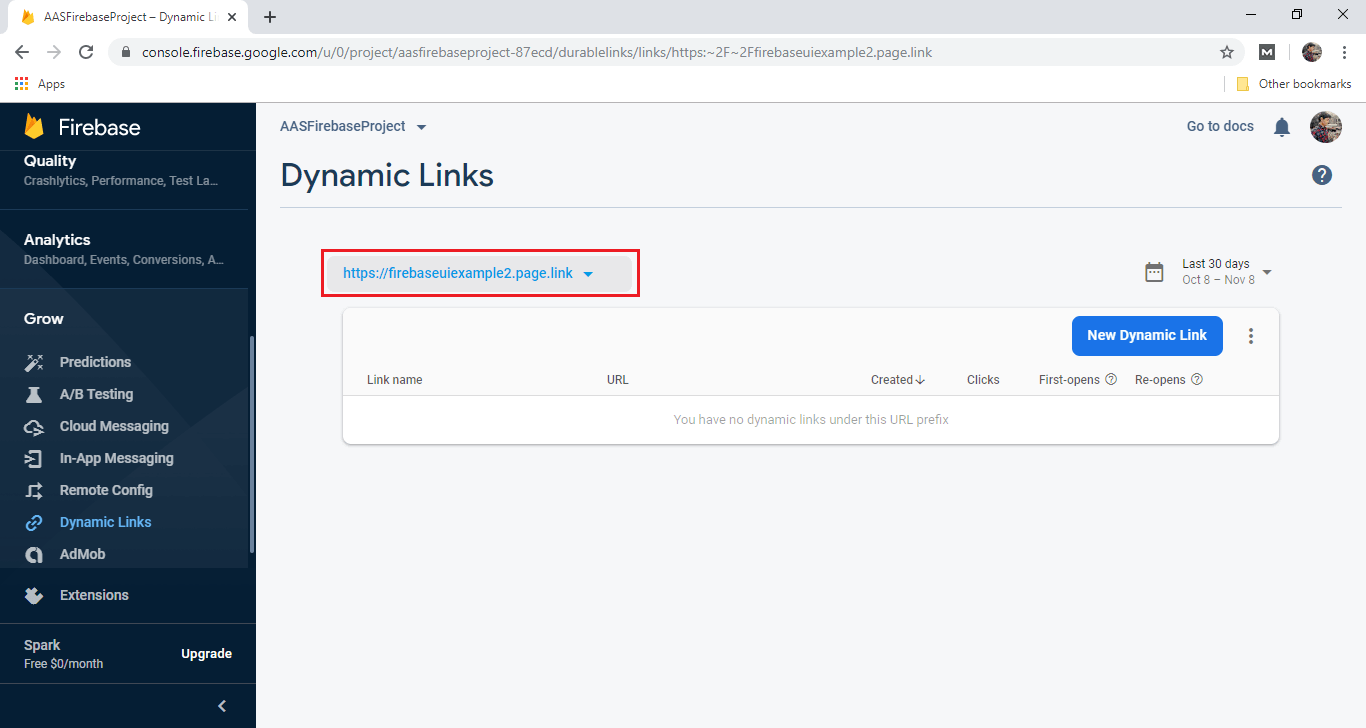
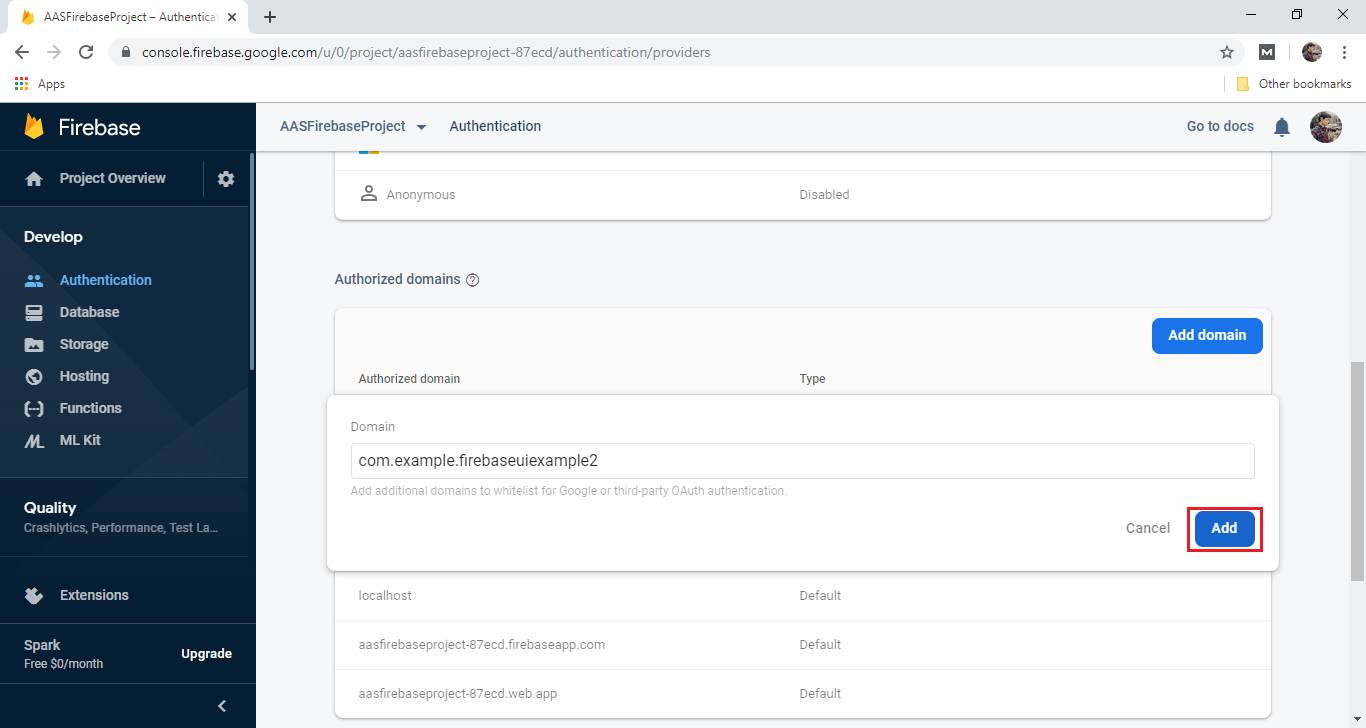
Step 4: The next thing we need to do is, we will add the domain to the authentication. 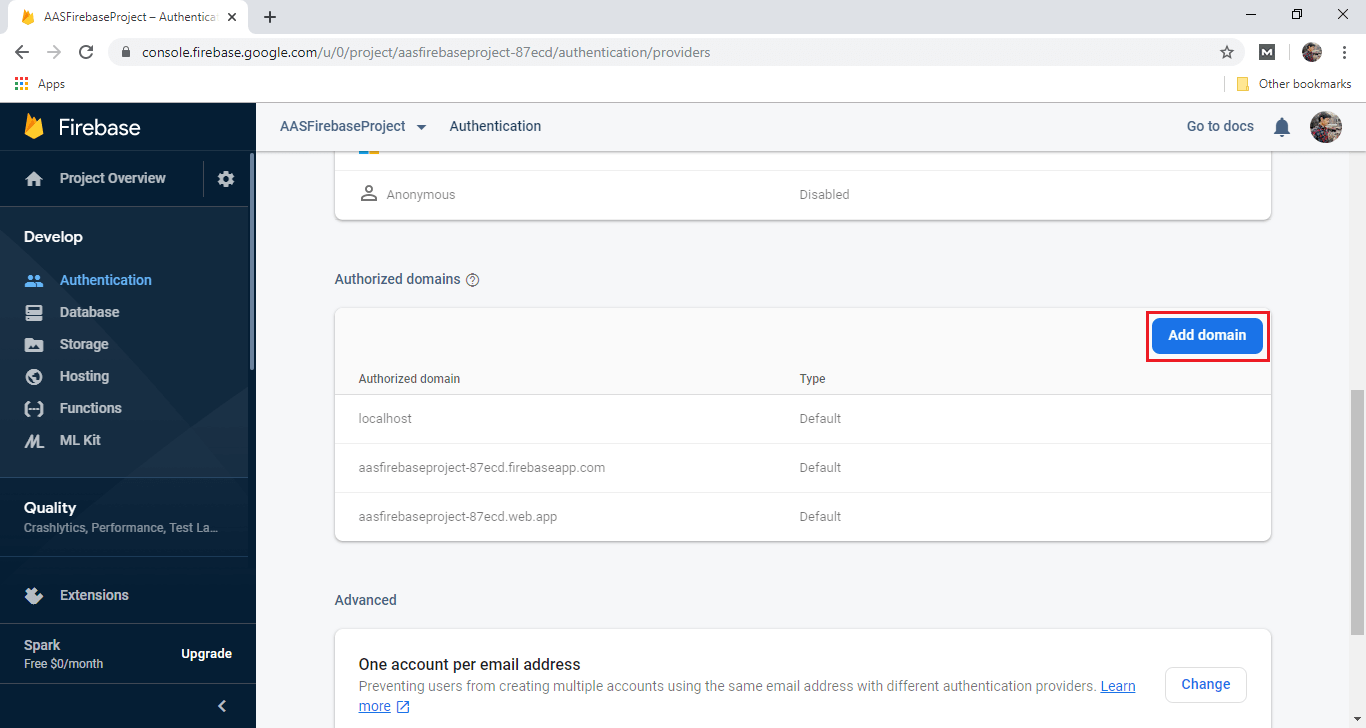
The domain will be matched with our code, which we will add in the firebase console./p>
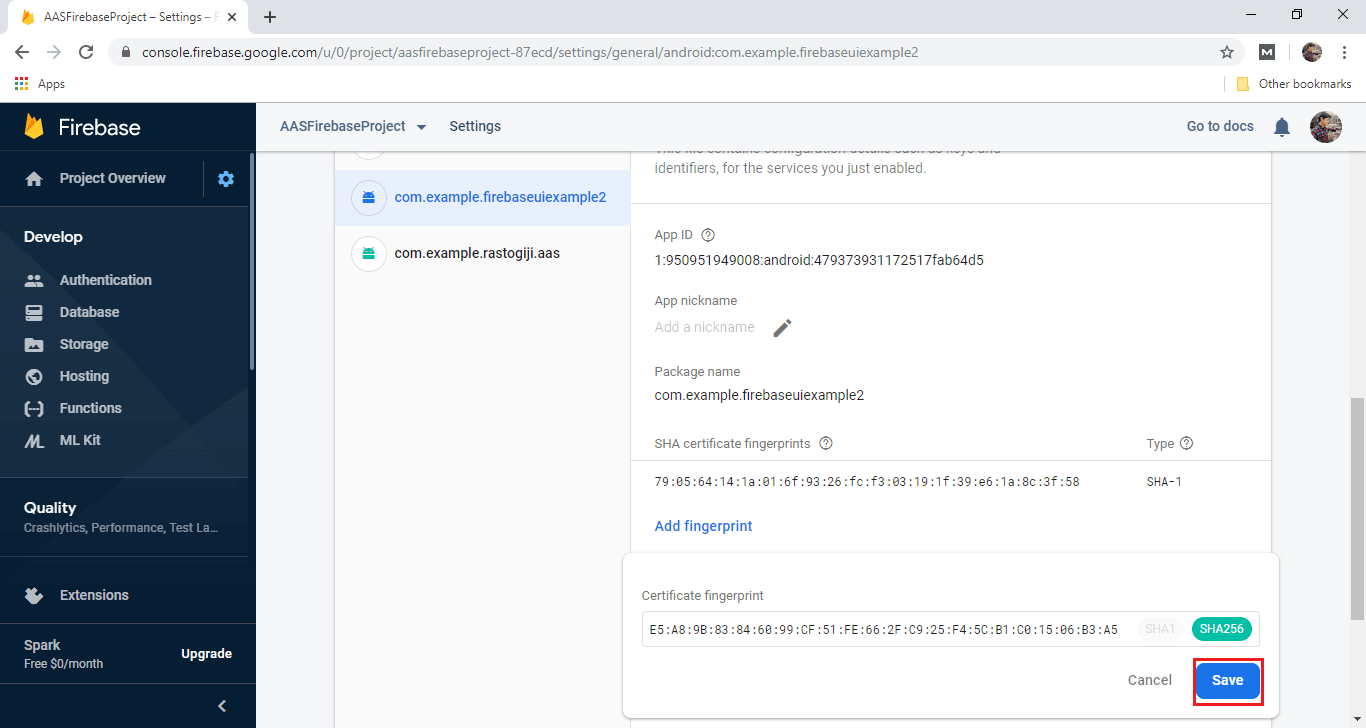
Step 5: The last thing we need to do for setting up the dynamic links in order to be able to catch the link is to set SHA-1 and SHA-256. To understand how these keys can be found, click here. We will go to the setting of our project and click on Add fingerprint. This will be used for adding both SHA-1 and SHA-256. 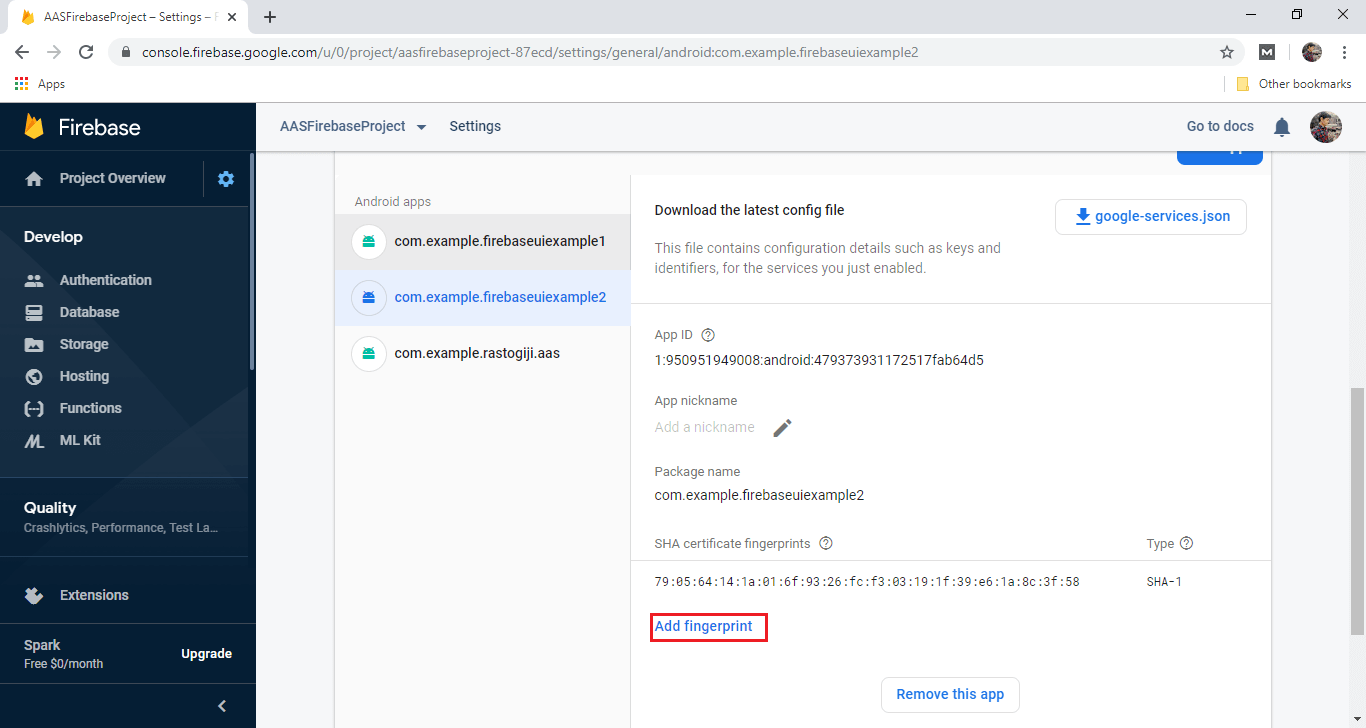

Step 6: In the next step, we will go to the Android Studio and create an activity for sign-in i.e., an activity with a single button. Step 7: We will create a tag for logging. And inside the event handler, we will set up our action code setting object. It is the main logic for a password list sign-in and email. Step 8: Now, we will handle the callback. We use start activity to resolve it in the following way: Step 9: In the next step, we will create onActivityResult() just like we have used previously: Step 10: The last thing which we have to do is catching the dynamic link. We will catch the dynamic link inside the onCreate() function. Now everything is set, it's time to run our application. When we run the application, it will show the following output: 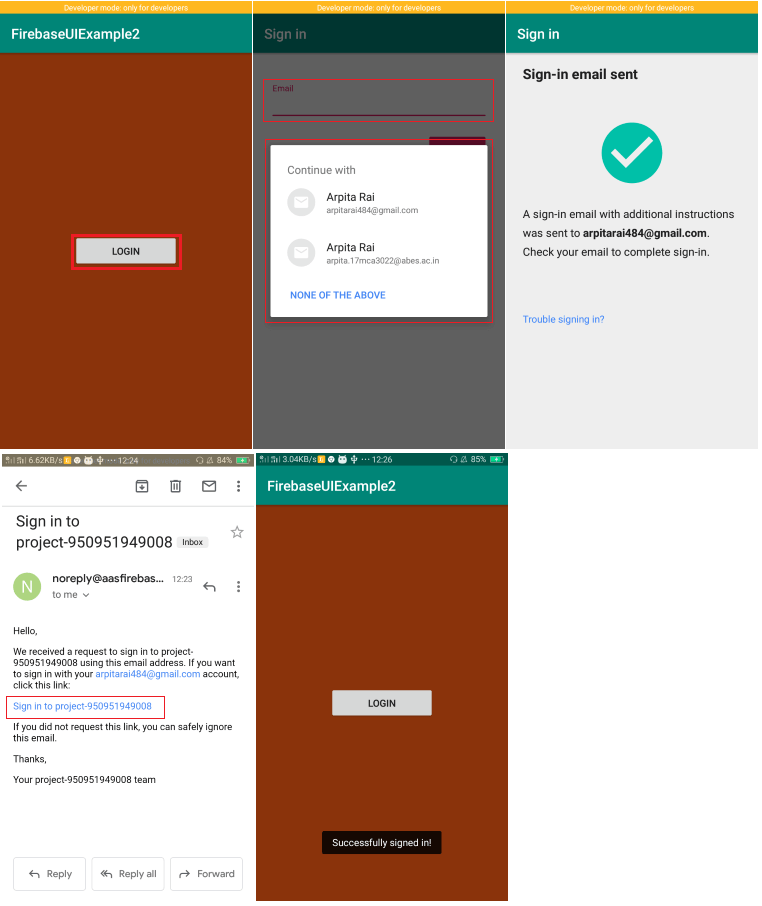
Next TopicSDK Authentication using email/password
|
 For Videos Join Our Youtube Channel: Join Now
Feedback
- Send your Feedback to [email protected]
Help Others, Please Share


