| |

GIMP Clone ToolGIMP is an open-source image editing software. It facilitates multiple editing tools such as crop, clone, scale, color fill and many more. The clone tool is quite useful for removing blemishes from the image compared to all the available tools. The clone tool is used to copy the object from an image or pattern. It uses a brush tool to paste the object. It is handy for repairing photos by painting over them with any pattern or image object. It is a convenient technique for removing unwanted elements or objects from an image. It is quite tricky to learn. In this topic, we are going to learn how to activate and use the clone tool. Further, we will paint over some images and will remove the unwanted elements. Usually, the cloning is done by two formats; it can be either clone by image or pattern. In case if we want to clone from an image, we have to open the particular image. We can do this by holding the CTRL key and click on the specific part of the image. Until we have not specified the source image, we will not be able to do this. If we are cloning from a pattern, we have to specify the pattern. There are following two types of clone tools are available in GIMP:
The Clone Tool can be accessed from the Tools-> Paint Tools-> Clone menu. Let's understand how to activate the clone tool: How To Activate Clone ToolTo activate the clone tool, select the clone option from the Tools-> Paint Tools menu or hit the C for the keyboard. We can do the same by clicking on the below icon in the toolbox: 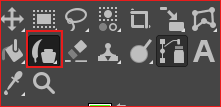
It will activate the clone tool. How to use the Clone ToolWe can easily use the clone tool by activating it. To clone from an image, we must copy an area from that. To copy the area, select the clone tool, and hold the CTRL key and draw the pointer on the desired image part very carefully that you want to copy. Now release the CTRL key and draw pointer on the area of the image where you want to draw the cloned part. Let's understand it in detail. Follow the below steps to clone an image. Step1: Open or Create an Image Open an image using the Open option and create an image using the New option from the file menu. It will open the image in GIMP: 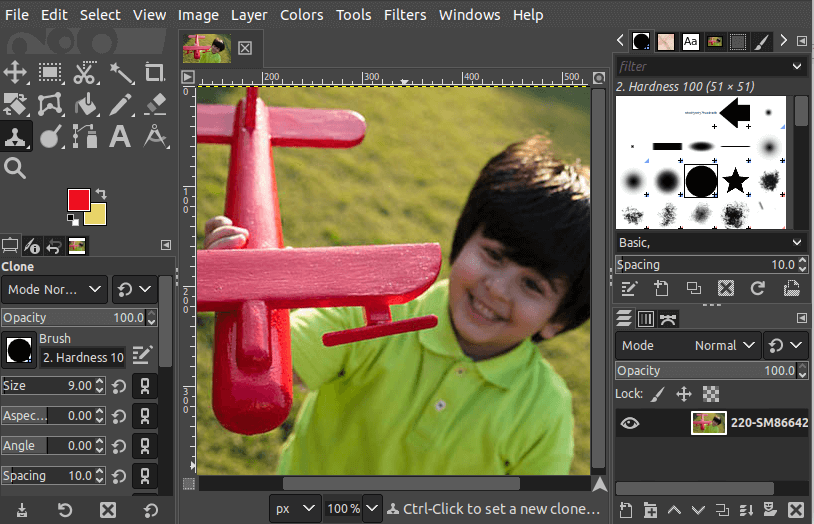
Step2: Select the Clone Tool Now, select the clone tool from Tools-> Paint Tools or hit the C key. Step3: Cloning After selecting the clone tool, Hold the CTRL key and drag the mouse over the area that we want to be pasted on other parts of the image. Step4: Start Painting As we have copied the area to be cloned, we now left the CTRL key and select the part of the image we want to repair with this copied region. Start dragging here; it will paint the cloned part of the region. Consider the below image: 
In the above image, we have painted it with the same image objects. We can also use a different image for the painting to copy any part from an image and paste it to another image. Open the image in a new tab, copy any region, and navigate to other tab and paste it here. It is a useful tool for repairing photos, changing face in the image, changing the image's background, etc. Perspective CloneThe Perspective clone tool is another clone tool that allows us to clone objects according to the perspective. We can set the vanishing lines as in the Perspective tool, then copy the source object similarly as a clone tool. How it works Press the CTRL+ Click to select a cloned structure. After that, press the SHIFT key, we can see a thin line connected with the previously selected point. By clicking again and holding the SHIFT key, it will clone along this line. It is useful for cloning from a pattern. 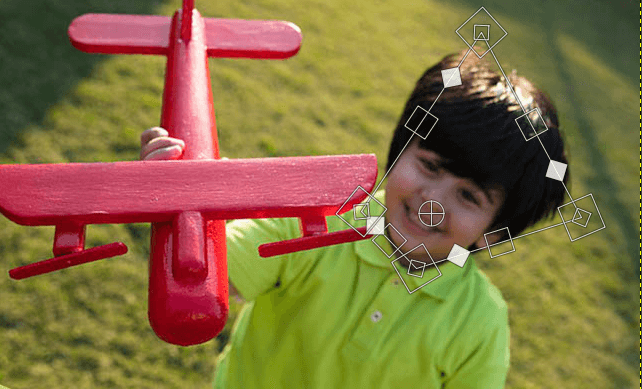
Next TopicGIMP Heal Tool
|
 For Videos Join Our Youtube Channel: Join Now
Feedback
- Send your Feedback to [email protected]
Help Others, Please Share


