| |

GIMP Colors MenuGIMP colors menu contains the tools that manipulate the color of the image. These tools define the color balance, temperature, saturation, brightness, curves, tone, and many other aspects of the image. The colors sub-menu contains the following tools:
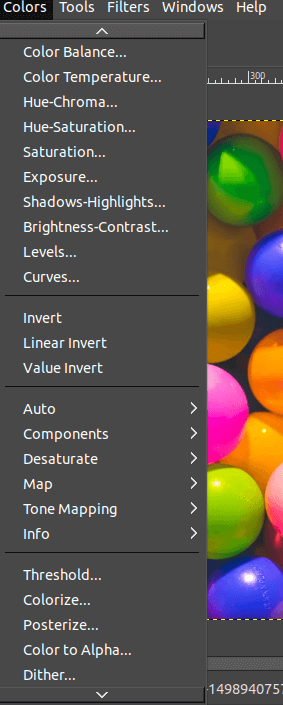
All of the above tools have their unique color effect on the image. Let's understand each tool in detail: Color BalanceIt is used to alter the color balance of the current selection or layer. It is useful for correcting the primary colors in digital photos. It applies the color changes to the pixels. We can adjust the color balance by selecting it from the Colors menu. It will open a dialog window that provides some basic options to select the range, adjust color level, preview, and other options. 
Color TemperatureThis tool allows us to set the color temperature of the light source in an image( in Kelvin). It is useful for adjusting the bluish cast for the overcast photos, or the red cast in photos. Usually, these effects may occur in a photo if it is taken in daylight. Hue ChromaThe Hue Chroma tool is used to modify the saturation. This option will open a dialog window to specify the Hue and Chroma of the picture. 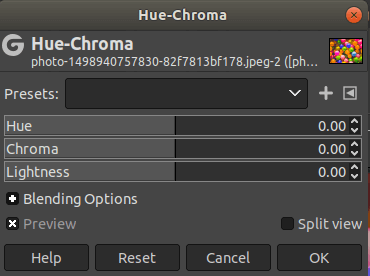
define its values. Hue-SaturationThis tool sets the hue, saturation, and lightness levels concerning color weights for the active layer and selections. To adjust the hue saturation, select this option from the colors menu. It will open a dialog window: 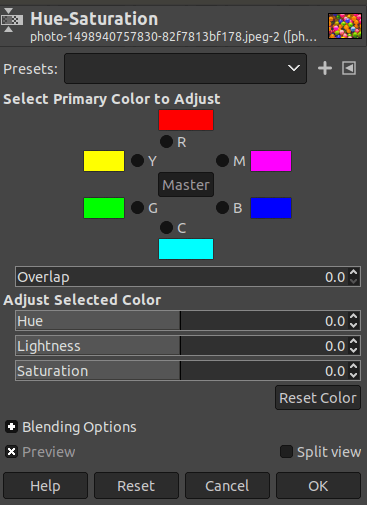
We can select the primary color from the above window to adjust it. The overlap option allows us to define the color ranges to be overlapped. ExposureThis Exposure tool is used to adjust the lightning shadows and mid-tones of an image. It adjusts the lightning shadows without blowing the highlights. 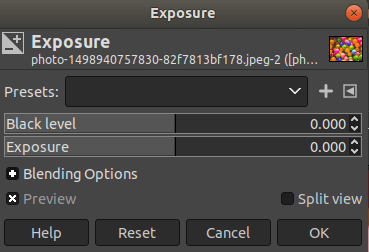
To apply the exposure filter, select it from the colors menu. Shadows-HighlightsThe Shadows-Highlights tool is also another vital tool for photo editing. It is integrated with the GIMP 2.1 because it was popular in other photo editing tools. It opens a dialog window to set the shadows and highlights values. 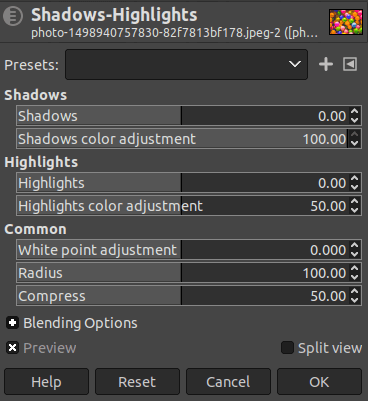
Brightness-ContrastIt is used to adjust the brightness and contrast of the selection or current layer. It is a straight forward tool and allows us to handle bright colors differently from the darker color. It is an excellent tool for quick adjustments to the images. To adjust the brightness and contrast of an image, select this tool from the colors menu. 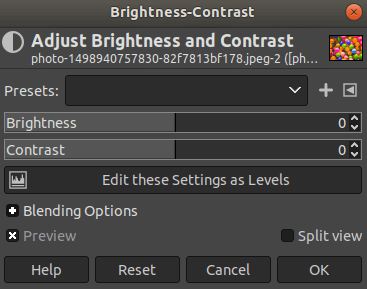
LevelsIt is similar to the Histogram tool; the difference is that it adjusts the intensity range of the image in every channel. It is useful to make the image bright or dark. It opens a dialog window to define the color levels. The color level window contains presets, channel, input level, output level, and other useful options for adjusting the colors. 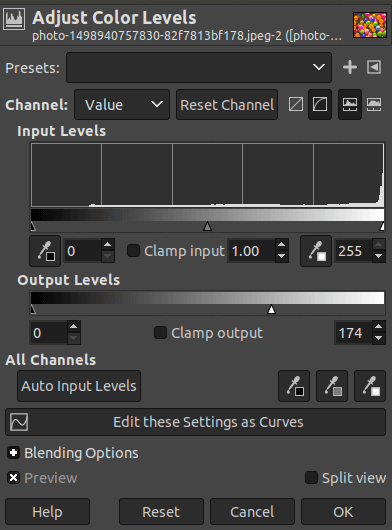
CurvesThe Curves tool is one of the advanced tools of GIMP, which is used for changing the color, transparency, brightness, and contrast of the image. It is similar to the levels tool; the difference between both tools is that levels allow us to adjust the Shadows and Highlights, comparatively it allows us to adjust the tonal range. 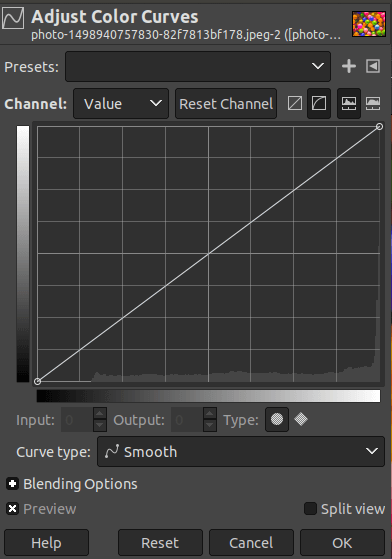
To adjust the color levels, select the curves option from the colors menu. When we up or down the curve, it changes the color levels of the image. It contains the presets, channel, and a curve for adjusting the color level, and other useful options. InvertIt is used to invert all the pixel colors and brightness of the image. It converts the image in a negative format. So the darker area becomes brighter and vice-versa. To invert an image color format, select the invert tool from the colors menu. Below is the example of the invert tool: Original image ( Before Invert): 
After the Invert Effect: 
AutoThe Auto tool contains various options for automatically adjusting the distribution of colors in the current layer, without requiring input from the user. Most of these operations are implemented as a plug-in. It provides multiple options for automatic adjustment. The Auto sub-menu contains the following tools:
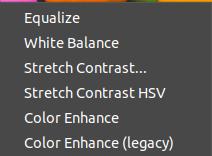
All of the above tools automatically adjusts the distribution of colors. ComponentsThe components sub-menu contains the following tools:
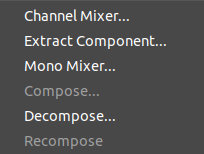
Channel Mixer: This tool is used to combine the values of the RGB channels. It works for the images with or without an alpha channel. It contains a monochrome mode and a preview option. 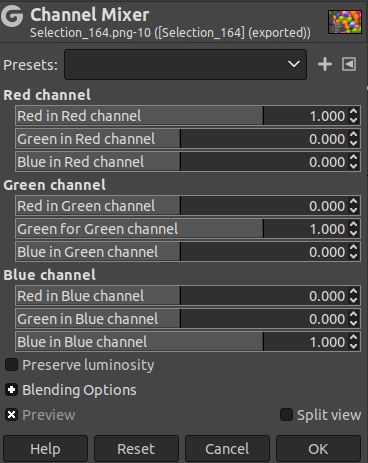
Compose: This tool is used to construct an image from several grayscale images or layers. Decompose: This tool is used to separate the channels of an image into separated images or layers. Recompose: This tool is used to reconstruct an image from channels (RGB, HSV, etc. ) directly. DesaturateIt is used to transform all of the colors on the image to corresponding shades of gray.. This tool only affects the current layer. The Desaturate sub-menu contains the following tools:
MapThe Map sub-menu contains the following tools:
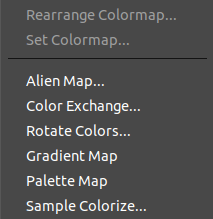
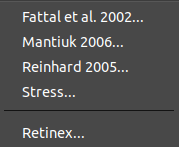
All of the above tools have unique behavior and effect on the image. The Rearrange Colormap tool is used to re-organize the colors of the image. The Color Exchange tool is used to exchange the colors with another one. The Rotate Colors allows us to one color range to another range. Tone MappingTo lighten the shadows and mid-tones of an image is an essential feature of photo editing. The tone mapping feature allows us to do this. The need for tone mapping and shadow highlights tool comes when dealing with the pictures clicked in direct sunlight. To apply the tone mapping filter, select it from the colors sub-menu. The tone mapping sub-menu contains the following tools:
InfoThe Info tool contains some useful tools like histogram, border average, color cube analysis, and more. The Info sub-menu contains the following options:
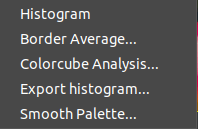
The Histogram tool is used to display information about the statistical distribution of color values in the active layer or selection. The Border Average tool computes the most used color in a specific border of the image. Thee Colorcube Analysis tool displays the size and color number of the current layer. 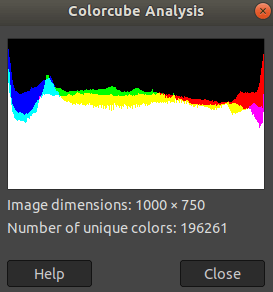
The Smoot Palette is used to create a striped palette from colors in the current layer or selection. It is useful for creating color-maps to be used with the Flame filter. ThresholdIt is used to convert the image into a black and white image. It is also one of the most used tools of GIMP for photo editing. It denotes an image in black and white pixels, where white pixels are the image pixels with threshold range value, and black pixels are the pixels that have out of the threshold range value. It is useful for magnifying a black and white image. To apply the threshold filter, select it from the colors menu. 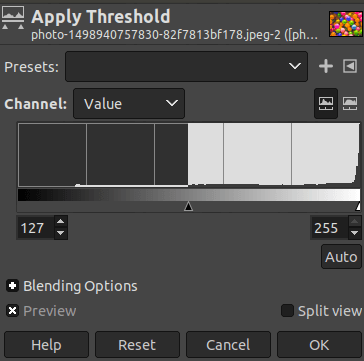
ColorizeThe Colorize tool is used to convert the image into a greyscale image seen through colored glass. It is useful for providing a "Sepia" effect on our image. To apply the colorize effect, select it from the colors menu. 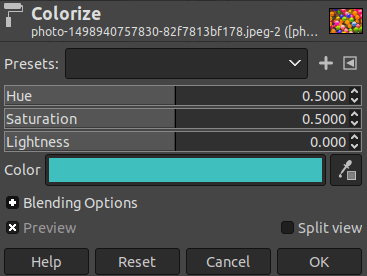
PosterizeThe Posterize tool is used to weigh the pixel colors of the image intelligently. It reduces the colors while recreating images. It is useful for logo designing by a picture. To posterize a picture, select it from the colors menu. Below is the example of the posterize effect: 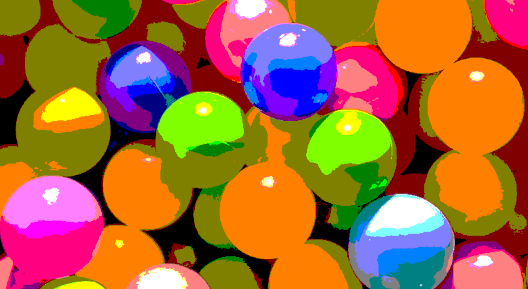
Color to AlphaThe Color to the Alpha tool is used to make transparent all pixels of the current layer having a color. To make a layer transparent, select the color to alpha tool from the colors menu. 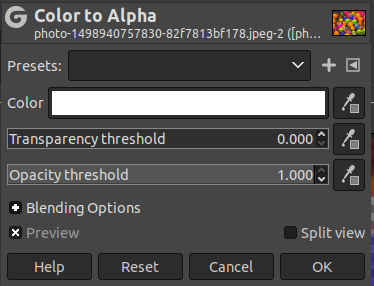
Below is the example of the color to the alpha tool: 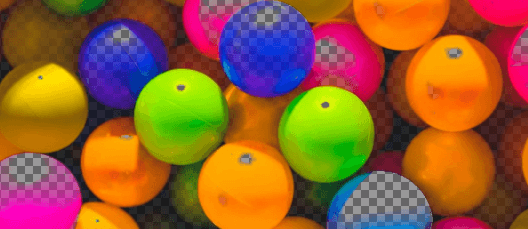
Next TopicGIMP Tools
|
 For Videos Join Our Youtube Channel: Join Now
Feedback
- Send your Feedback to [email protected]
Help Others, Please Share


