| |

GIMP Draw LineGIMP is a fascinating software for editing images and other graphical tasks. But, it does not support any direct tool for drawing a line. Drawing a line is an essential task for any graphics tool. But, we can draw a line in GIMP without installing any external tool or plugin. It is a straight forward process. There are many tools for drawing a line in GIMP. We can draw and adjust a line using a paintbrush, freehand drawing, etc. However, by drawing from these tools, we are not able to appropriately draw a straight line. We will explain some keystrokes that will allow us to draw an exact straight or horizontal line. We can use the following tools for drawing a line:
All of the above tools are capable enough to draw a required line. We have tested all these tools, and these tools are working fine with the latest GIMP version. In this tutorial, we will explain how to draw a straight line. Also, we will discuss how to draw other lines, such as horizontal, vertical, etc. How to Draw a Straight Line Using GIMP?In GIMP, Drawing a straight line is a straight forward process like Photoshop. We can quickly draw a line. There are no specific tools available in GIMP for drawing the straight line. But, we can do so by using the SHIFT key and mouse. For drawing a line, we have to select any of drawing tools such as Paintbrush, Pencil. We can draw with a background or without background color on the image. Let's understand how to draw a line in GIMP. To draw a line, follow the below steps: Step1: Create an Image The primary step is to create a new image. To create a new image, navigate to File-> New menu or hit CTRL+N keys. It will open a dialog window asking the image properties. 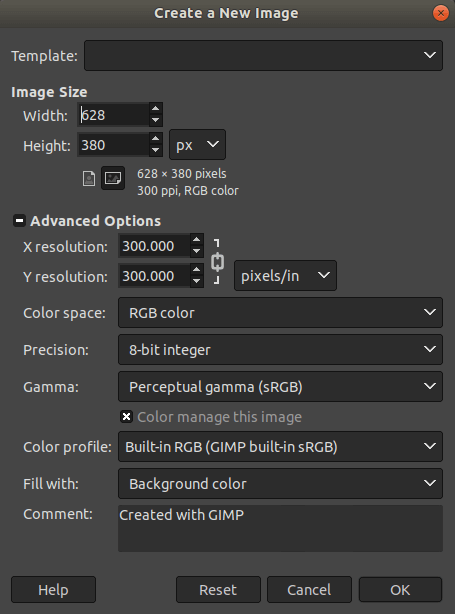
Enter the image size and other values. If we want a transparent background, select the Fill With Option with Transparency. It will only show the drawn lines. Now click Ok to continue. Step2: Select a Drawing Tool Select any drawing tool such as pencil, paintbrush, airbrush, etc. for drawing. To select any drawing tool, select it from the toolbox or navigate the Tools->Paint Tools menu. Step3: Start Drawing After selecting a Drawing tool, click anywhere on the image Canvas and pick a starting point. To draw an image, hold the SHIFT key and move the pointer; it will take straight to the moving direction. Click anywhere; the line will be drawn. 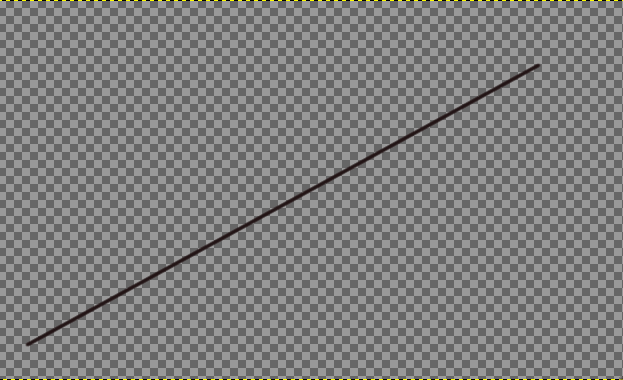
We can adjust the thickness, opacity, color, etc. of the line from the tool options menu given at the toolbox's bottom: 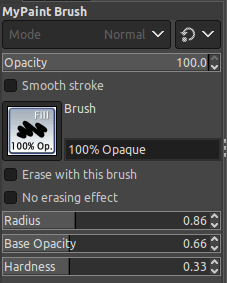
similarly, pick another point and draw another line. When the desired lines are created, save the image using the import option from the file menu. 
Here two lines crossing each other are drawn; similarly, we can make other diagrams. Below is another example of drawing lines. 
We have created an image filled with background color in the above image and choose the MyPaint Brush tool with red color. It is a powerful GIMP; by just holding the SHIFT key, we can draw a straight line in any direction. Similarly, we can create horizontal, parallel, and more lines.
Next TopicGIMP Draw Circle
|
 For Videos Join Our Youtube Channel: Join Now
Feedback
- Send your Feedback to [email protected]
Help Others, Please Share


