| |

GIMP Heal ToolGIMP is one of the most powerful photo editors in the world. It is an excellent alternative to Photoshop; It provides several great tools for photo editing, such as crop, heals, scale, filters, and so on. The Heal tool is one of the most useful tools for photo editing. It is used for spot removal, photo refixing, photo repair, wrinkles removal, etc. It is quite similar to the clone tool, but it is smarter than to clone. A typical use of the heal tool is to remove wrinkles and black spots from photographs. In this topic, we are going to discuss how to activate and use the heal tool. We have to choose a brush to use the heal tool, then hold the CTRL key and click on the specific area that we want to repair. Now, release the CTRL key and start dragging the defected area. It will start correcting the defected part of the image. We can also do the same by the repeated clicks on the area. How to Activate the Heal ToolTo activate the Heal tool, select the Heal option from the Tools-> Paint Tools menu or hit the H key. We can also do the same by clicking on the below icon in the toolbox: 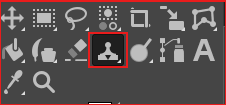
It will activate the Heal tool. Now, we can use it with some keystrokes. How to use the Heal ToolTo use the Heal tool, open the image and activate the heal tool. Let's understand it in detail. Make a duplicate layer while performing any editing task so that the original image will not be affected. See How to Clone layers. Follow the below steps to use the heal tool: Step1: Open the image The first step is to open the image that we want to edit or repair. To open an image, navigate to File-> Open Menu. Different options are available for opening a photo such as Open as Layers, Open Location, Open Recent, etc. See File Menu for all the options. 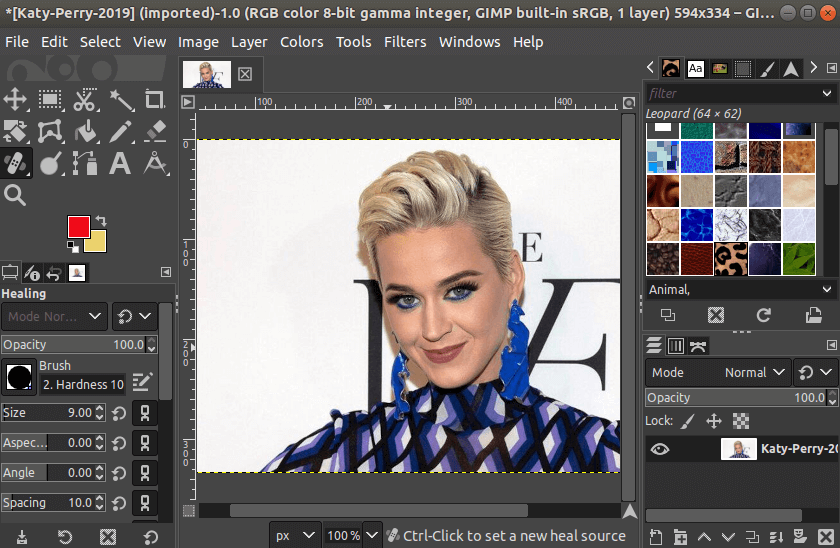
Step2: Activate the Heal Tool Now, activate the Heal tool using the Heal Option from the Tools-> Paint Tools menu or hit the H key. Step3: Copy the Part of the Image or a Region Hold the CTRL key and drag the area that we want to copy to repair the image. For example, if we want to remove a dark spot from the face, copy the clear part of the image. Step4: Start Healing We can now repair any specific area of the image. To repair any area, release the CTRL key and start painting over the defected area. We can adjust the brush size and other aspects from the tool options dialog window given below the tool option. 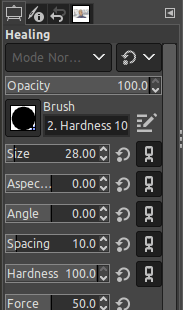
Consider the below image: 
In the above image, we have copied the face and pasted it to the background. Similarly, we can do other fixes in the image. It is much similar to the clone tool, but it is more potent than the clone tool. We can also copy a region from another image. When to Use the Heal & Clone ToolThese tools allow us to select a sampling point, which is a specific part of the image. They are used to paint over distractions and blemishes. The clone tool paints the complete copy of the selected region comparatively the Heal tool paints the Highlights and Shadows. So if we want to paint the exact things, the clone tool is suitable for us, and if we want to paint the highlighted part of the copied image, then the Heal tool is useful for us. The Clone tool is useful for the regions with defined edges, and the Heal tool is useful for messy and smudges edges. It is recommended to clone a layer while performing any editing task so that the original image will always be saved. Later, we can compare and decide to keep the changes.
Next TopicGIMP Save Image as JPEG
|
 For Videos Join Our Youtube Channel: Join Now
Feedback
- Send your Feedback to [email protected]
Help Others, Please Share


