| |

GIMP Layer MasksLayer Masks are an essential tool in photo editing. They allow us to manage transparency and other components selectively. It is useful for removing the background of the image. The layer masks can be three types white, black, or Gray, representing full transparency, full opacity, or partial transparency. So the layer mask makes the image transparent, opaque and partially transparent. This layering effect is non-destructive. The different layer masks are used for different level opacity and transparency, such as white for absolute opacity, black for absolute transparency, and gray for partial opacity/transparency. How to Add a Mask to a LayerBefore adding a layer mask to an image, adding a layer to the image is necessary. Open an image that we want to edit by navigating the File-> Open menu. We can open the image by other options or by dragging and dropping from another window as well. Now add a layer to the current image by clicking on the add layer icon at the bottom of layer dialog: 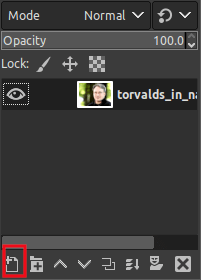
We can also do the same by selecting the add layer option from the layers menu. It will open a dialog window to define the layer properties. 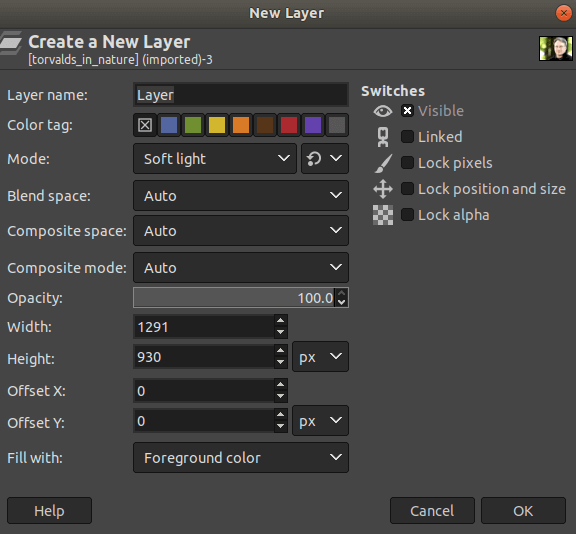
Click OK to add a layer. It will add a layer. Now, we can add a layer mask to our layer. To add a layer mask to a layer is a straight forward process. To add a mask to a specific layer, make it as current layer by selecting it. 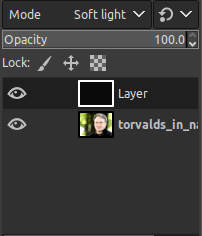
Now right-click on it and select the add layer mask option. It will open a dialog window to select the type of mask that we want to add. 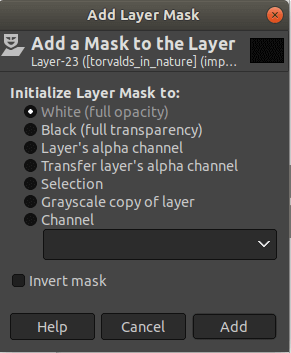
Select the layer mask as our need. Click Add to apply a layer mask. It will successfully add a layer mask to our image; we can notice it in the layers dialog. Modify the Transparency Using Layer MaskWe can modify the image's transparency and color effect using a layer mask as we have selected the white (Full Opacity) layer mask. So, we can manage transparency accordingly. Let's understand how to modify the transparency? To modify the transparency, select any selection tool from the Tools-> Selection Tools menu. We are using the rectangle select tool. But, we can use any tools such as brush, fuzzy selection, or any other tool. 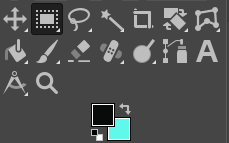
The next step is to select the part of the image that we want to make transparent. Fill it with a background or foreground color by using the bucket fill tool. We can also do the same by stroking the "CTRL+ ," and "CTRL+." keys, respectively. It will make the image transparent according to the filled color. Consider the below image: 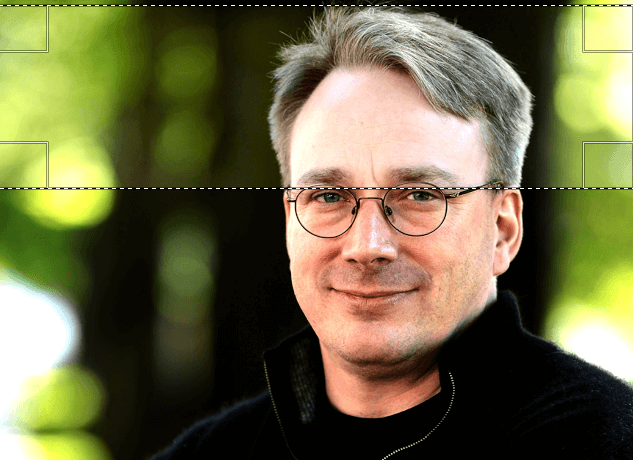
In the above image, we have filled the white color as the background color. We can select different colors for the different parts of the images. Consider the below image: 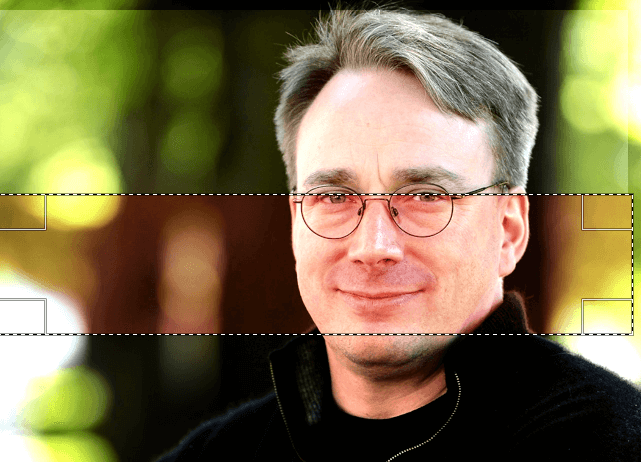
In the above image, we have selected the red background color for the image. We can notice the changes in the layers dialog. 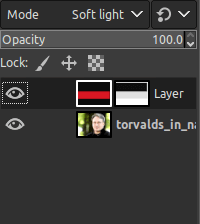
We can define the level of transparency by updating the opacity. In the above example, the opacity level was 100 %, but we can reduce it from the layers dialog. Using Brush Tool: We can also modify the transparency of the specific parts by using the brush tool. The brush tool allows us to select specific parts. It is considered more significant than any other selection tool. To modify the transparency, follow the below steps:
Now we will drag on the specific area that we want to be clear. Consider the below image: 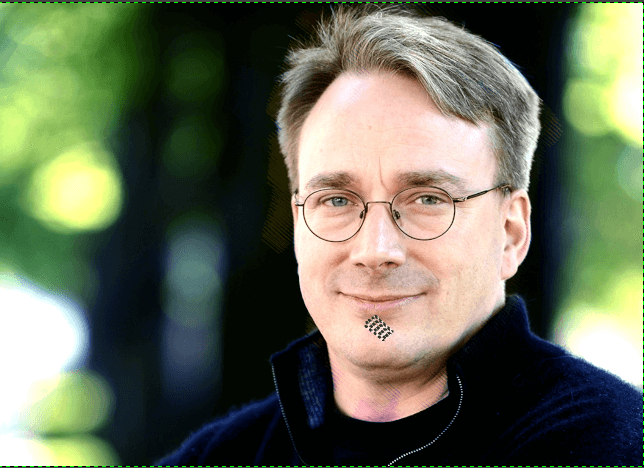
In the above image, we have applied a layer mask with a blue background color and clears the face using the brush tool. So the main objective is clear except other parts of the image. Colorization of the image Using the Layer MaskAnother fair use of the layer mask is selective coloring. We can apply many incredible effects to our image, such as changing the background, cloth's color, etc. by the selective colorization. It is trendy among photographers. Let's see how to do this: Follow the below steps for selective colorization of the image:
Open the image and duplicate it. To duplicate an image, right-click on the original layer and select the duplicate layer option. 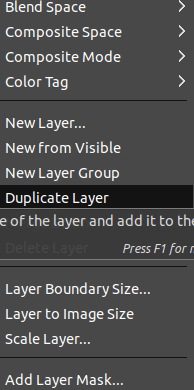
It will create a copy of the original image. Now, desaturate the upper layer by selecting the desaturate option from the colors menu. It will fade the colors of the image and make it as black and white to fill new colors into the image. Now, add a layer mask by right-clicking on the image and selecting the add new layer mask option. The layer's dialog will look like this: 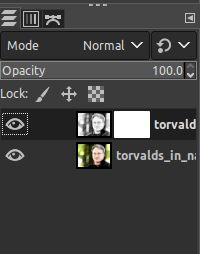
Now we have a raw image; we can fill any colors to any part of the image. 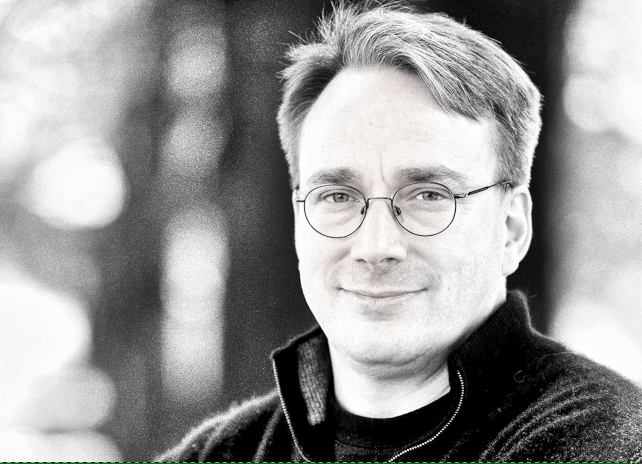
For example, we only want to apply the effect on the face as an original image. To do so, select the brush tool and start painting its primary object. To select the Brush tool, navigate to Tools-> Paint Tools-> Paint Brush menu. It will paint the below layer's colors. Consider the below image: 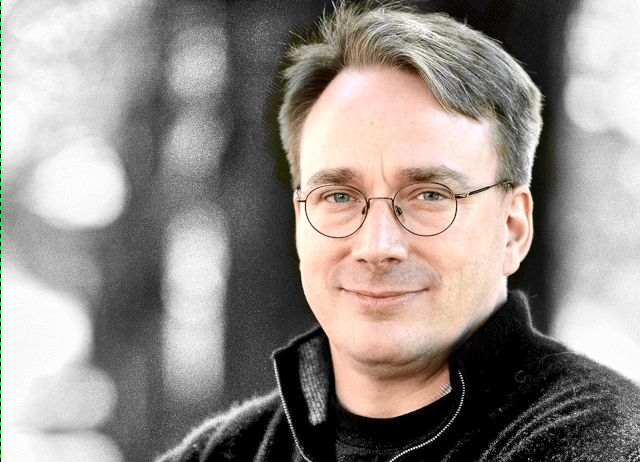
In the above image, we have painted its main object (Face). It takes the original colors of the image. However, we can paint this with any other color by selecting the different selection and color tools. We can view the layer mask. To view the layer mask, right-click on the layer mask from the layers dialog and select the Show Layer Mask option. This is how our layer mask looks like: 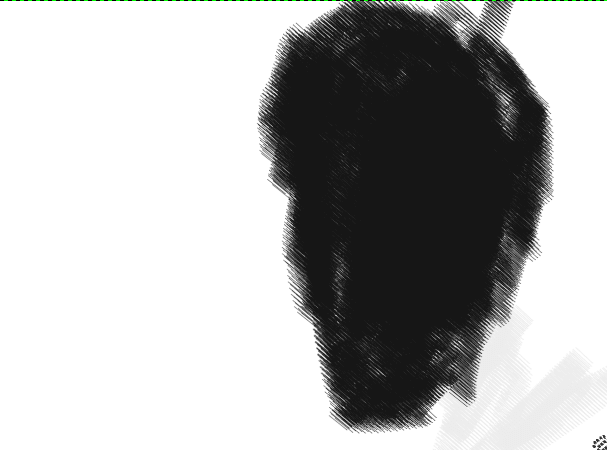
This is how we can add layer masks, edit images using layer masks. We can perform many other beneficial and fascinating tasks using layer masks. To perform other tasks, explore its functionality and show creativity.
Next TopicGIMP Deselect
|
 For Videos Join Our Youtube Channel: Join Now
Feedback
- Send your Feedback to [email protected]
Help Others, Please Share


