GIMP Logo MakingGIMP is an open-source image manipulation tool used to draw and edit images. It is also widely used for graphical tasks such as logo & clip art, favicon, advertisement banners making. The logo is a graphical mark, unique symbol, or stylized name of an organization, company, product, etc. It represents the product, organization or company; It is an integral part of its identity. A good looking & stylish logo create a good impact on the audience. So it is one of the most demanding tasks for the graphics designer. There are several tools available on the web that allows us to create interactive logos. But when it comes to free tools, GIMP is the preferable choice for graphics designers. GIMP supports a wide range of colors and editing tools to create interactive logos and pictures. In this section, we will discuss how to create a professional and interactive logo for an organization using GIMP. We are using the GIMP 2.10.20 version, a stable release at the making of this tutorial. We found this version helpful compared to the earlier versions. But, you can use the previous versions; there are not many more differences. Let's understand how to create logos? It is recommended to save the work by pressing the CTRL+S keys, name the layers properly, and deselect a tool after use to avoid accidental changes in the image. How to Create Logos Using GIMPTo create a logo is a similar process to create an image. We have to make it interactive and colorful, and unique. Follow the below steps to create a logo: Step1: Create an Image The first step is to create an image. To create a new blank image, select the New Option from the file menu. It will open a new dialog window to specify the image properties. 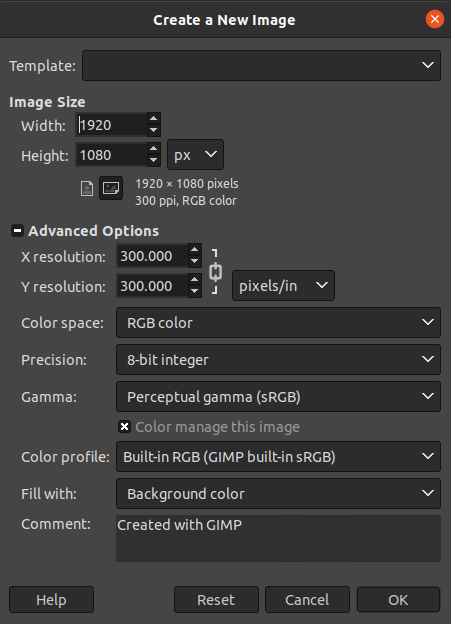
Select the image dimension such as height and width, and other properties from the above window and hit the Enter key to continue. Select the Fill with option with the background color, set the background color as white and foreground color as black before creating a new document. Step2: Set Image Background Now set the image background by using the bucket fill tool as the pattern fill. To fill the background with an available image pattern, select the bucket fill tool from the Tools-> Paint Tools-> Bucket Fill menu. Now, select the pattern fill option from the tool option menu. 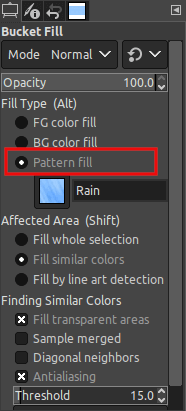
And select an image pattern from the pattern dockable dialog window at the right of the GIMP's interface. 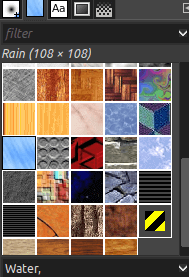
If the patterns window is not visible on your screen, make it available by navigating Windows-> Dockable Dialogs-> Pattern menu. After selecting an image pattern, click anywhere on the image to fill it with it. 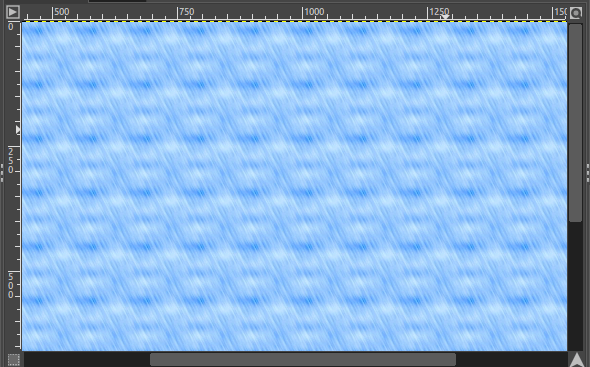
It will fill the background with the specified image pattern. Step3: Create a New Layer Create a new layer for blending the image background. To create a new layer, select the New Layer option from the layer menu or hit the SHIFT+CTRL+N keys. It will open a dialog window to create a new layer. 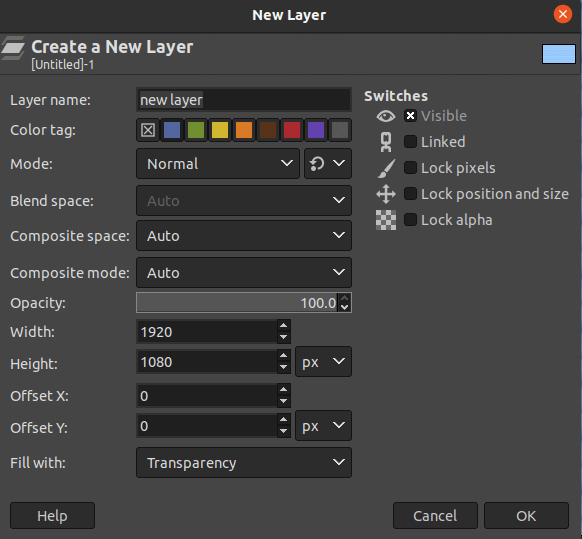
Select the blue color as color tag and transparency in Fill with option and click OK. It will create a new layer; select it. Step4: Blend the Background Select the blend tool by navigating Tools-> Paint Tools-> Gradient menu or hit the G key. We can activate it by clicking on the below icon: 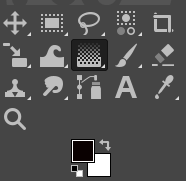
Select the background color as black before blending: 
Now click at the center of the image and drag the cursor to any corner of the image: 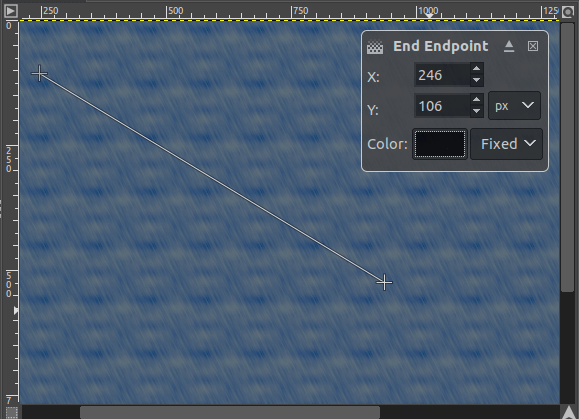
It provides run time preview, adjusts the setting as per need. It will blend the image background. To make the image more visible, reduce the opacity of the layer from the layers dialog window: 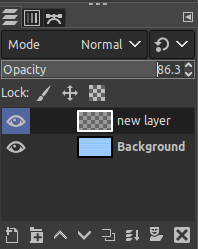
Step5: Add text Now, add the text by selecting the Text tool from the Tools menu or hit the T key. Select the text color white and Bold fonts with a larger size. Now, click anywhere on the image canvas and type the name of the organization. 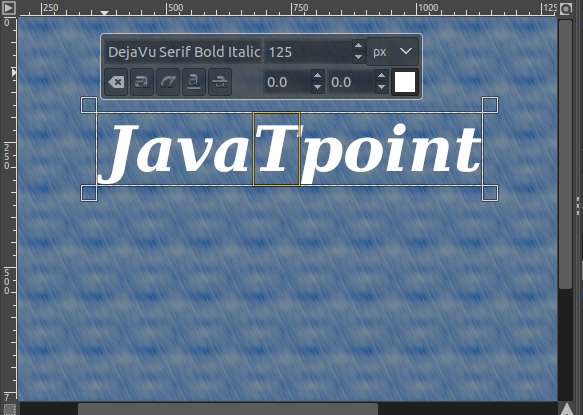
To change the text after typing, double click on it and adjust. Step6: Style Text Now style the text by using different tools. First, make the text colorful to make it attractive, select the specific text and change the font color. We have to change the font color using different font colors. You can choose the colors of your choice. Add the highlighted overlay of colors by selecting the text. To select the text, right-click on the text layer and select the Alpha to Selection option. It will select all the text: 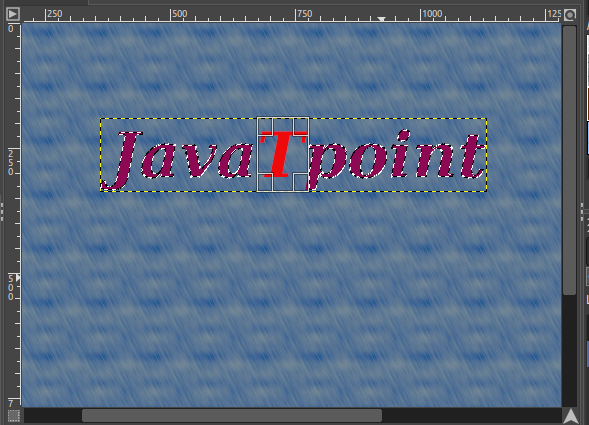
After changing the colors, select the rectangle select tool and choose the Subtract from the current selection option for proper spacing of the text by clicking on the below icon in the tool option menu: 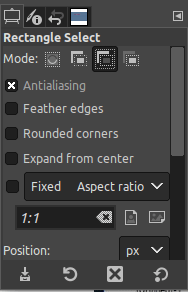
It will create an attractive text. 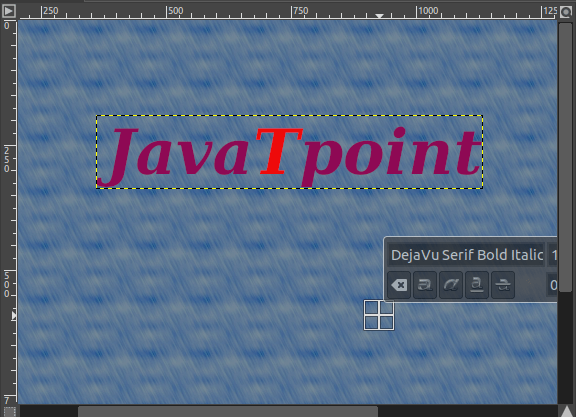
Step7: Add Effects to the Text Now add some effects to the text to make it more artistic. To add an artistic filter, navigate to Filters-> Artistic-> Simple Linear Iterative Clustering menu; It will apply the selected filter to the text. You can choose any of the artistic filters of your choice. It will open a dialog window to specify the filter values. 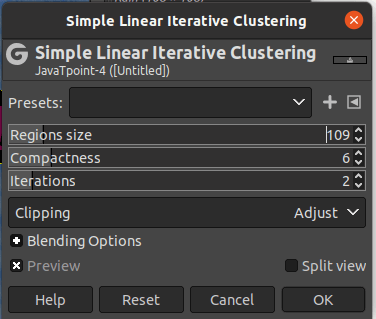
It provides a runtime preview for the changes. It will apply the specified filter and create changes in the image accordingly. 
Step8: Add Shadows adding shadows to the text makes it more attractive and meaningful for the logo. After styling the text, add the shadow to the text. To add a shadow filter, navigate to the Filters-> Light and Shadows menu. We are using the Long Shadow tool for our text. Any of the shadow tools can be used, but it should be good looking with the text. 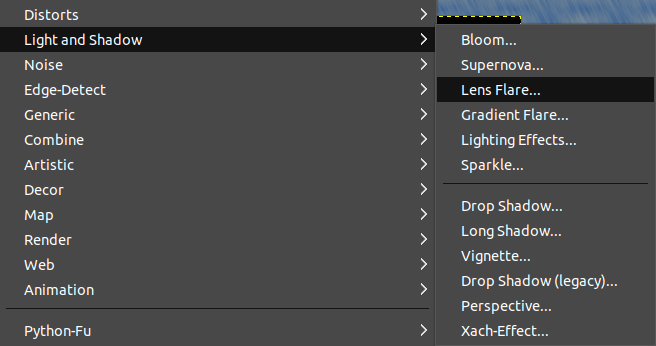
The Long shadow effect will open a dialog window to specify the position and angle of the shadow: 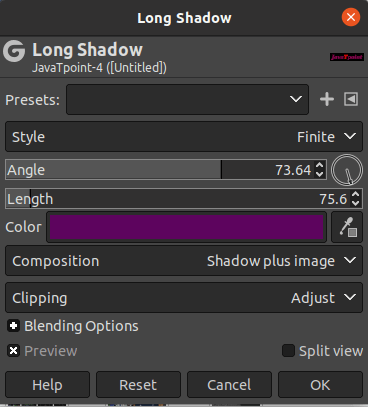
set the angle, length, and color of the shadow and click OK to apply it. It provides a run time preview option. We can preview it while adjusting. The long shadow tool will add the effects as follows: 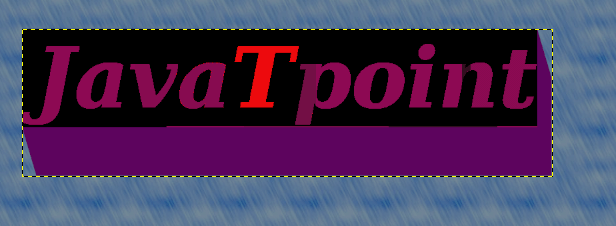
Step9: Add an Image To make the logo more informative, add a picture that suits your business. To add a picture, drag and drop the picture over this image: it will open the picture in a new layer: 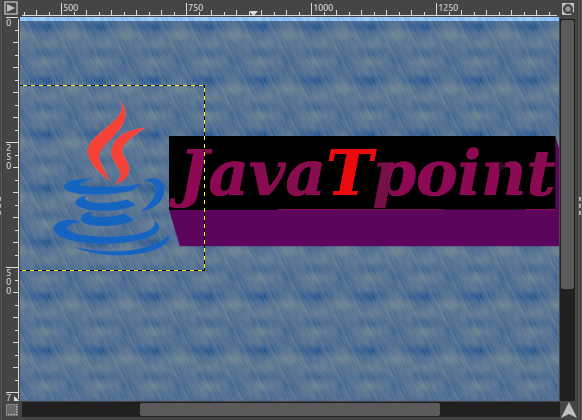
If the picture size is larger than your logo size, right-click on the picture's layer and select the scale layer option to reduce its size. Adjust it according to our logo size. And select the Move tool from the Tools-> Transform Tools-> Move menu to reposition it; Place it in our desired location. Now apply the shadow effect to this image to label it with our logo: 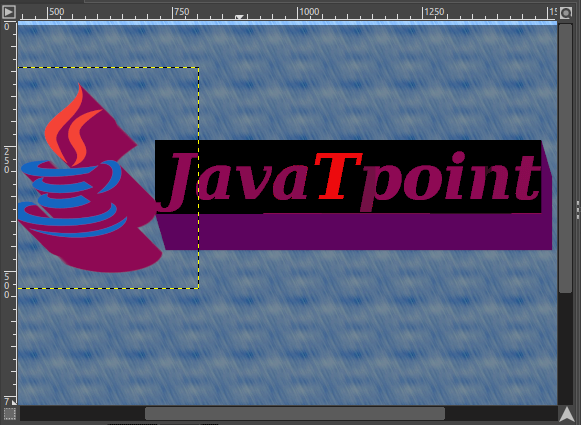
Now, our logo is looking cool. We can add more filters and images to it if needed. Step10: Crop the Image If the image size is larger and the background takes a lot more space, crop it using the crop tool. To activate the crop tool, hit the SHIFT+C keys. Adjust the region to be cropped and hit the Enter key. It will crop the image and reduce the size of the logo. After cropping the image, scale it to make the standard size of the image. To scale the image, navigate to the Image->Scale Image menu. It will open a dialog window to specify the height and width. 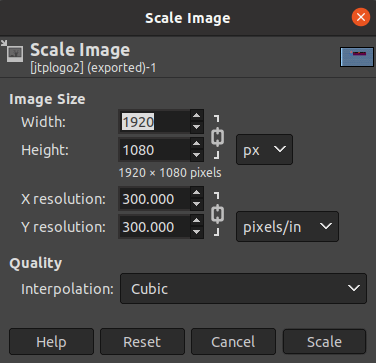
Enter the height and width of the image and select the scale option. It will reduce the size of the image. Step11: Save the Image Use the save option to save it in GIMP's default format, which is XCF. It will save the current work as the current position having layers and all properties. To save it in a different image format such as jpg, png, etc., select the Export As option from the file menu. Specify the file name with proper file extension and click Export to save it. It will save the image in the specified image format. This is how our image looks like: 
we have exported it in PNG format. If you want to remove the background from the image, select the background layer and right-click on it and select the delete layer option. It will remove the background from the image and save it. 
We can also change the background or make other changes by selecting the specific layer. This is how we can create logos using GIMP. Visit our complete GIMP tutorial for other basic and advanced editing tasks.
Next TopicGIMP Online
|
 For Videos Join Our Youtube Channel: Join Now
Feedback
- Send your Feedback to [email protected]
Help Others, Please Share


