| |

Smoke EffectGIMP is an advanced photo editor tool that facilitates several advanced editing effects such as smoke effect, cartoon effect, animation effects, etc. We can apply all these effects by using some external plug-ins and brushes. We can extend GIMP's functionality using the brushes and plug-ins. It also supports patterns, which is also a useful tool for GIMP. We can create an image pattern to paint it over the image. The smoke effect is an editing effect that provides the scene of smoke around our original image. In this section, we will apply the smoke effect to our image using some smoke brushes. The brushes can be download from various web resources. Before diving into the topic, let's understand how to download and install smoke brushes in GIMP. How to Download & Install the Smoke BrushesTo download the smoke brushes, search on Google for GIMP Smoke Brushes, and you'll find various external sources for downloading the brushes. We can download different types of smoke brushes from these resources. Some popular resources for downloading the smoke brushes are as follows: We can choose a range of brushes from the above resources; after downloading the brush file, extract it and add it to GIMP's default folder. To add the brush in GIMP, paste the file in GIMP's default Brushes folder, which will be probably "GIMP 2 > share > gimp > 2.0 > brushes" in Windows and for Linux, it should be "/home/alien/snap/gimp/297/.config/GIMP/2.10/ brushes" something like this. To access the default folder in GIMP, navigate to Edit-> Preferences-> Folders-> Brushes menu. It will display the default location of the Brush folder. It will look as follows: 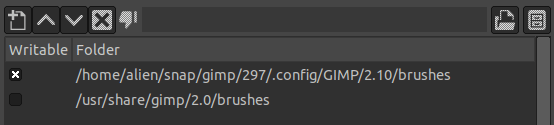
Now, navigate to this path and paste the downloaded file here. After adding the brush file, refresh the brushes from the brush dialog window by clicking on the below icon: 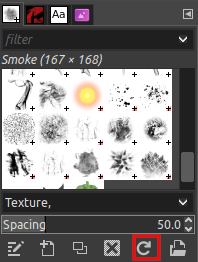
If the brushes dockable dialog is not visible on your screen, display it from the Windows-> Dockable Dialog-> Brushes or hit the "CTRL+SHIFT+B" keys. For this tutorial, we are going to use 20 smoke PS brushes. Let's understand how to add smoke effects to photos using GIMP. How to Add Smoke Effect on an ImageAdding a smoke effect to a photo is a tricky process. We can add the smoke effect using the brushes and other tools. Follow the below steps to add the smoke effect: Step1: Create an Image To create an image, select the New option from the File menu or hit the CTRL+N keys. It will ask for the image properties, define the image properties and click OK to create. 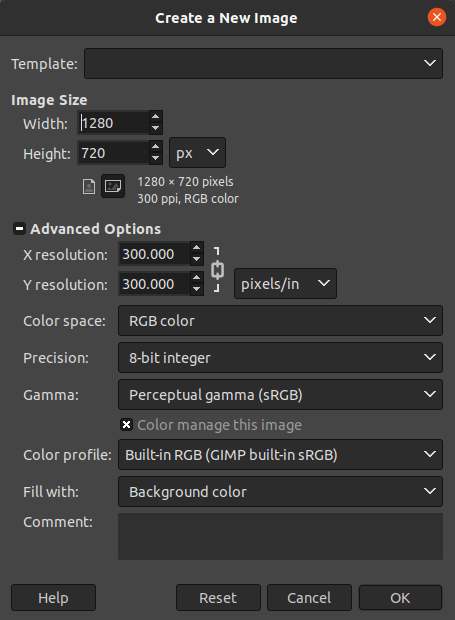
We are creating an image with the above image properties. Step2: Fill the Black Background Color Now, fill it with the black background color using the bucket fill tool. To select the bucket fill tool, navigate to Tools-> Paint Tools-> Bucket Fill menu or hit the SHIFT+B keys. 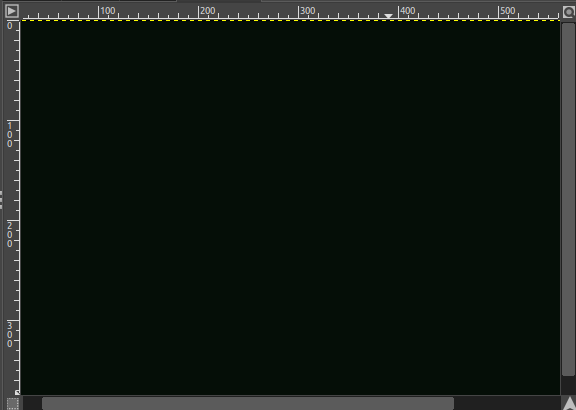
Step3: Import Image Now, import that image in which we want to add the smoke effect. To import it, either open it and drag from the tab or directly drag it over the created image. 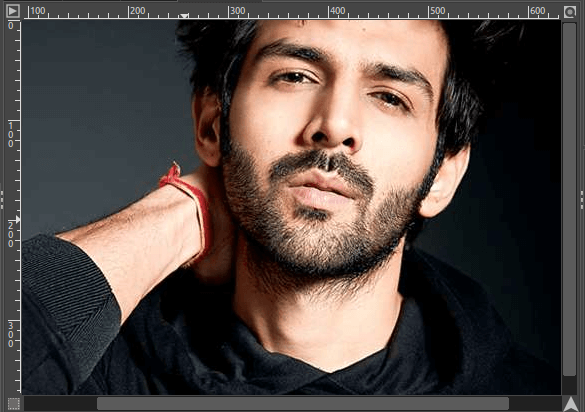
It will open the image in a new layer. Step4: Resize the Image Resize the image to fit the canvas for the smoke. To resize it, select the image layer and select the scale layer option by right-clicking on it. 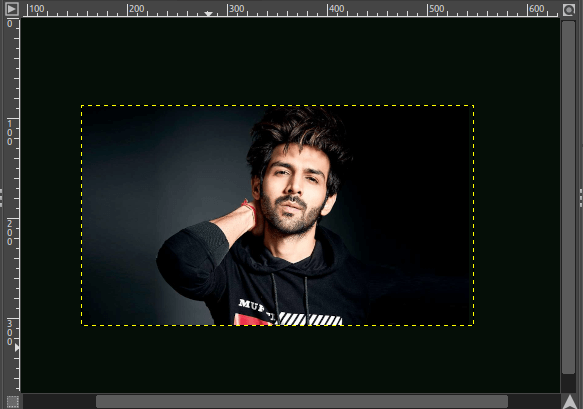
Adjust it to the middle of the image by scaling accordingly. It is good to place the face in the middle of the image to add the smoke effect. Step4: Desaturate the Image Now, desaturate the image to desaturate the colors of the image. To desaturate the image, navigate to Colors-> Desaturate menu. It will open a dialog window to define the desaturate properties. Select Luminance as mode and click OK to desaturate. 
It will desaturate the image. 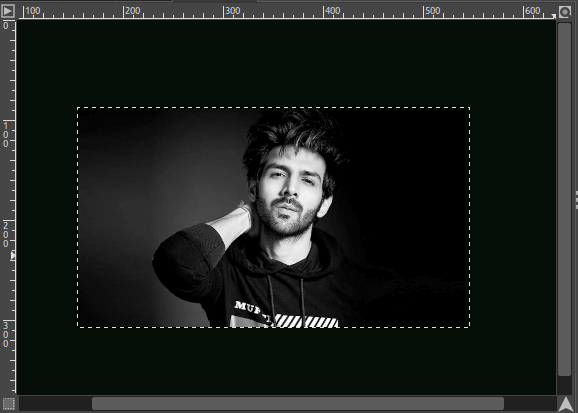
Step5: Add New layer To add a new layer, hit the SHIFT+CTRL+N keys and select the white at filled with option. 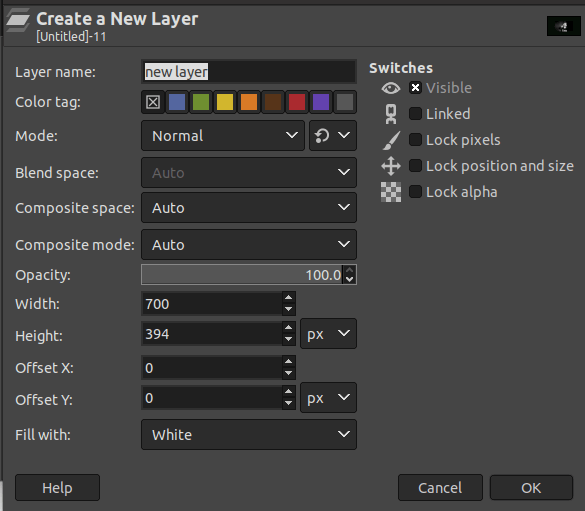
Step6: Add Gradient Now, add gradient using the Gradient tool from the Tools-> Paint Tools menu. It will add exposure to the image. 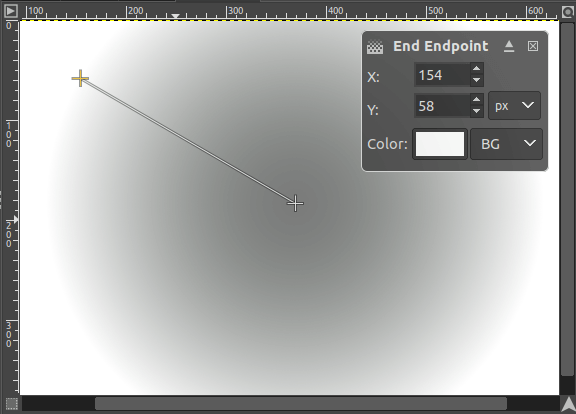
Step7: Reduce the Opacity of the Layer Now, reduce the opacity of the layer to make the image visible. You can set the gradient and opacity according to image visibility. 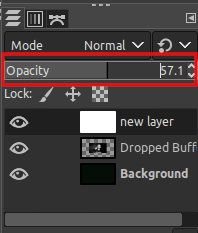
It will make the image Visible. 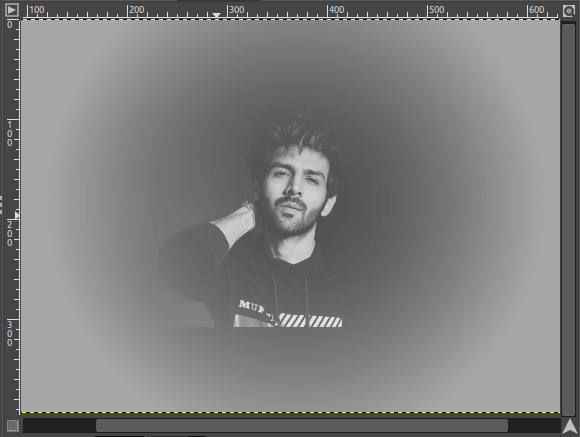
Step8: Add the Smoke Effect Now, our main goal starts, which is to add the smoke effect to our image. To add the effect, first, add the layer mask to the active layer, which will be useful for applying the effect to the specific part of the image using a paintbrush. To add the layer mask to the image, right-click on the image and select the add layer mask. 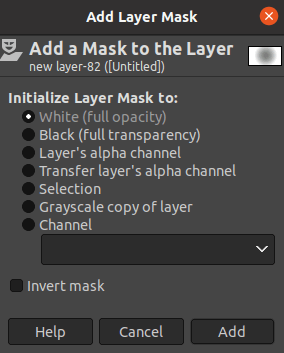
Select the White (Full Opacity) option and click Add to continue. After applying a layer mask, we can select the paintbrush tool from the Tools-> Paint Tools-> Paintbrush menu. Now, select the smoke brush that suits our image from the brushes dockable dialog window. 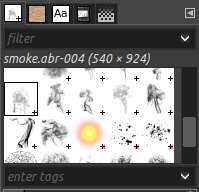
After selecting the brush, we are all set to apply the smoke effect to our image. To apply the smoke effect, paint the brush around the image. It will paint the smoke effect on the image; We can add different effects to our image. 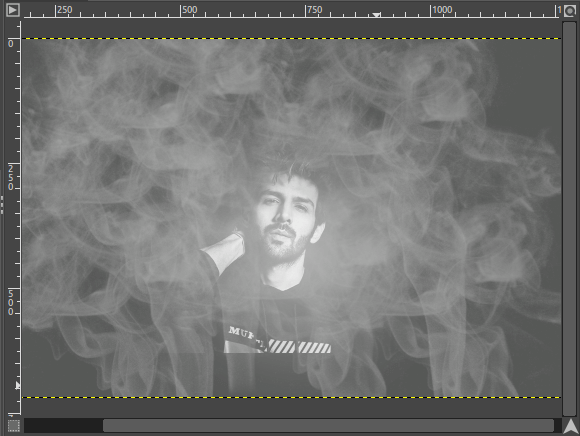
For colored smoke, select another smoke brush that uses the foreground color to paint. It will add the colorful smoke to the image: 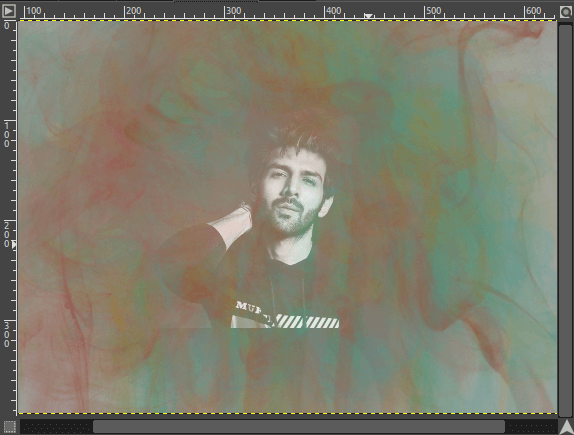
Step9: Save the Image We can save this image in different image formats such as JPG, PNG, GIF, etc. To save this image in different formats, select the Export As option from the file name. Specify the file name with proper extension and click Export to save it. For example, to save it in PNG format, specify the name as "xyz.png". It will save the file with a specified file name and format. 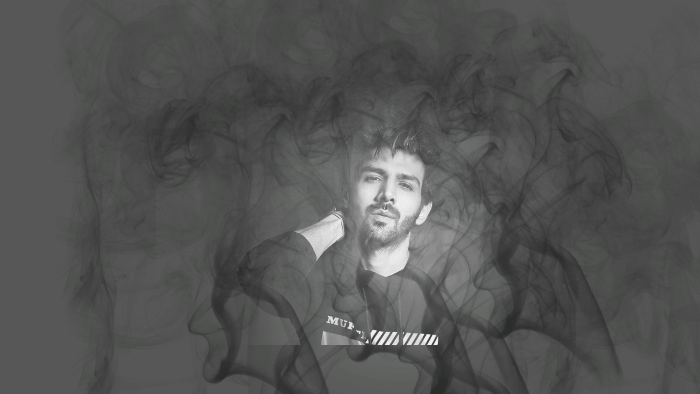
Hence, we can edit our images and add smokes and other effects such as Fire effect, Cartoon effect using GIMP; All we need is a proper brush. To edit photos with extensive colors and filters, visit our detailed tutorial on photo editing in GIMP.
Next TopicGIMP Cartoon Effect
|
 For Videos Join Our Youtube Channel: Join Now
Feedback
- Send your Feedback to [email protected]
Help Others, Please Share


