| |

Apollo Client InstallationWe have already installed Apollo server to build GraphQL specification on server side. Now, it's time to setup Apollo client to built client application. What is Apollo Client?Apollo client is used with GraphQL to provide the best environment to build client applications. It is a complete state management library and a fully-featured caching GraphQL client for JavaScript apps. With Apollo client, we just have to write a GraphQL query, and it will take care of requesting and caching our data, as well as updating our UI. Apollo Client can easily be integrated with React, Angular, Vue, Meteor, and Ember etc. The Apollo client facilitates developers to build a UI quickly with GraphQL. It can also be used to retrieve data from any JavaScript front-end. Features of Apollo ClientFollowing is the list of most important features of Apollo Client:
Apollo Client Supported FrameworksApollo Client supports the following other platforms other than React: JavaScript
Web Components
Native mobile
Setting up Apollo ClientOpen a new node.js command prompt for Apollo client. The node.js server terminal must be kept running before executing the client application. The Client React application will run on port number 3000 and the server application will run on port number 4000. The server application: 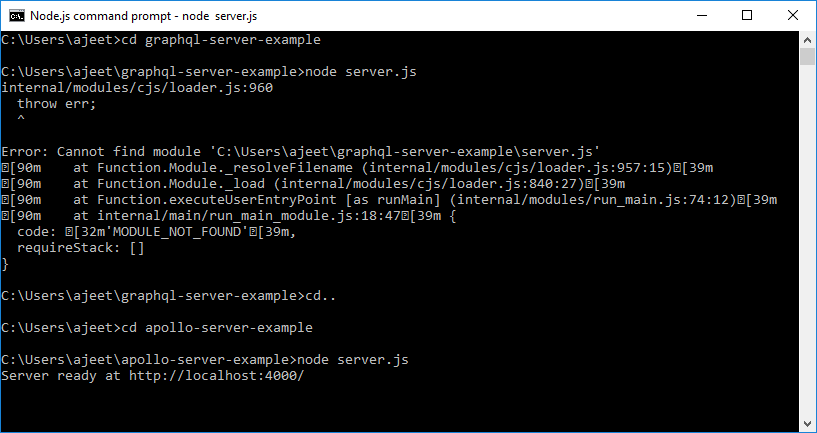
Step1: Create a React Application 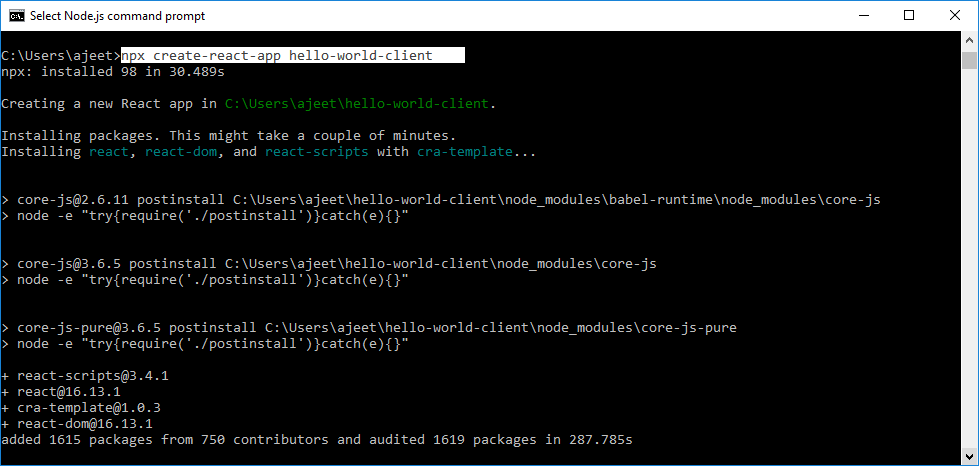
Step2: Start the Client Go to the current folder path "hello-world-client" in the terminal and use the npm start command to launch the project. 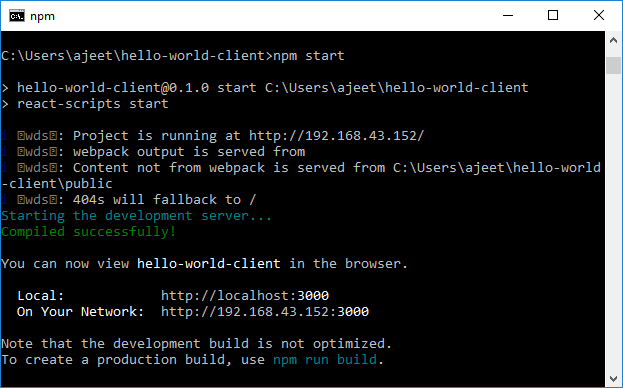
Output: 
Step 3: Install Apollo Client Libraries Here, we are going to install and configure Apollo Client for our React app. The best and simplest way to install and configure Apollo client is using Apollo Boost. This will configure Apollo client with recommended settings. Apollo Boost includes the essential packages for building an Apollo app, such as in memory cache, local state management, and error handling. It can also be used to handle features like authentication. 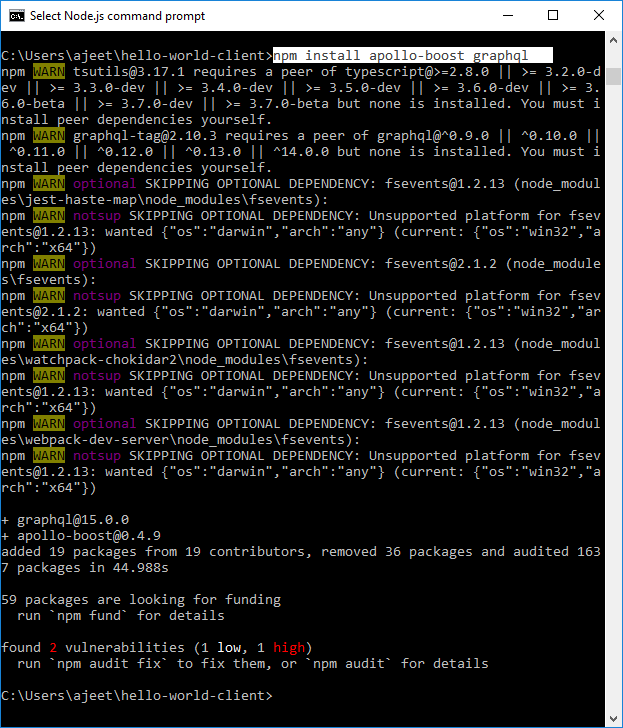
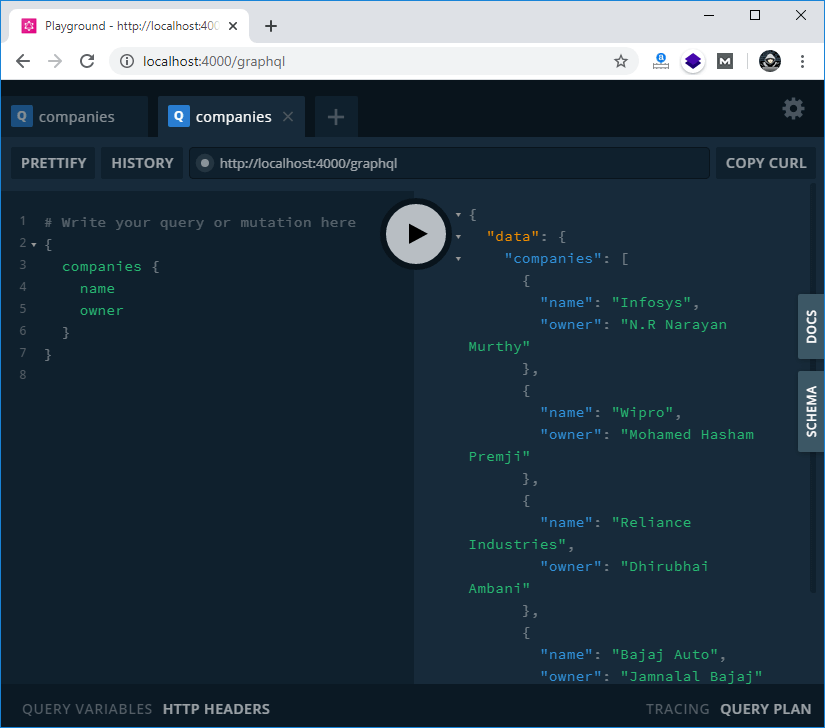
Now, the GraphQL libraries and Apollo Boost package are downloaded for client side. Step 4: Modify the index.js file Modify the App Component in index.js File with the following code: Output:
{
  "data": {
    "companies": [
      {
        "name": "Infosys",
        "owner": "N.R Narayan Murthy"
      },
      {
        "name": "Wipro",
        "owner": "Mohamed Hasham Premji"
      },
      {
        "name": "Reliance Industries",
        "owner": "Dhirubhai Ambani"
      },
      {
        "name": "Bajaj Auto",
        "owner": "Jamnalal Bajaj"
      }
    ]
  }
}
Next TopicApollo Server Installation
|
 For Videos Join Our Youtube Channel: Join Now
Feedback
- Send your Feedback to [email protected]
Help Others, Please Share


