| |

How to Disable Windows 10 UpdateIn Windows 10, one of the most controversial features is its Automatic Updates. Whenever new features or quality updates become available in Windows, those features get automatically installed on your computer system by Windows. Although the automatic updates are for providing users the best services and security feature, updating it at any time is sometimes becomes irritating. Such as, suppose we are going to turn off the system after completing our work, but due to Windows Update, we are forced not to turn off the system without updating. 
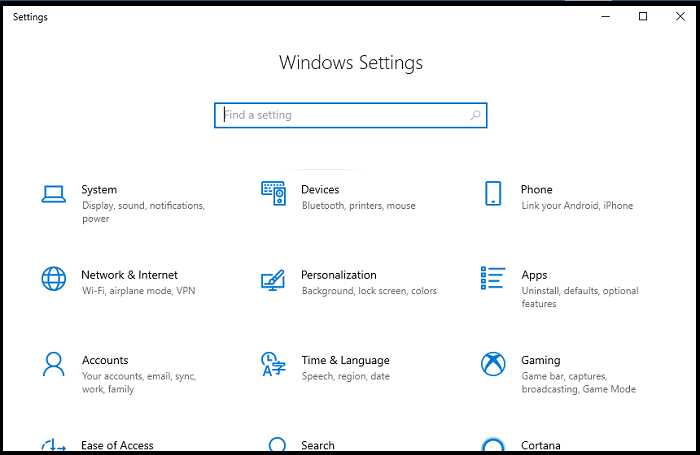
If you are facing such an issue and want to permanently turn off the Windows Update, then you can find ways here. In this topic, we will discuss several ways to turn off the automatic update of Windows 10. Note: Before proceeding with the solutions to stop Windows 10 updates, check your Windows 10 edition (Home, Professional, Education, or Enterprise). You can check it by going to Settings -> System -> About so that you can find the most appropriate solution for your system. Ways to Disable Windows 10 Update
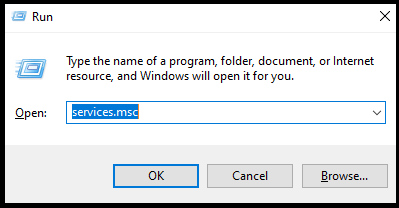
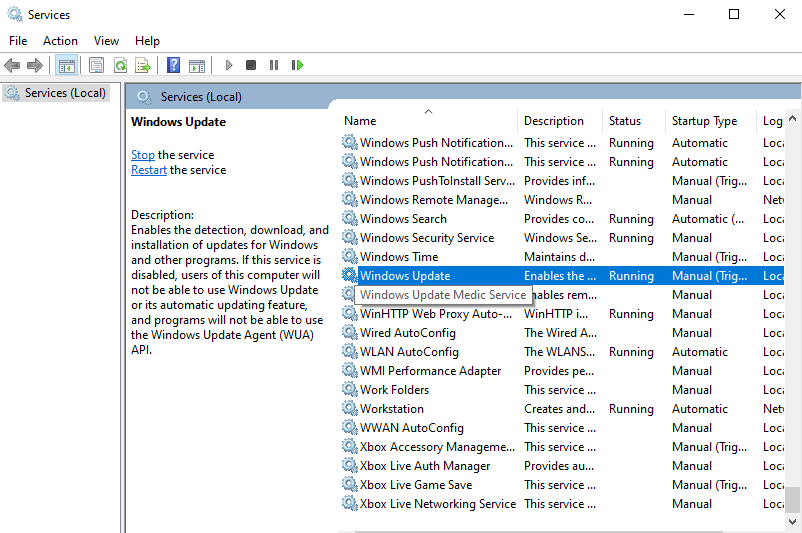
Windows Update is a type of services similar to other Windows Services, and hence it can be turned off similar to other services. To disable it, follow the below steps:
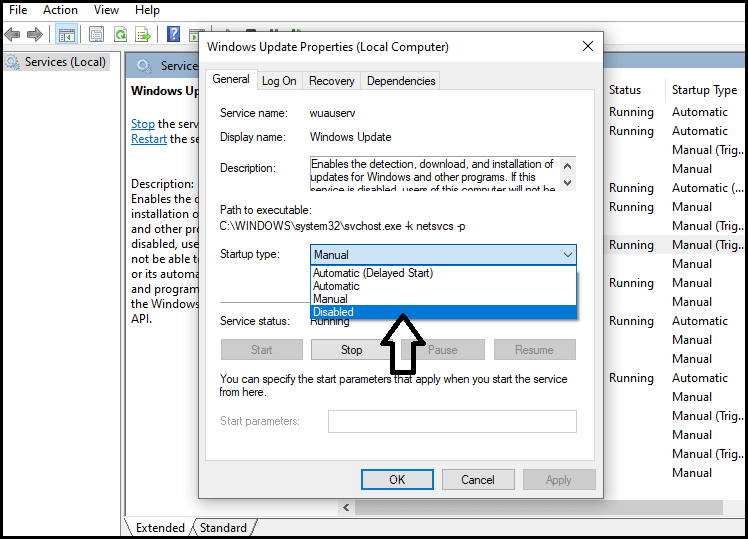
By following the above steps, the automatic update will be disabled. If you want to re-enable this, follow the same steps, and Select "Automatic" from the Start-up type option.
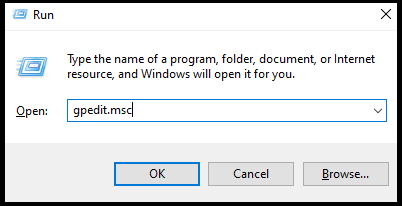
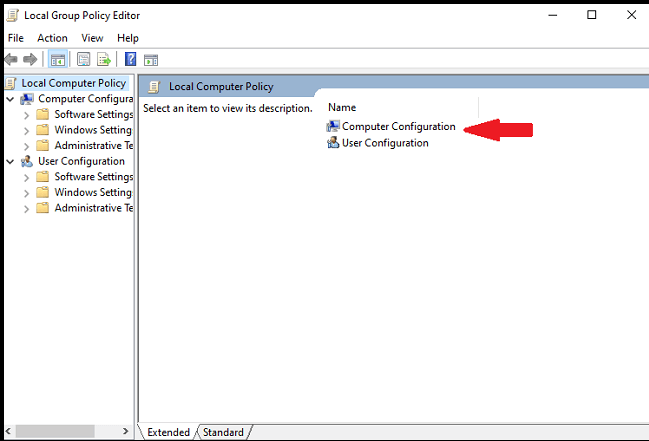
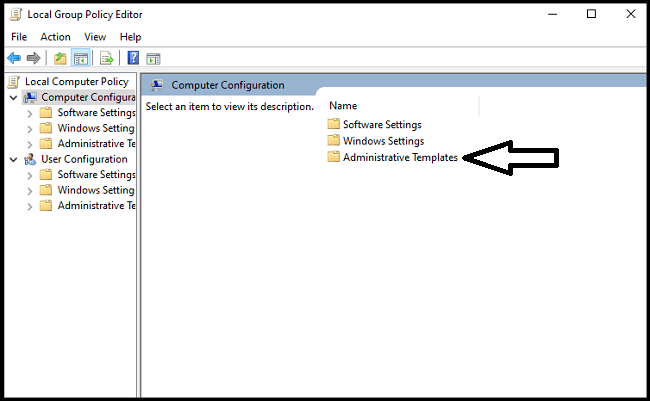
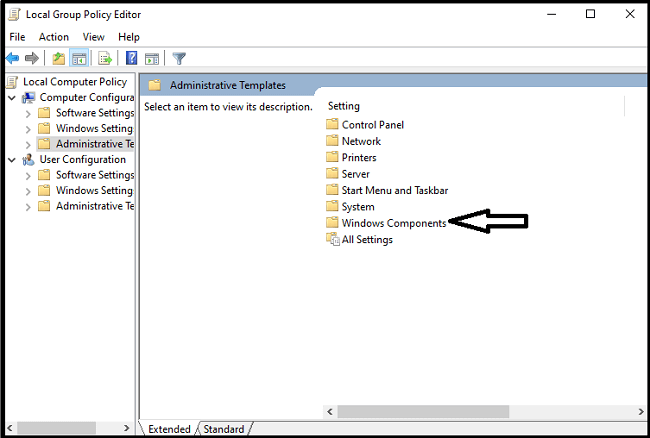
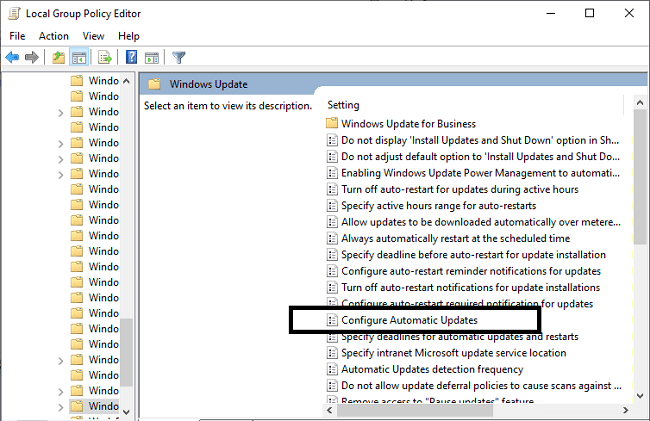
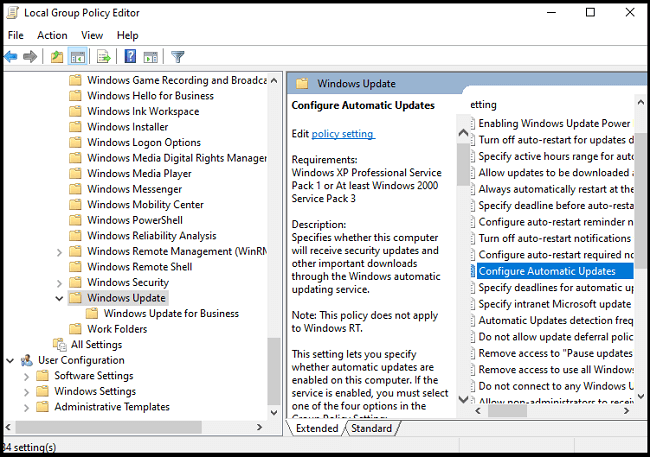
On Windows 10 Pro, Education, or Enterprise Editions, the change in Group policy editor is allowed. Group policy is a Windows features that allows the user to control Windows Account and customize the advanced settings. The local group policy editor is an easy interface that allows users to work with Group policy. This setting allows the user to disable automatic updates permanently or can change the Windows Update policies to decide when updates should be installed on the device. To disable Windows update via Group Policy editor Setting, follow the below steps:
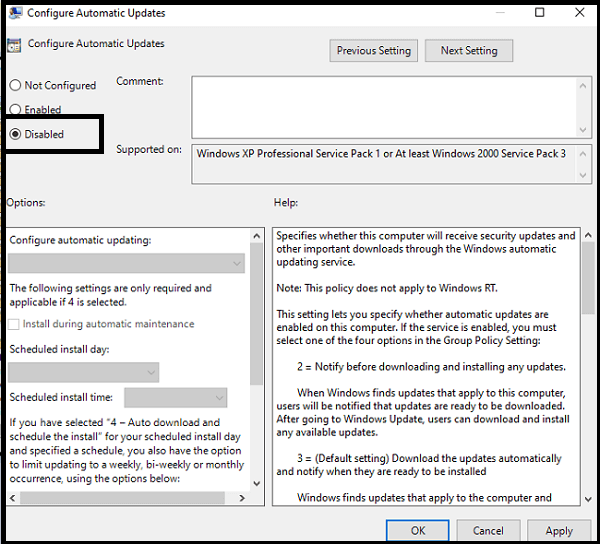
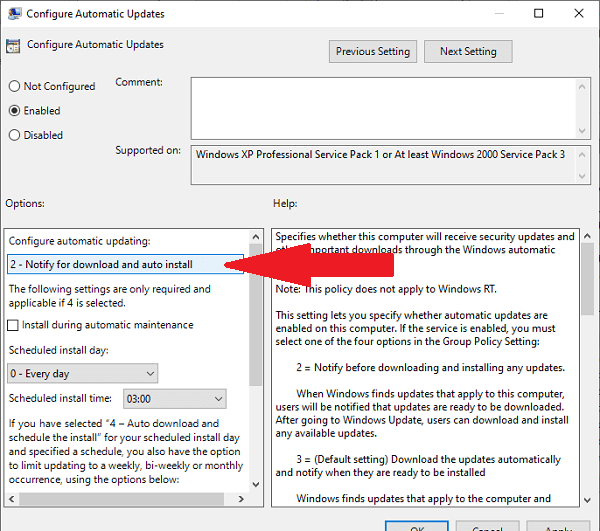
After completing the above steps, Windows 10 will stop downloading updates automatically on your system. However, you can check for updates manually in Settings > Update & Security > Windows Update. On this page, you need to click the Check for updates button to download and install the most recent updates. To re-activate the automatic updates on your system, follow the same steps till step no-4. On step No. 5, make sure to select the Not Configured option instead of Disabled. For Limit UpdatesApart from disabling automatic update permanently, you can customize the policy to get the updates as per your suitability. For this follow the same procedure till step no-4.
After doing the above group policy settings, Windows will give the notification about the available updates, and it is your duty to make sure that those updates get downloaded and installed.
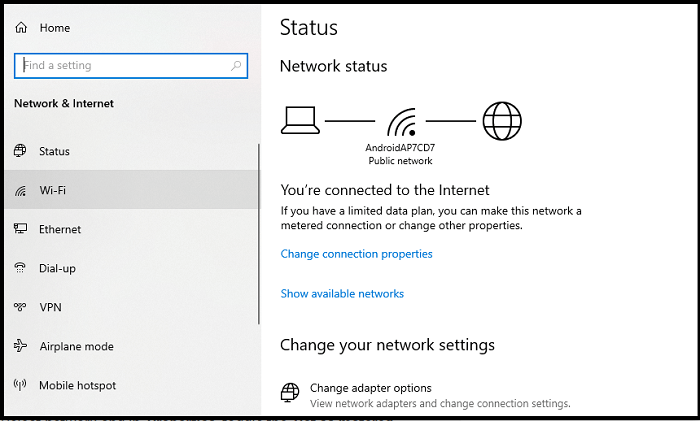
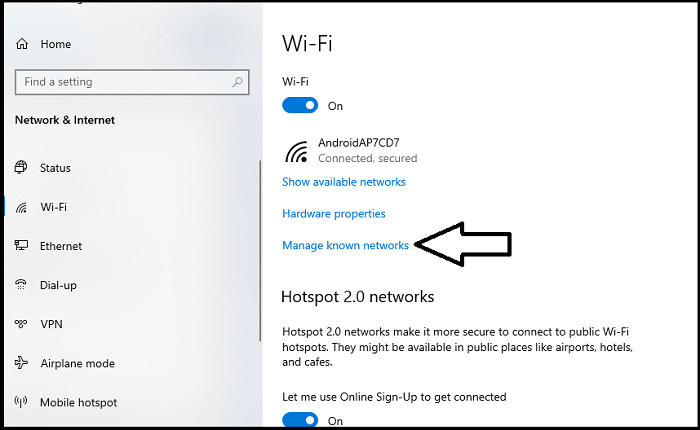
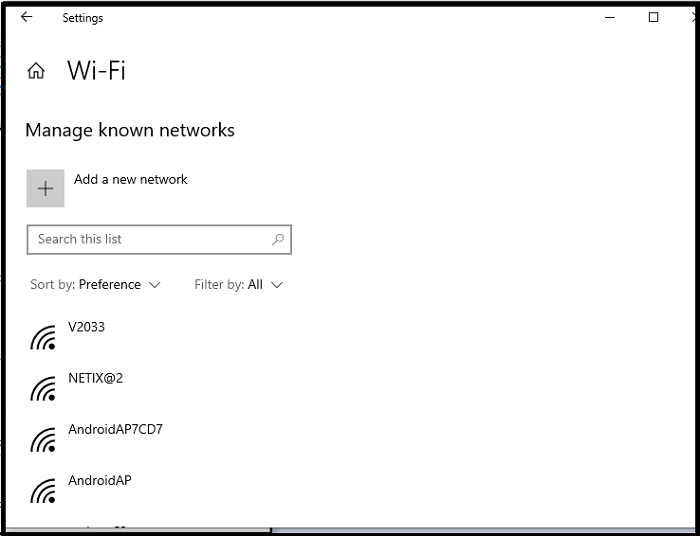
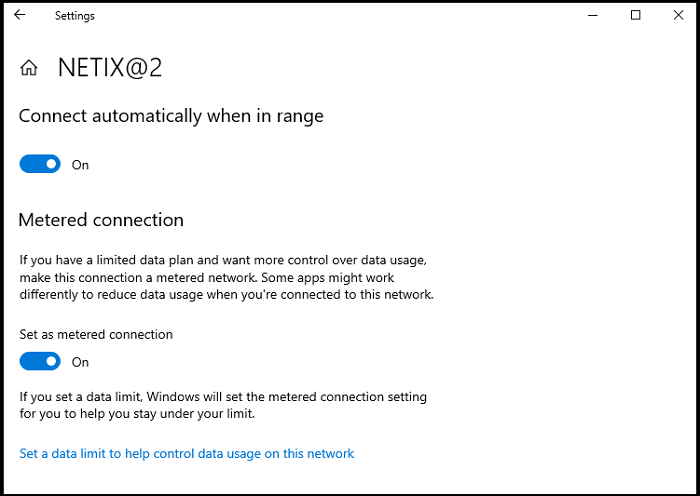
Windows Update always requires suitable internet connection to automatically download and install the updates in your computer. If we connect our machine to the Wi-fi internet connection, then we have an option of metered connection. If we set our internet connection as metered connection, then automatic updates will not occur. It is because in metered connection the bandwidth is conserved, and it provide control to the user for data usage while downloading. Hence if we set up our internet connection as metered, we can easily stop the automatic updates. For setting up the metered connection in Windows 10, follow the given steps:
Note: The option for setting up an internet connection as Metred is available only if the system is connected with a Wi-fi connection. If your system is connected through Ethernet or LAN cable, this option will not be available.
Next Topic#
|
 For Videos Join Our Youtube Channel: Join Now
Feedback
- Send your Feedback to [email protected]
Help Others, Please Share


