How to Install Apache Web Server on Ubuntu 16.04?IntroductionApache web server is an open source and cross-platform web server. It is mostly and widely used server in the world. It is design and develop by Apache Software Foundation in 1995. It is written in C & XML and runs widely on Linux distributions. In this tutorial, we will install apache web server on ubuntu. this whole process includes the following steps. PrerequisitesFollowing are the prerequisites for this installation process.
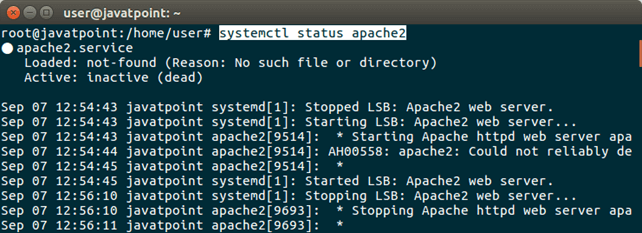
Apache InstallationThis installation process includes the following steps. 1) Check Apache is installed Before installing, check if it is already installed or not by using the following command. It will produce the following output. 
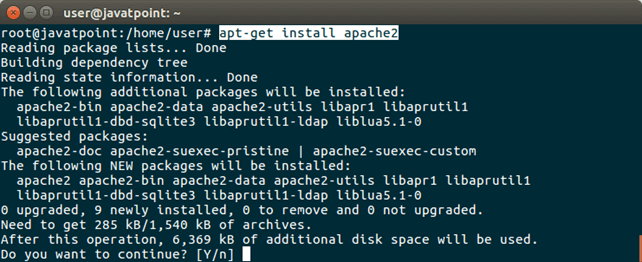
We can see that apache is not installed and status is inactive. 2) Update Package Index Update the system package index by using following command. 3) Install Apache To install apache use the following command. 
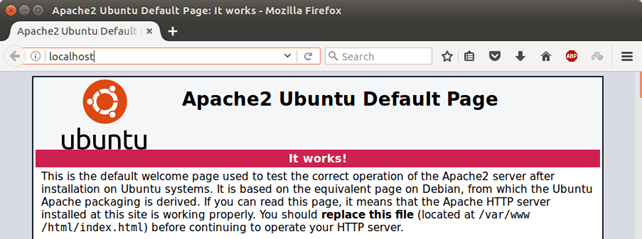
type 'y' and press enter, it will start to download and install apache server to the system. After this process, We can check that server has installed properly by calling localhost from the browser. As we did in the following screen-shot. 
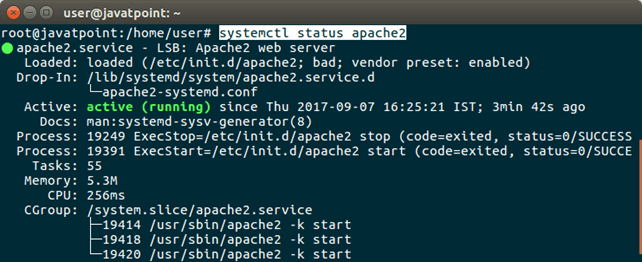
It shows that apache has installed properly and can be accessed from the browser. Extra InfoThis section contains useful commands that can be used to manage server. Server is running by default. Stop Apache Web ServerUse this command to stop server. Start Apache Web ServerUse this command to stop server. Restart Apache Web ServerApache Web Server Status
Apache Web Server LogsApache Web Server manages its log files and store into the /var/log/apache2/ directory. We can see a tree view in the terminal. 
It contains two main log files. access.log, to maintain access related records. error.log, to maintain error related records.
Next TopicHow To Install NGINX In Ubuntu
|
 For Videos Join Our Youtube Channel: Join Now
Feedback
- Send your Feedback to [email protected]
Help Others, Please Share


