How to Install LAMP on CentOS.IntroductionLAMP is an acronym that used to refer a software suit, which contains Linux operating stem, Apache web server, MySQL database and PHP programming language. It is also known as LAMP stack and used to developed dynamic web applications. It is a group of software, so, either we can install all the component software independently or as a single unit. In this tutorial, we will install LAMP on CentOS. Prerequisites
Installation1. Download and Execute the Installer Download the binary file to install LAMP on the CentOS by clicking the link: https://bitnami.com/redirect/to/172954/bitnami-lampstack-7.1.13-0-linux-x64-installer.run. This is a binary file which can be executed on the terminal. In order to execute the file, we need to give the execution persmissions on the file. Execute the following command for this purpose. Execute the following command to run the installer script. The time we run the installer script, a window opens which prompts to setup LAMP on CentOS. Simply choose all the component which we want to install and click Next. 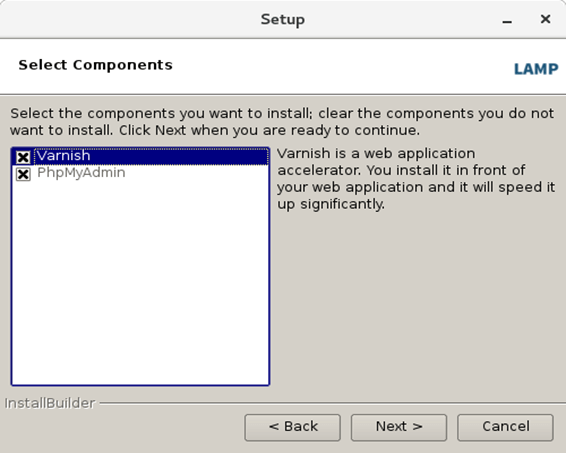
The next window prompts to browse the folder where we want to install LAMP. In my case, I have chosen /opt/lamp. 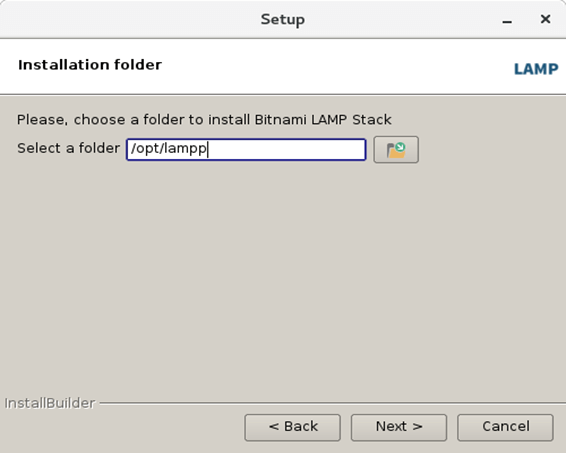
This step is the most important step since it asks for the database server password for the root user. This password is used to access MySQL on command line hence we are required to remember this password. Simply enter an easy to remember password and click Next. 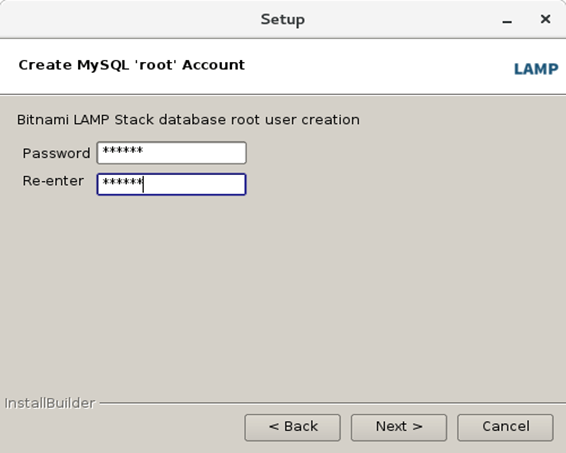
This step prompts us whether we want to deploy our lampstack on the cloud. Tick the option if desired and click Next. 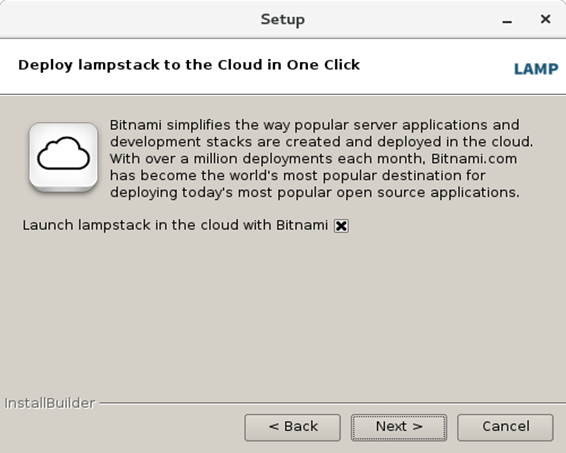
Now, we have filled all the desired details. The setup is ready to start the Installation process. Simply click Next to start the process. 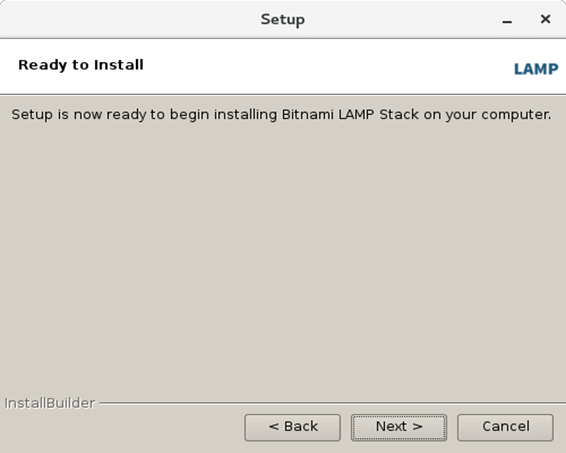
Now, LAMP is installing our CentOS. 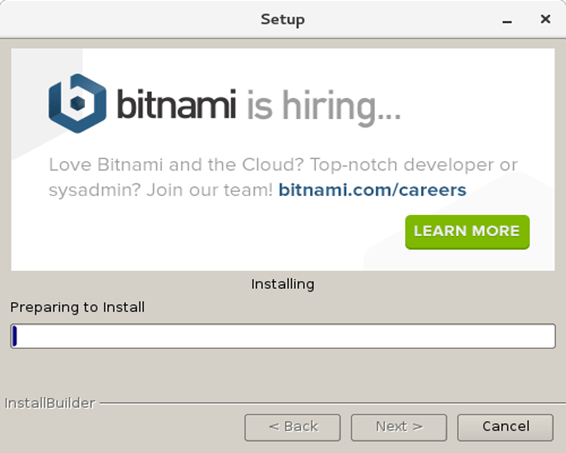
Now, LAMP has been installed on our CentOS. Choose the Launch option to launch LAMP stack manager. 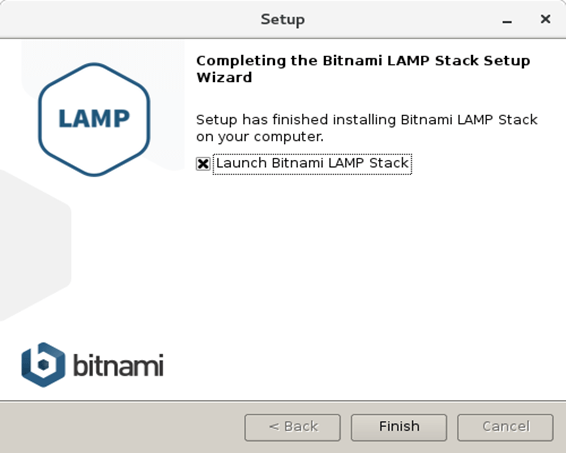
Hence, Bitnami LAMP stack has been launched. We can manage the Apache and MySQL servers here in GUI Mode. We can also manage the servers on Command line. 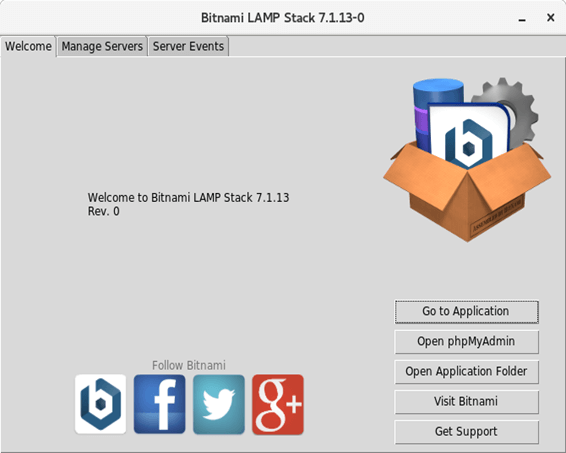
2. Working on MySQL command line Change the working directory to /opt/lampp/mysql/support-files and Execute the following command to start the MySQL server. We need to change the working directory to /opt/lampp/mysql/bin and execute the following command to access MySQL shell. Simply enter the password which we have entered when we installed LAMP and it will take us to the MySQL shell where we can execute our queries. Here we have created a database named as javatpoint by executing the following query. 3. Starting Apache and MySQL from command line Apache and MySQL can also be started through a simple command given below. 
We can also start or stop individual servers by mentioning the name in the command as shown below. 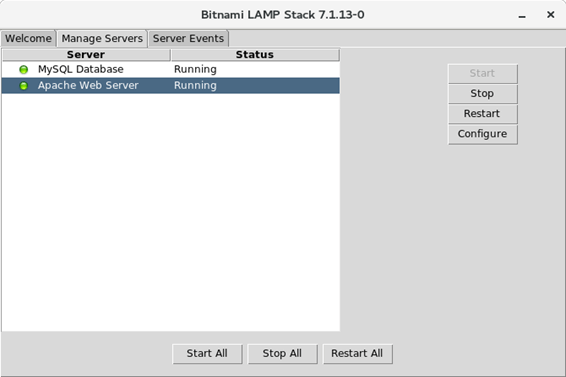
We can test whether Apache web server is running fine on the system by typing localhost:8080 in the browser's search bar. The browser shows the response as shown below. 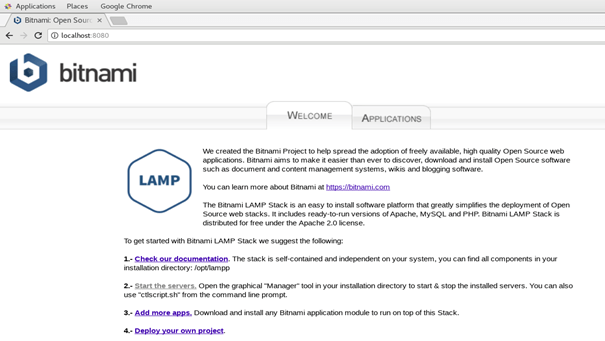
Hence, we have installed and get started with LAMP on CentOS.
Next TopicInstall Apache
|
 For Videos Join Our Youtube Channel: Join Now
Feedback
- Send your Feedback to [email protected]
Help Others, Please Share


