How to install Magento 2 using Composer?In this section, we are going to discuss the installation of Magento 2.3.2 using composer on windows. Here, we are installing the latest version of Composer, i.e., v1.9.0. Before installing the composer, XAMPP must be installed on our system, otherwise we are not able to use the composer. So, for Xampp installation, see the Magento 2 XAMPP Installation tutorial. Pre-requisites
Step 1: Download the composer 1.9.0 from the following site https://getcomposer.org/download/. Click on Composer-Setup.exe to download the composer for windows, as mention in the below screenshot. 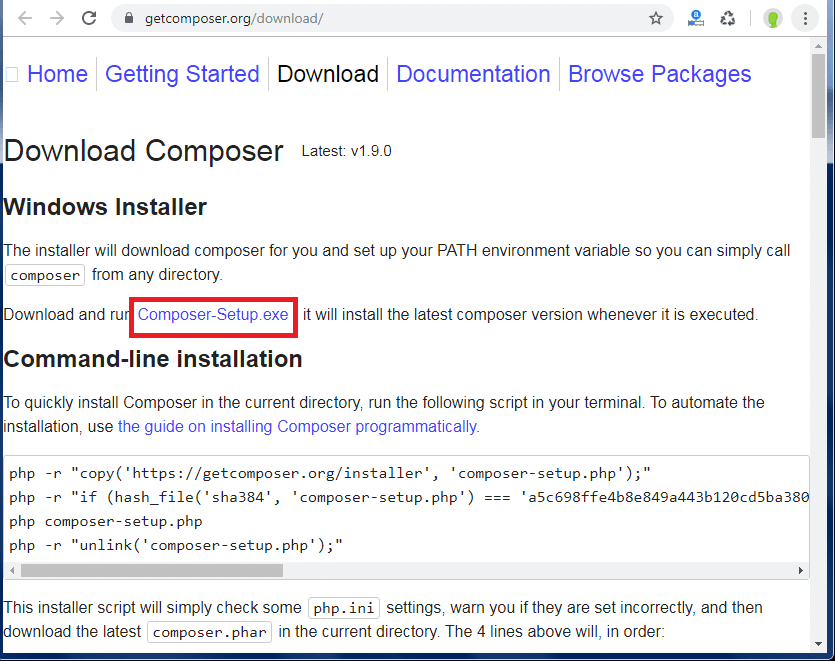
Step 2: After downloading the composer, double click on the downloaded file to run. Now, click on Run. 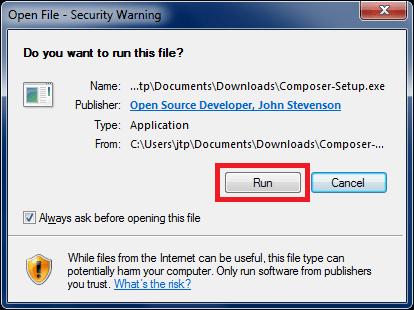
Step 3: If you are a beginner, then leave the Developer mode uncheck and click next. Developer mode is a bit advanced so, if you are a beginner, do not check the box. 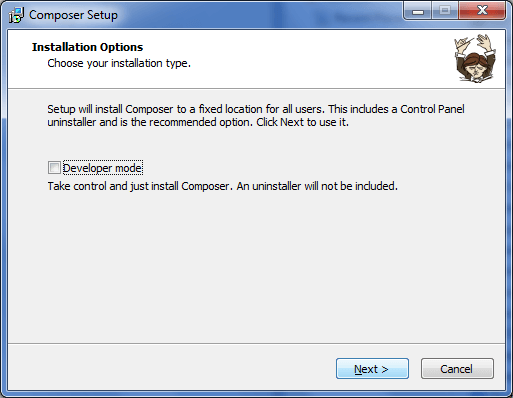
Step 4: Browse the location where you want to install the setup of the composer. By default, it takes C drive. For more convenience, install the composer setup in the same drive, where you installed XAMPP. 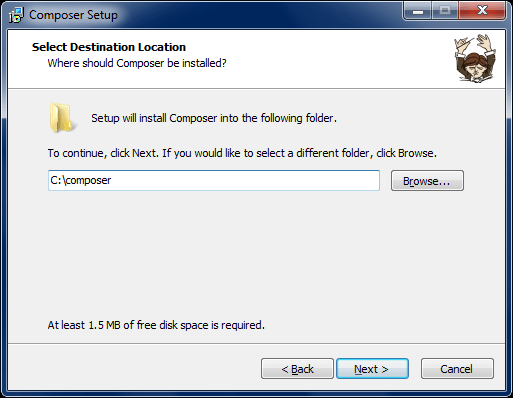
Step 5: There is no need to change anything. Click Next to Continue. You must have to install PHP on your system before installing composer. 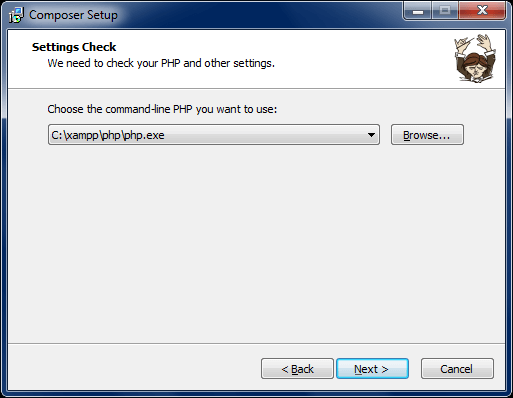
Step 6: Here, you can leave it empty. So, click on Next to Continue. 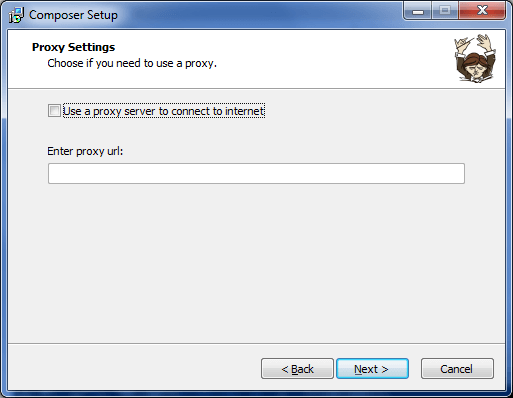
Step 7: The wizard below will show the PHP version of what we are going to use, i.e., 7.2.22 for our current tutorial. Click on Next and move ahead. 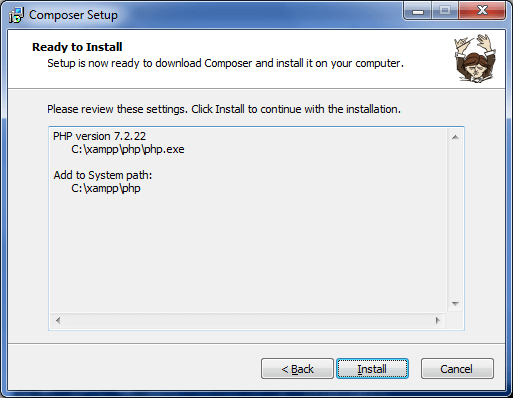
Step 8: Click on Next to Continue. 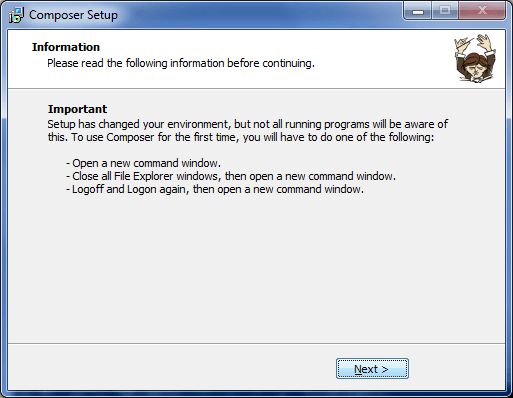
Step 9: Installation is completed. Composer setup is successfully installed on the system. So, click on the Finish button. 
Step 10: Open the command prompt and type a command composer. If the output will show same as the below screenshot, then the composer is successfully installed. 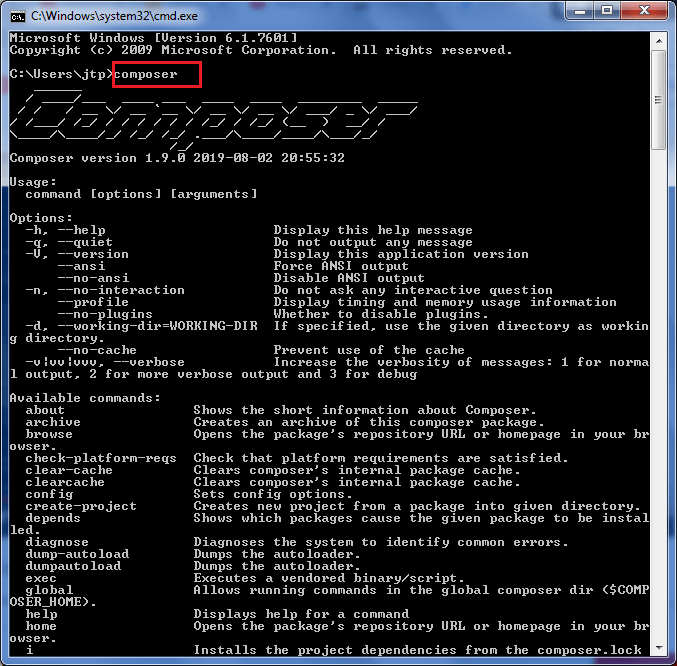
Now, we will install the latest version of Magento, i.e., Magento 2.3.2. Step 11: Download the Magento 2.3.2 from https://magento.com/tech-resources/download. Select the format of Magento before clicking on download. 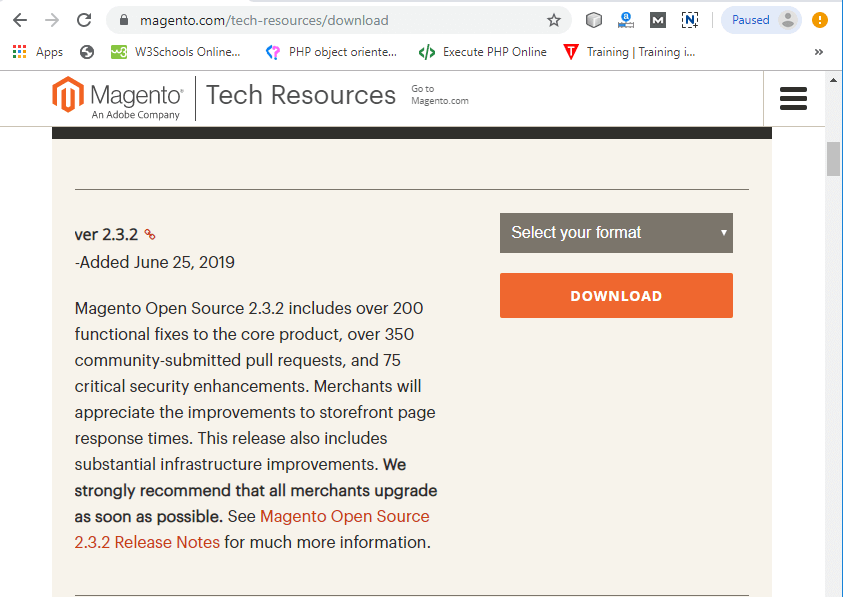
Step 12: Select the zip format of Magento for windows platform, and then click on download. 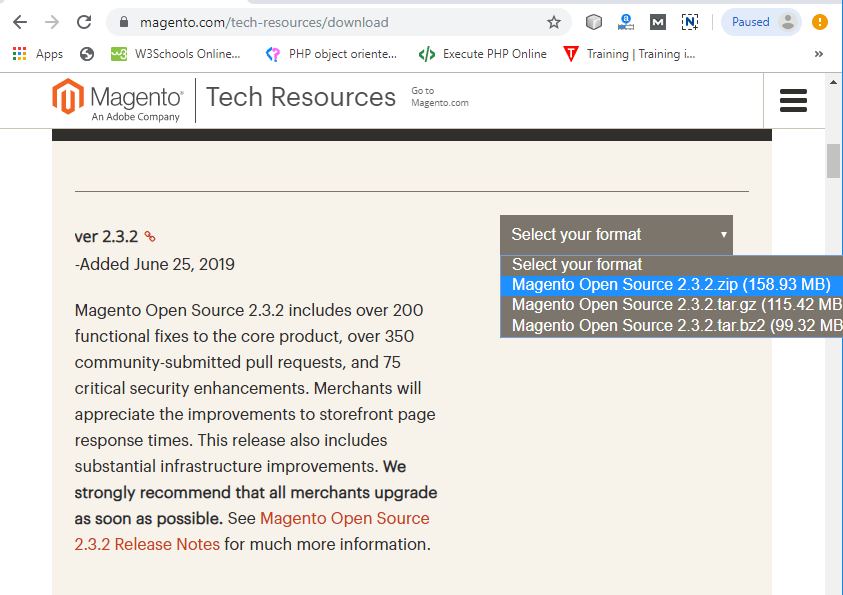
Step 13: Before downloading the Magento, it will ask you to login. Login with registered email and password if you are an existing user, otherwise create a new account. Click on Create a new account for the new user. 
Step 14: Enter the details correctly here and create a new account. 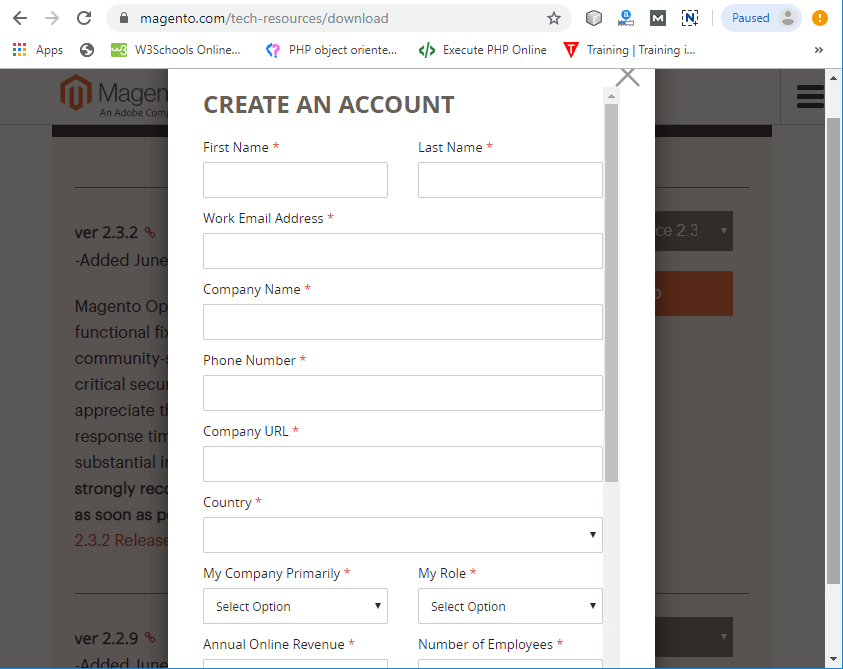
Step 15: Now, login with the email and password after creating the account, and click on Login and Download. Downloading will automatically start. 
Step 16:Now, create a new folder by the name magento2 in htdocs folder inside xampp, i.e., xampp -> htdocs. 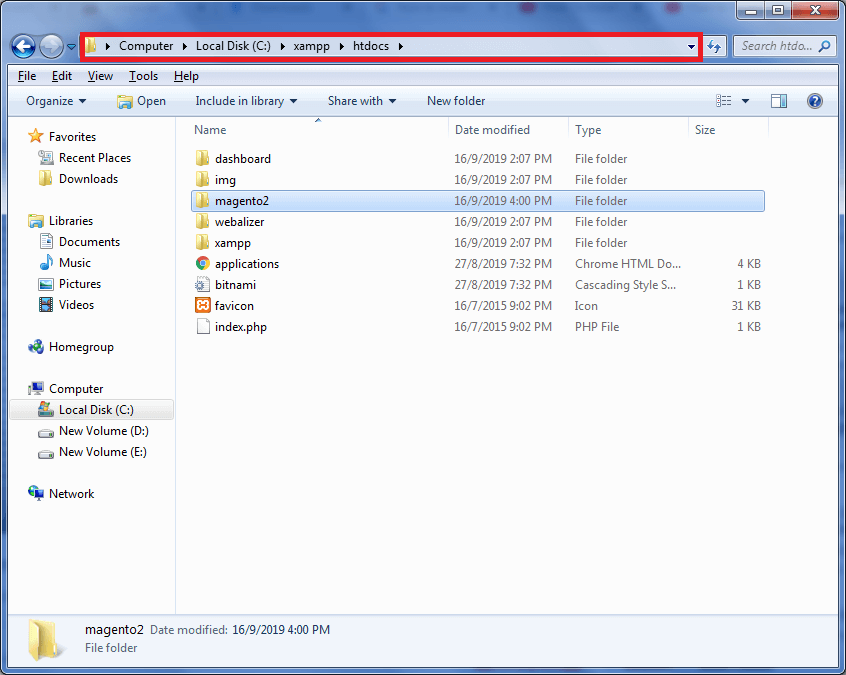
Step 17: Extract the downloaded Magento 2.3.2 zip file in magento2 folder, which you have created in the previous step. To extract the zip file right click on the downloaded file and select extract file, then provide the path for extraction. 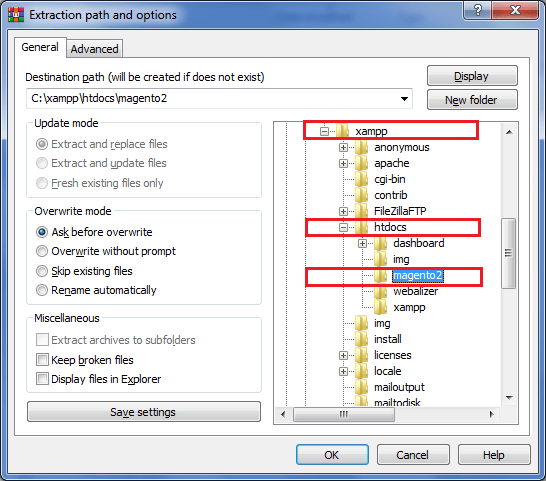
Step 18: Now, open the command prompt. Firstly change directory to C:\xampp\htdocs\magento2, where you extract the Magento, and then run a command composer install on command prompt. 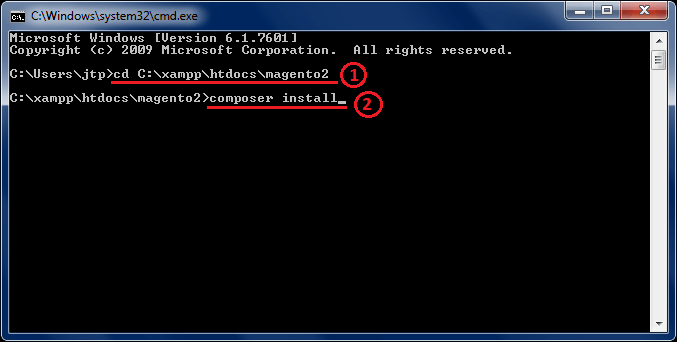
Step 19: Run another command php bin/magento setup:install on command prompt. It will show an error that xsl, intl, and soap extensions are missing. 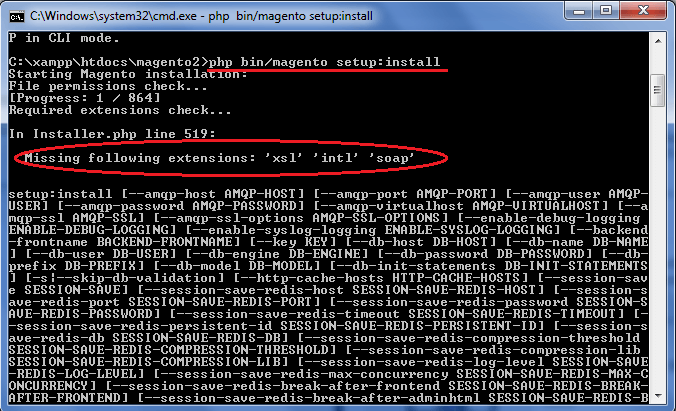
Step 20: To remove extension missing error, open php.ini file in notepad inside the xampp -> apache -> config -> PHP (php.ini). 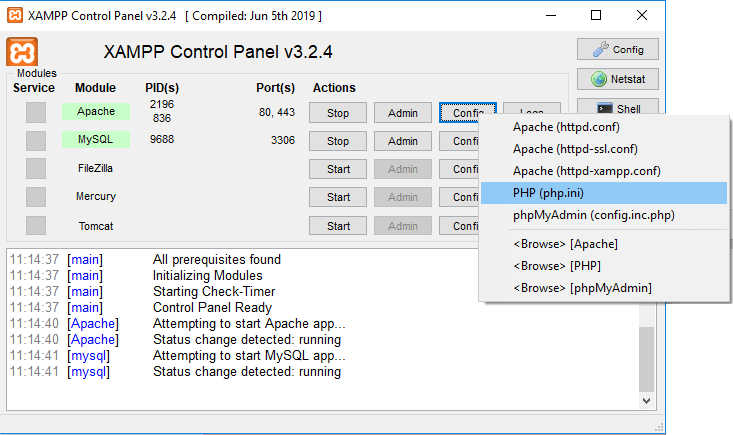
Step 21: Find 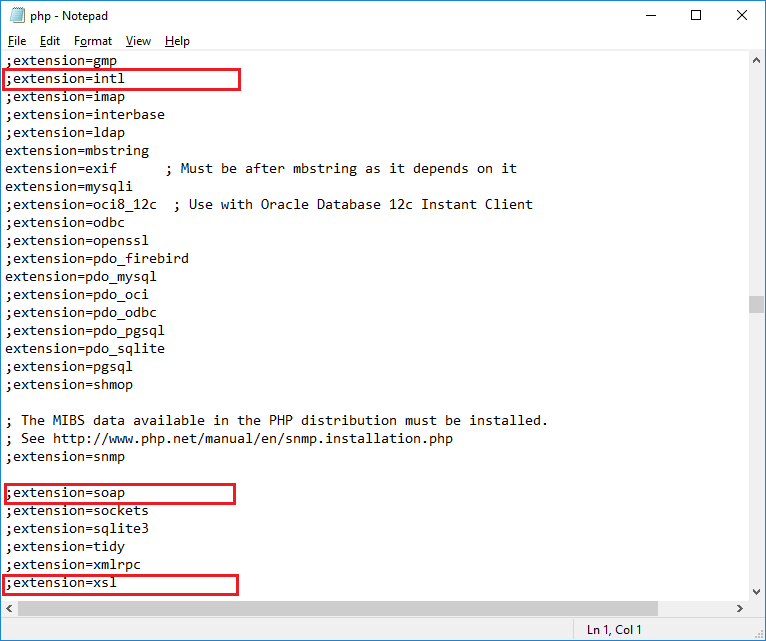
Step 22: Again execute php bin/magento setup:install on command prompt. It will show another error that the database with magento2 name does not exist. So, create a database by the name magento2 in phpMyAdmin.
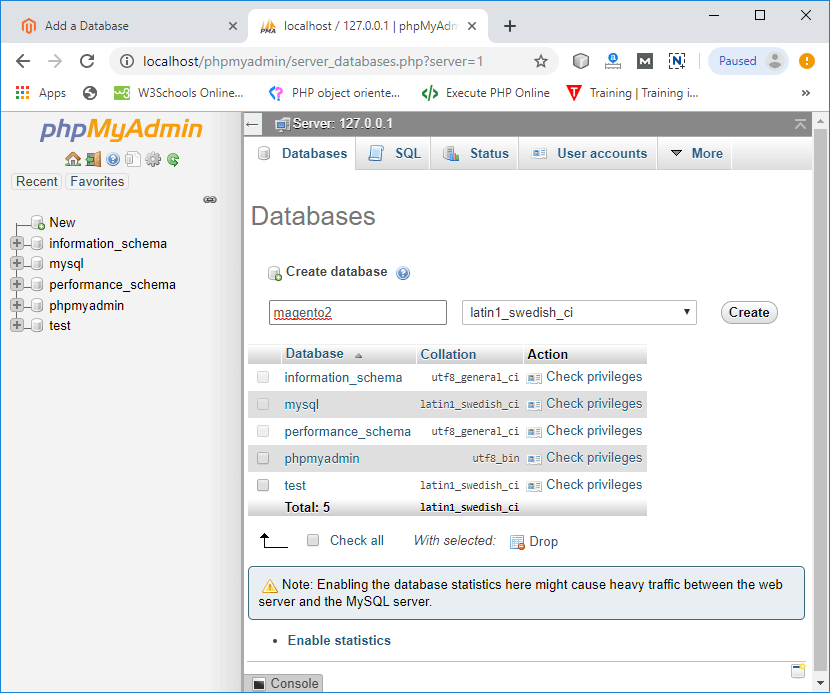
Step 23: Now run the below command on command prompt, by changing as per your magento and database configuration. 
Now the installation of Magento is started in your system Step 24: You can see that the installation is completed. Note down the Admin URL from here. 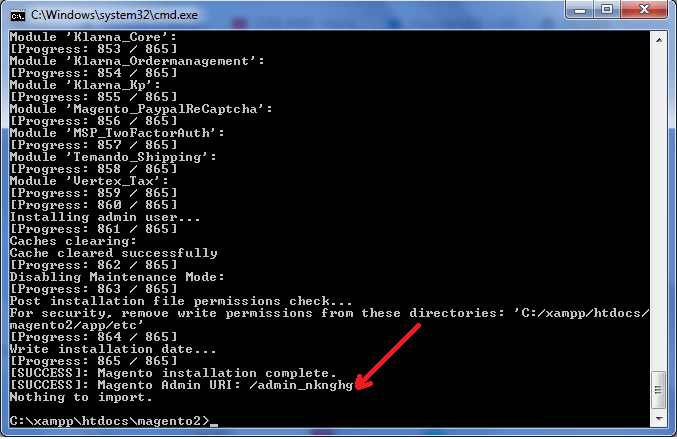
Step 25: Magento 2.3.2 is installed successfully. Now, open the browser and type Magento Admin Address - localhost/magento2/admin_nknghg/ Store address (front end) - localhost/magento2/ in separate tab. Magento Admin Panel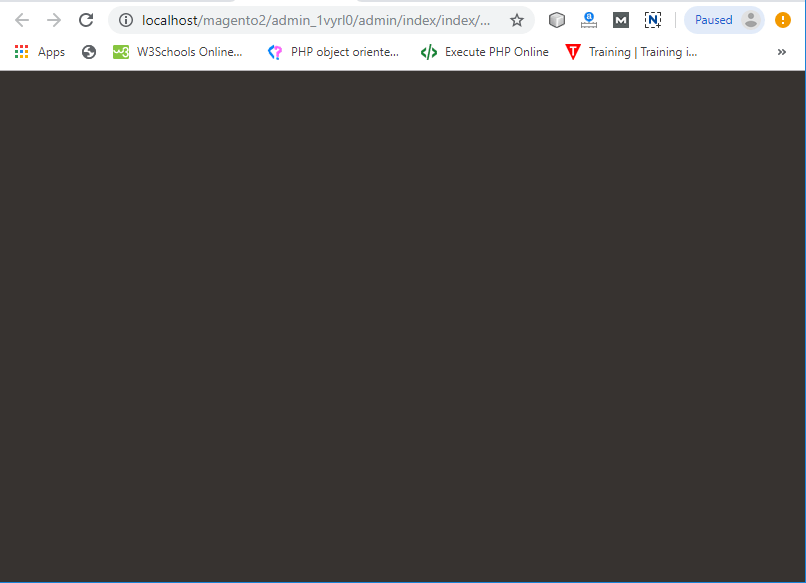
If the admin login panel does not open and shows a blank screen on the browser by the Magento admin address URL, then follow the below instructions.
Replace code Replace with Now, save the validator.php file and reload the Admin page. The admin panel is visible properly. 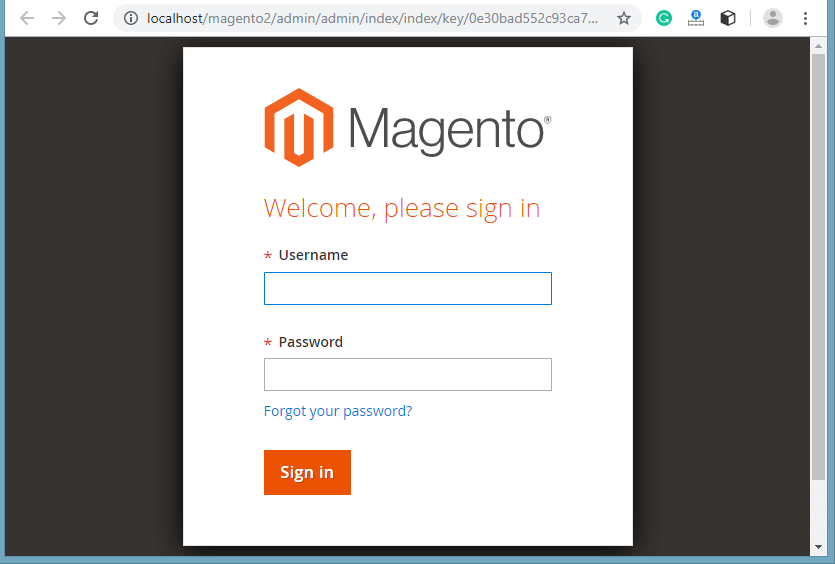
Luma themeThe front end interface is missing the Luma logo using store address, and the page will display like the below screenshot, then follow below step to fix the error. 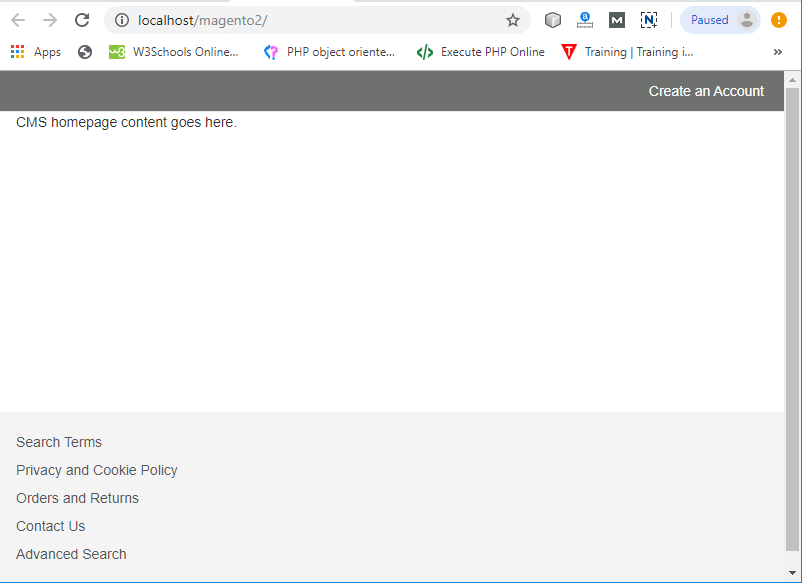
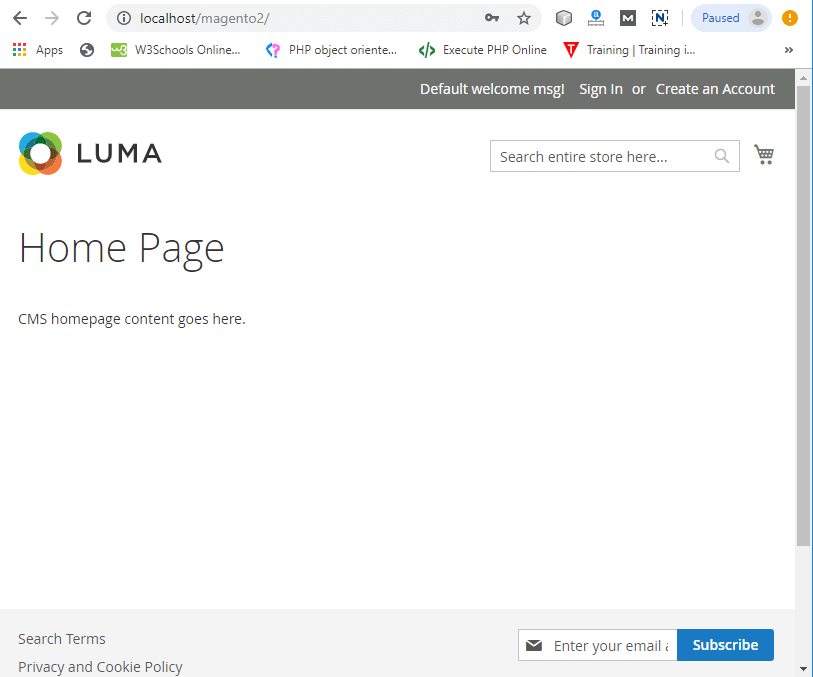
After removing all errors, installation of Magento 2.3.2 is completed here, and now all components of Magento are working properly.
Next TopicErrors while installing Magento 2
|
 For Videos Join Our Youtube Channel: Join Now
Feedback
- Send your Feedback to [email protected]
Help Others, Please Share


