How to Install NetBeans on CentOSIntroductionNetBeans is the software development platform written in Java and developed by Sun Microsystems. It is an official IDE for Java development. It was later acquired by Oracle. The latest version of NetBeans that is NetBeans 8.2 was released on October 2, 2016. In this tutorial, we will install NetBeans on CentOS. Prerequisites
InstallationInstallation includes following steps. 1) Download the latest version Download the latest version of NetBeans by clicking the link https://netbeans.org/downloads/start.html?platform=linux&lang=en&option=all. 2) Run the Installer The Downloaded file is a script file netbeans-8.2-linux.sh which needs to be executed on the terminal in order to start the installation process of NetBeans on CentOS. 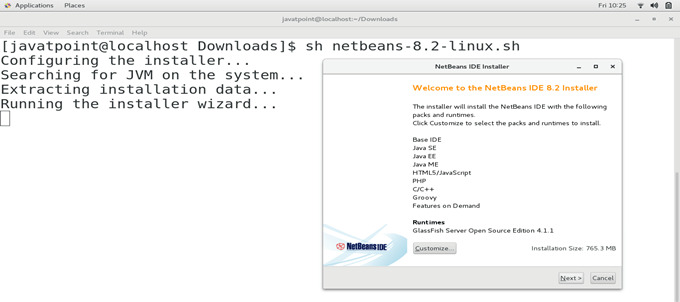
Accept the license agreement and click on Next to continue. 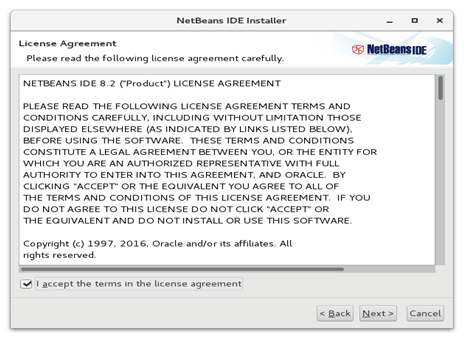
This window simply prompts to enter the Installation location of NetBeans and JDK, enter the information and click on Next. 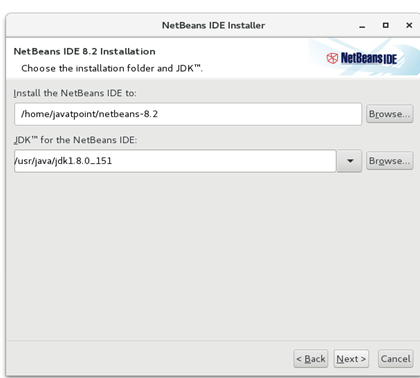
Browse the location in which glassfish installation is desired and enter the path of JDK which is to be used by glassfish server. 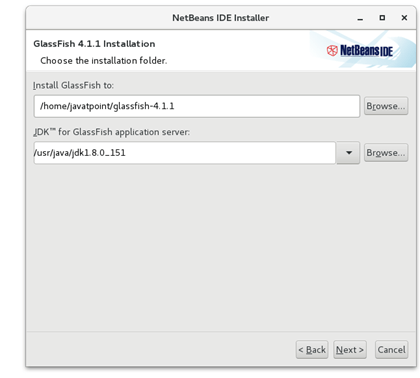
Now, we are all set to install NetBeans on CentOS. Just click install to start the installation. 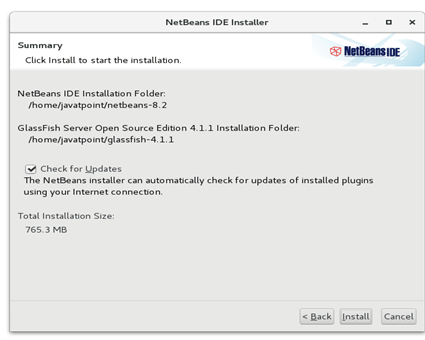 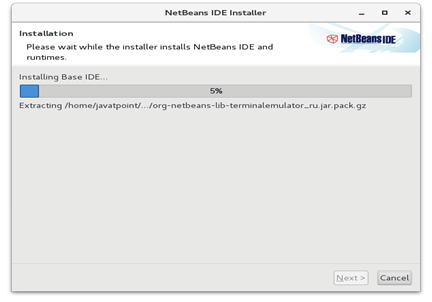
Click on finish to complete the installation and launch the application. 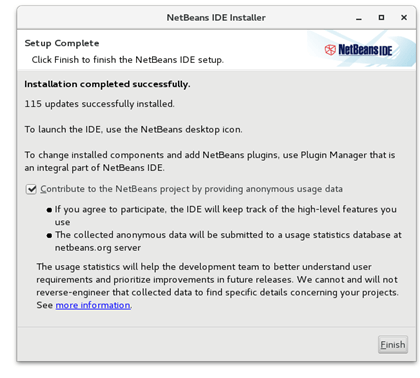
The application can also be launched by searching for the application in the Application bar. Double click on the icon to launch NetBeans. 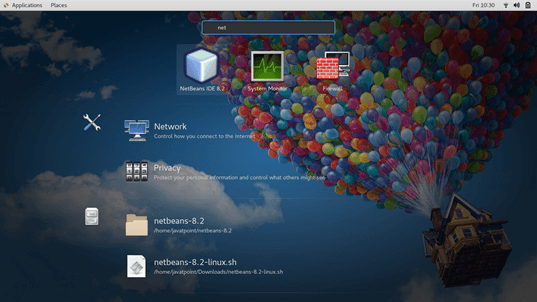 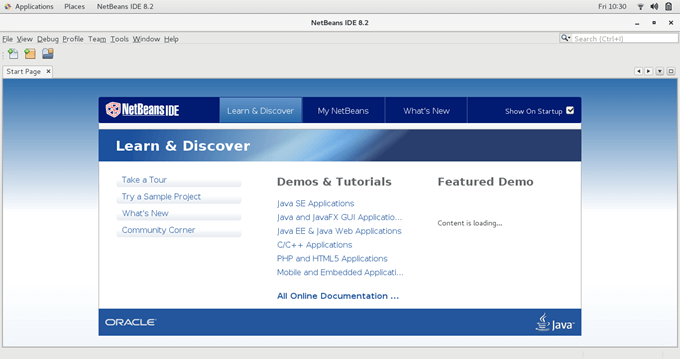
Hence, we have successfully installed and get started with NetBeans.
Next TopicInstall Eclipse
|
 For Videos Join Our Youtube Channel: Join Now
Feedback
- Send your Feedback to [email protected]
Help Others, Please Share


