| |

How to Install YII on CentOS.IntroductionYII is an open source, object oriented, component-based MVC web framework written in PHP. Its alpha version was released in October, 2006. Its first formal version 1.0 was released in December, 2008. The current version of YII is 2.0.0 which also supports PHP 7. It can be an acronym for Yes It Is. In this tutorial, we will install YII2 on CentOS. Prerequisites
InstallationInstallation includes following steps. 1. Install fxp/composer-asset-plugin Execute the following command to install fxp/composer-asset-plugin which is necessary in order to craft new YII Application. 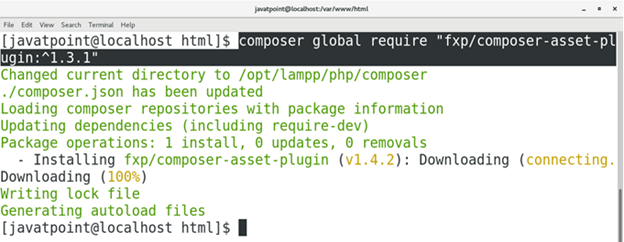
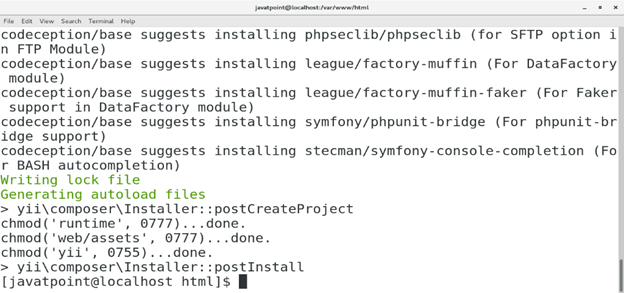
2. Create Project Execute the following command to create a new YII powered Application (named as javatpoint3 in my case). 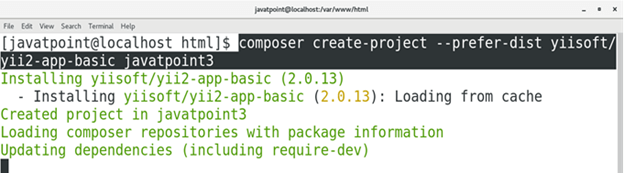
3. Provide Hidden Tokens The process prompts us to enter the YII-tokens which needs to be generated by using our github account. 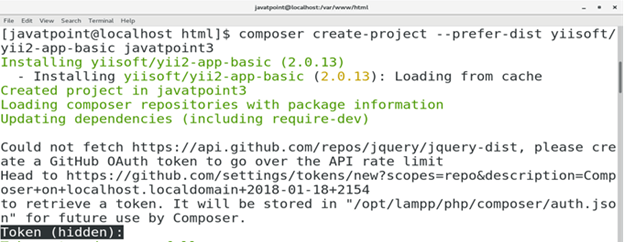
In order to generate our personal Access tokens, we need to login to our github account and go to user profile ---> select settings ---> Developer Settings ---> Personal access tokens ---> generate new tokens. 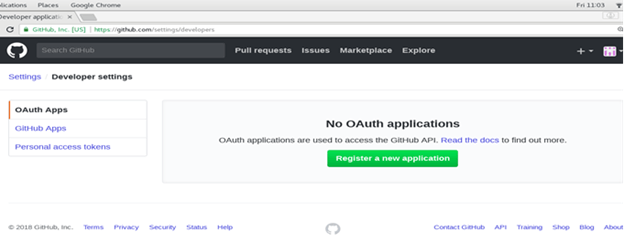
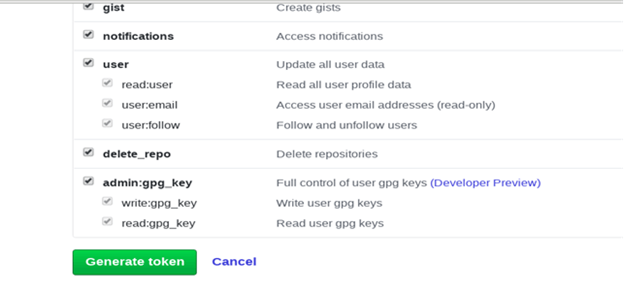
Fill yii-tokens in place of token description. Select all the options and click Generate token. 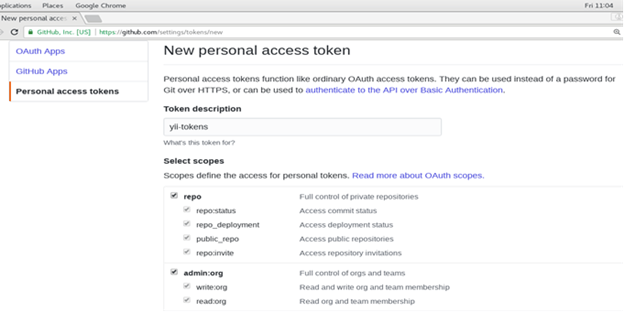
Now, our personal access token is generated. Copy this and paste on the terminal. 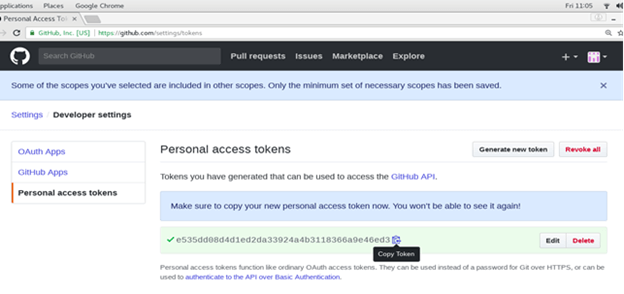
Since the token is in hidden form hence we are not going to see it. Just paste the token and press Enter. The process will show the message Token stored successfully. 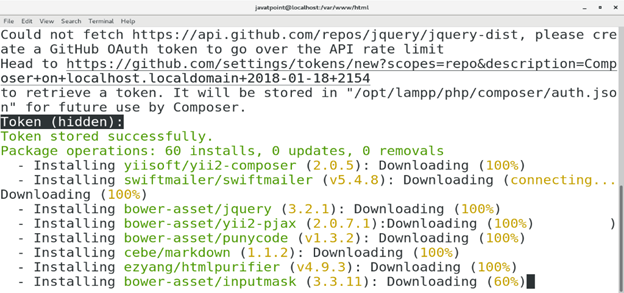
4. Start the PHP development server After all this process, we just need to start the PHP development server. First change the current working directory by typing cd javatpoint3 and then execute the following command. 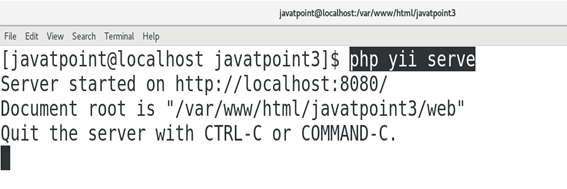
5. Access on browser Type localhost:8080 in the browser's search bar to access YII on browser. 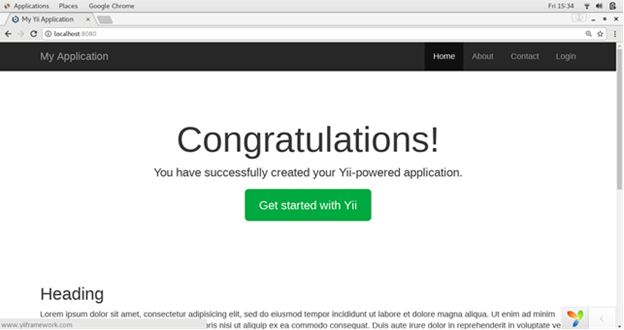
Hence, we have installed and gat started with YII on CentOS.
Next TopicInstall Magento
|
 For Videos Join Our Youtube Channel: Join Now
Feedback
- Send your Feedback to [email protected]
Help Others, Please Share


