| |

How to schedule an email in GmailWe can easily schedule an email on the computer and the mobile device. What is meant by scheduling an email? Gmail provides a method to schedule an email. We can select the appropriate date and time for the email. The selected email will be sent automatically on the specified date and time. It is a message that can be sent in the future. We can write a message in advance, set the delay time so that the message must be sent at the specified time. The scheduled emails are sent based on the specified time zone. When is it useful? The scheduling of an email is useful when:
Can we cancel the scheduled email? Yes. We can cancel the scheduled email in Gmail. Further steps will be discussed in this topic. Can we edit the scheduled email? Yes. We can edit the scheduled email in Gmail. Further steps will be discussed in this topic. How many schedule emails can we have in our Gmail account? The limit of scheduled emails in our Gmail account is 100. Let's start with the following steps: Scheduling an email on the computerThe steps to schedule an email in Gmail on the computer are listed below: 1. Open the Gmail account and login using the Gmail ID and password. We can directly use the URL: https://mail.google.com/ to login to Gmail. 2. On the homepage of our Gmail account, click on the 'Compose' button present on the top-left corner of the screen, as shown below: 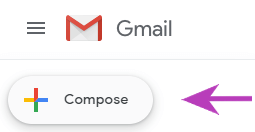
3. A new message box will appear. Specify the recipient, subject, and information to be sent, as shown below: 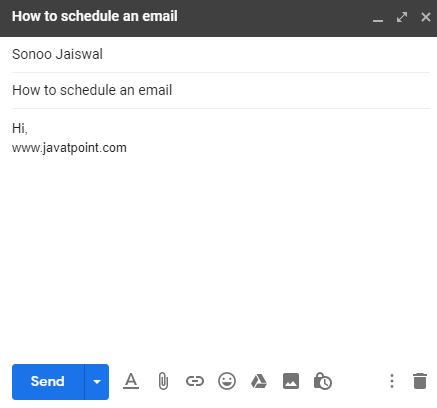
4. Click on the small arrow in front of the 'Send' button at the bottom, as shown below: 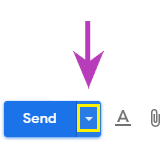
5. A drop-up box will appear. Click on the 'Schedule send' option, as shown below: 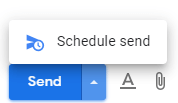
6. A dialog box will appear to specify the date and time, as shown below: 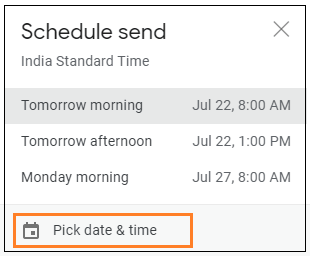
7. Click on the 'Pick date & time' option, as shown above. 8. A dialog box will appear. Specify the date and time according to the requirements. Here, we have specified the date (31st July) and time (5:40 PM). It is shown below: 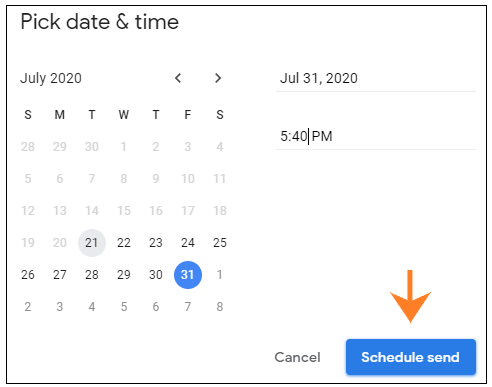
9. Click on the 'Schedule Send' option at the bottom of the box, as shown above. 10. Now, the email is scheduled and will be sent on the specified date and time automatically. Editing the Scheduled emailThe steps to edit the scheduled email are listed below: 1. Open the Gmail account and login using the Gmail ID and password. 2. Click on the Main menu icon (with three horizontal lines) present on the top-left corner of the home page, as shown below: 
3. Click on the Schedule option. It is shown below: 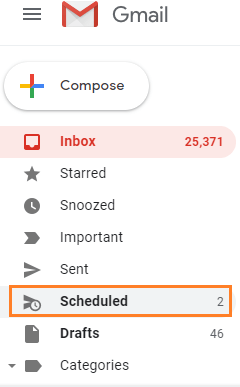
4. The scheduled folder will be opened, as shown below: 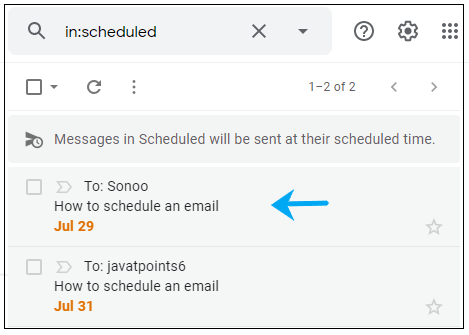
5. Click on the email that we want to edit. Here, we will open the first email, as shown below: 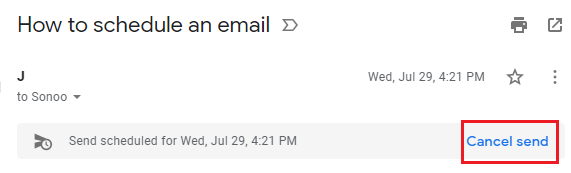
6. Click on the Cancel Send option present on the right, as shown above. 7. The scheduled time will be canceled, and the message box containing all the information will reappear. Specify the changes and again schedule the email by following the above steps. Deleting the Scheduled emailThe steps to delete the scheduled email are listed below: 1. Open the Gmail account and login using the Gmail ID and password. 2. Click on the Main menu icon (with three horizontal lines) present on the top-left corner of the home page, as shown below: 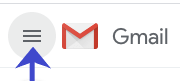
3. Click on the Schedule option. It is shown below: 
4. The scheduled folder will be opened. Click on any scheduled email that we want to delete. It is shown below: 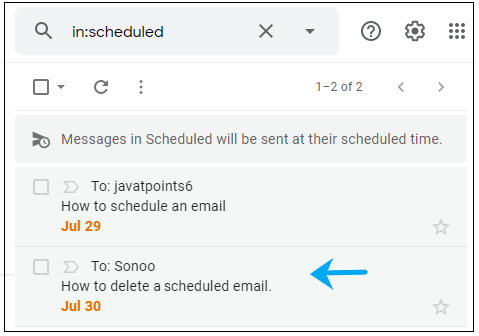
Here, we will delete the second email, as shown above. 5. Click on the small square box behind the email, as shown below: 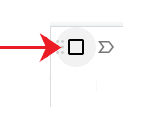
6. It will now appear as: 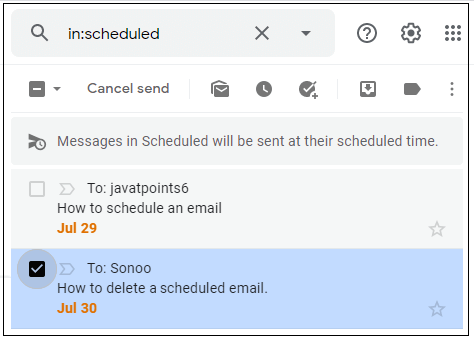
7. Click on the Cancel Send option on the top, as shown above. 8. The selected email will be deleted. Note: The changed or deleted scheduled email is always reverted to the Draft folder.Scheduling an email through the Gmail appThe steps to schedule an email through the Gmail app are listed below: 1. Open the Gmail app. 2. On the home page of our Gmail account, click on the Compose button present on the bottom-right corner of the screen, as shown below: 
3. A new message box will appear. Specify the recipient, subject, and information to be sent, as shown below: 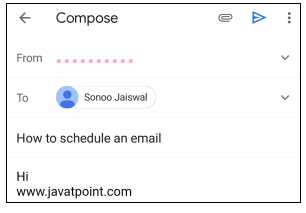
4. Click on the three dots present on the top-right corner of the page, as shown below: 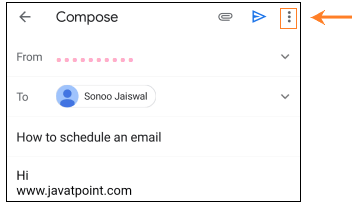
5. A dialog box will appear. Click on the Schedule send option present on the top of the box, as shown below: 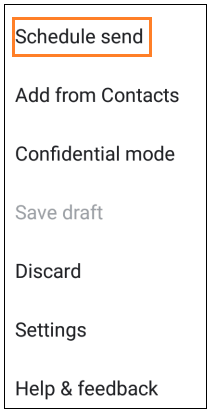
6. A dialog box will appear to specify the date and time, as shown below: 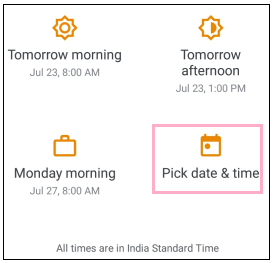
7. Click on the 'Pick date & time' option, as shown above. 8. A dialog box will appear. Specify the date and time according to the requirements. Here, we have specified the date (31st July) and time (5:11 PM). It is shown below: 
9. Click on the 'Schedule Send' option at the bottom of the box, as shown above. 10. Now, the email is scheduled and will be sent on the specified date and time automatically. Editing the Scheduled emailThe steps to edit the scheduled email through the Gmail app are listed below: 1. Open the Gmail app. 2. Click on the menu icon (appears like three horizontal lines) on the Home page, which is present on the top-left corner, as shown below: 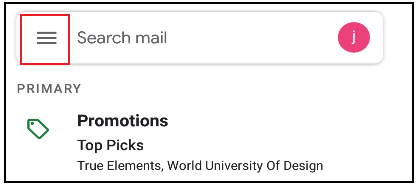
3. Scroll down and click on the 'Schedule' option, as shown below: 
4. The Schedule folder will open with all the scheduled emails. Open the email that we want to edit. Here, we have opened the email, as shown below: 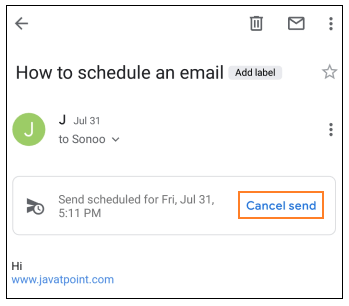
5. Click on the 'Cancel send' option, as shown above. 6. The selected email will be canceled and reverted to the Drafts folder. We can easily edit that email from the Draft folder and reschedule it accordingl. Deleting the Scheduled emailThe steps to edit the scheduled email through the Gmail app are listed below: 1. Open the Gmail app. 2. Click on the menu icon (appears like three horizontal lines) on the Home page, which is present on the top-left corner, as shown below: 
3. Scroll down and click on the 'Schedule' option, as shown below: 
4. The Schedule folder will open. Click on the icon behind the email that we want to delete, as shown below: 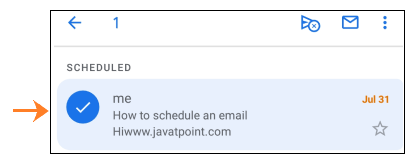
5. Click on the Cancel Schedule send option on the top, as shown below: 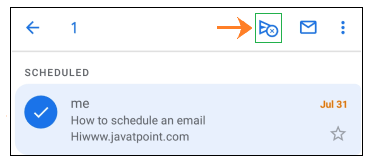
6. The selected scheduled email will be deleted.
Next TopicHow to send an email in Gmail
|
 For Videos Join Our Youtube Channel: Join Now
Feedback
- Send your Feedback to [email protected]
Help Others, Please Share


