Insert an Image into PDF
Sometimes it is important to insert an image into PDF such as a logo, mark, or other types of images to explain the things. Adding an image into a PDF file is a common requirement. A PDF file with pictures is much higher quality than the other files.
Insert an Image into PDF using Adobe Acrobat DC
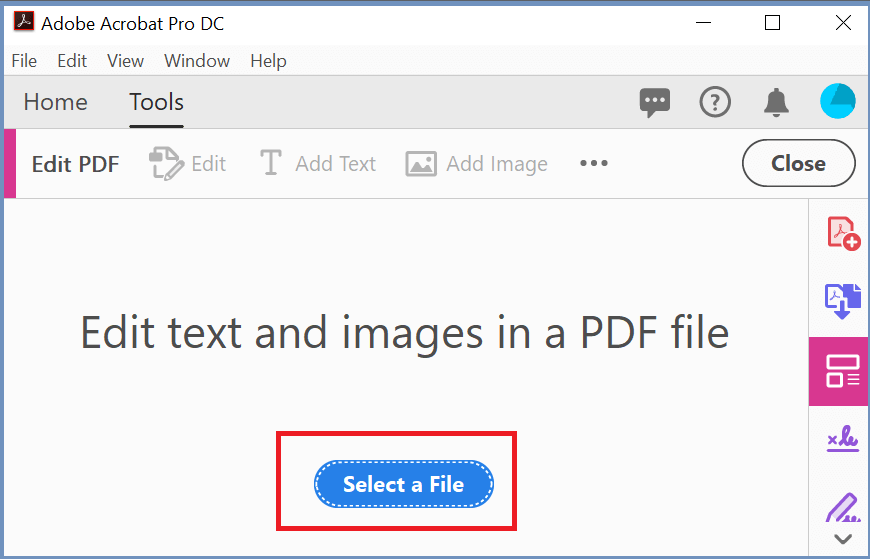
- To add an image into PDF, go to the Tools menu, and select the Edit PDF tool. And select Open.
Note: Adobe allows limited tools in the free version. To use the Edit PDF tool, you need to purchase the Adobe Acrobat DC.
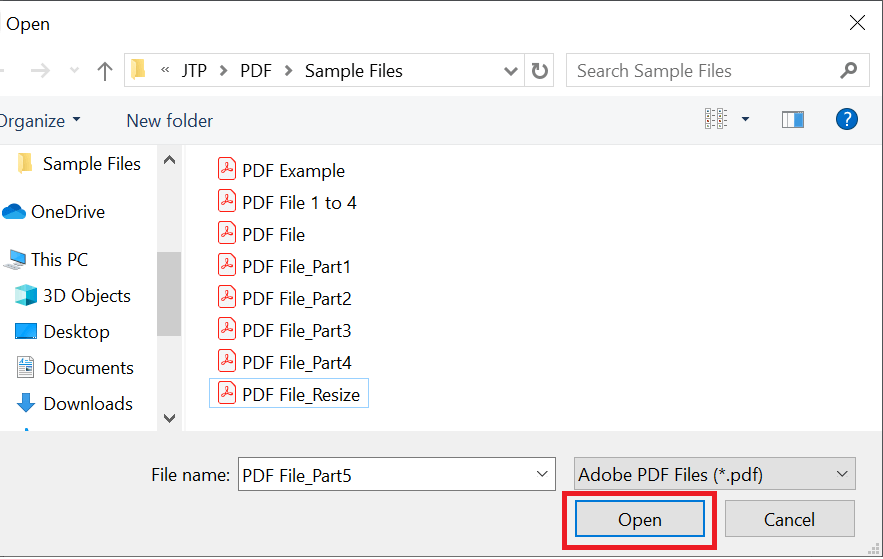
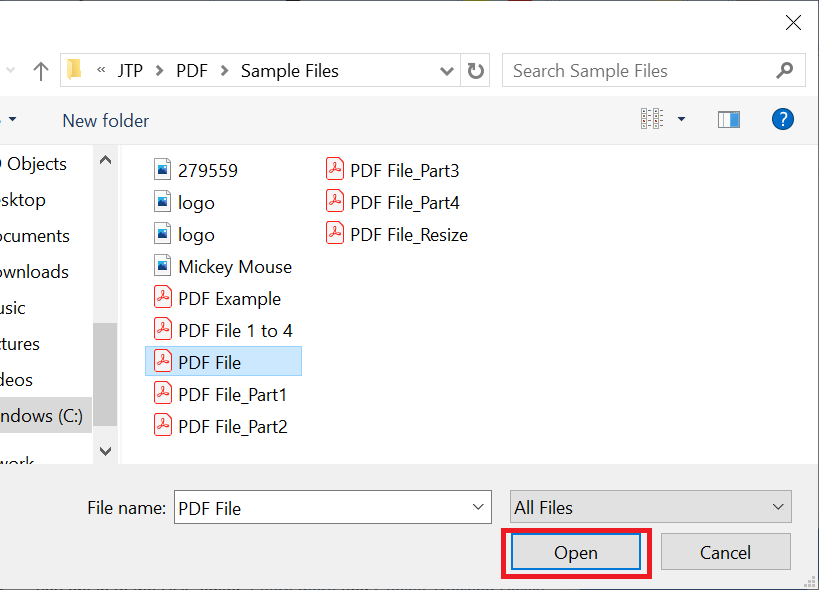
- From the open dialog box, select your file where you want to add an image and click on Open.
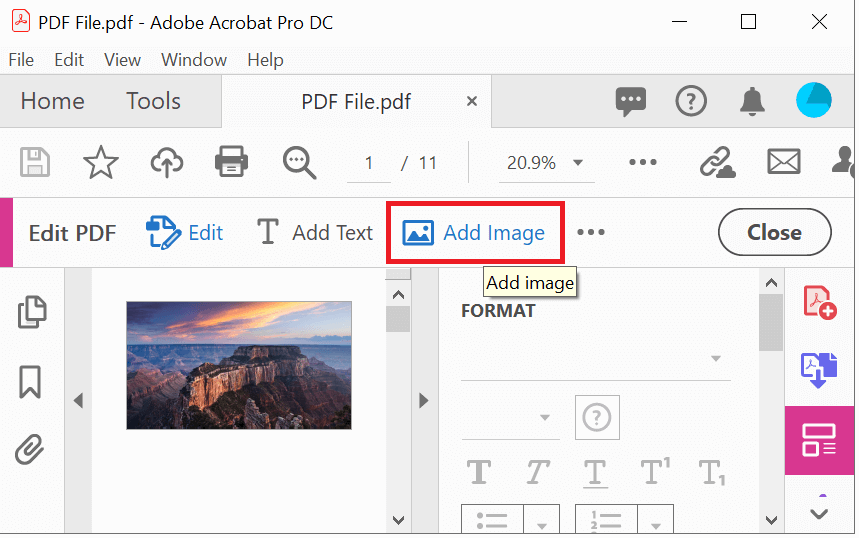
- Select the Add Image option.
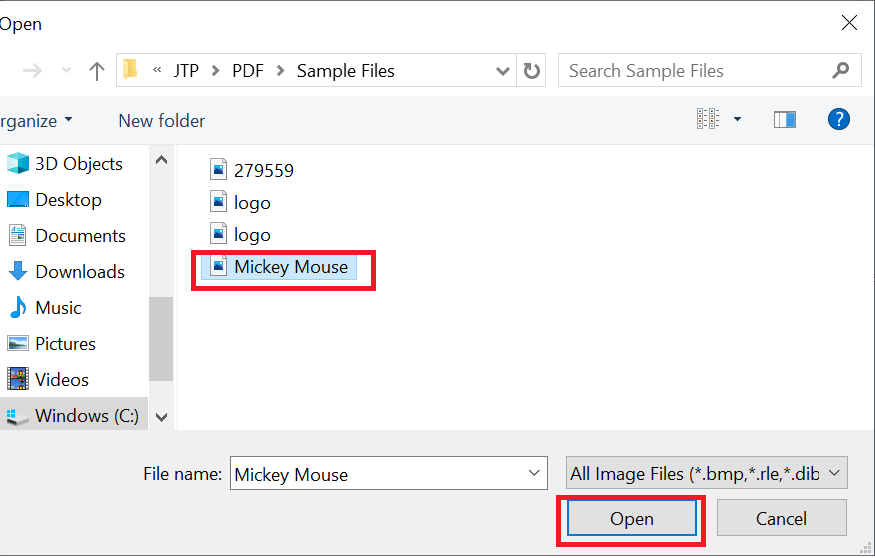
- Browse your image from an open dialog box and then click on Open.
- Click where you want the picture to be placed, you can drag or drop the picture as per your requirement. Adobe will place a copy of the image file on the page.
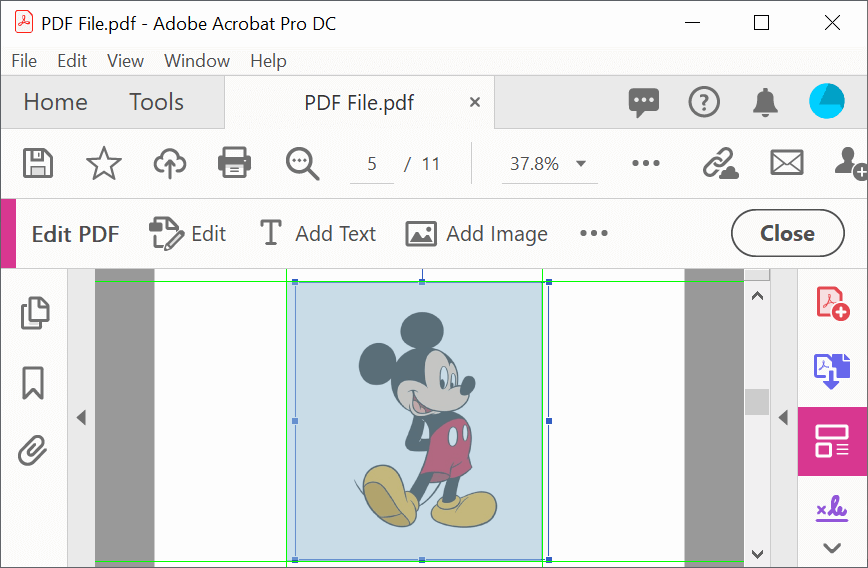
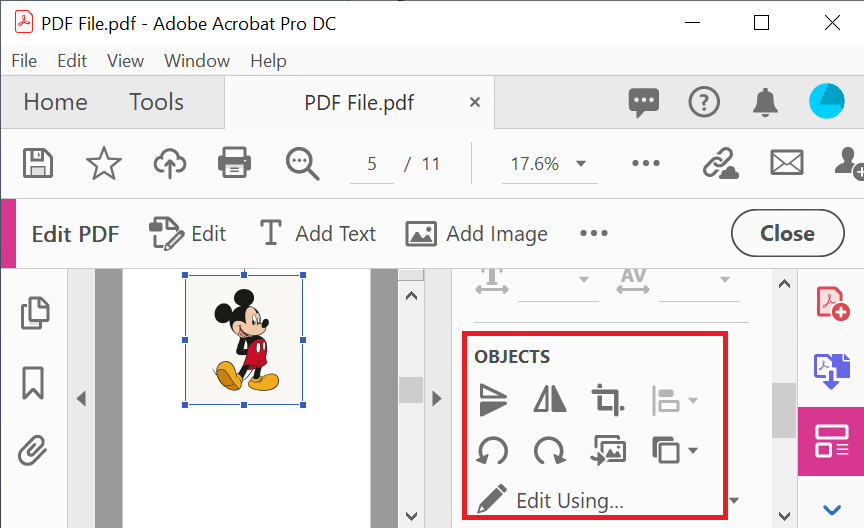
- Change the picture size accordingly. You can flip, rotate, or crop the image from the right-hand panel under the objects section.
- Now, choose File-> Save or press Ctrl+S to save the newly edited PDF file.
Insert an Image into PDF using Online Tools
There are many online tools available to add a page to PDF, such as pdfFiller, PDFSimpli, PDFBuddy, etc.
Here, we will use the PDFSimpli tool.
- Go to the given link. You will get the page like below:

- Go down and select the Edit PDF option.

- A new window will open. Drag and drop your PDF file or choose the Select File option.

- Browse your file and click Open.
- Click on the Add image icon.

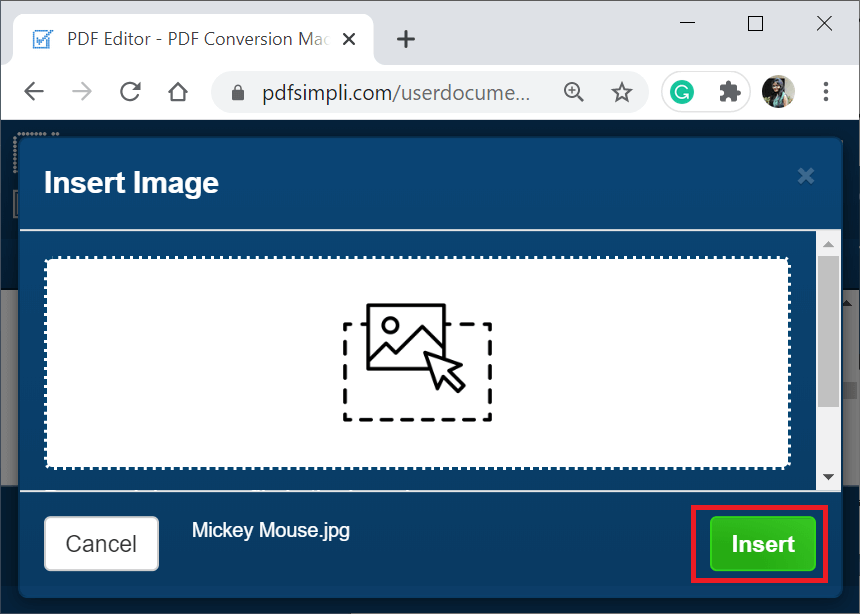
- Drag and drop your image file or click on the box to select your image file, then click insert.
- Click on a page where you want to add the image. You will get your image file.
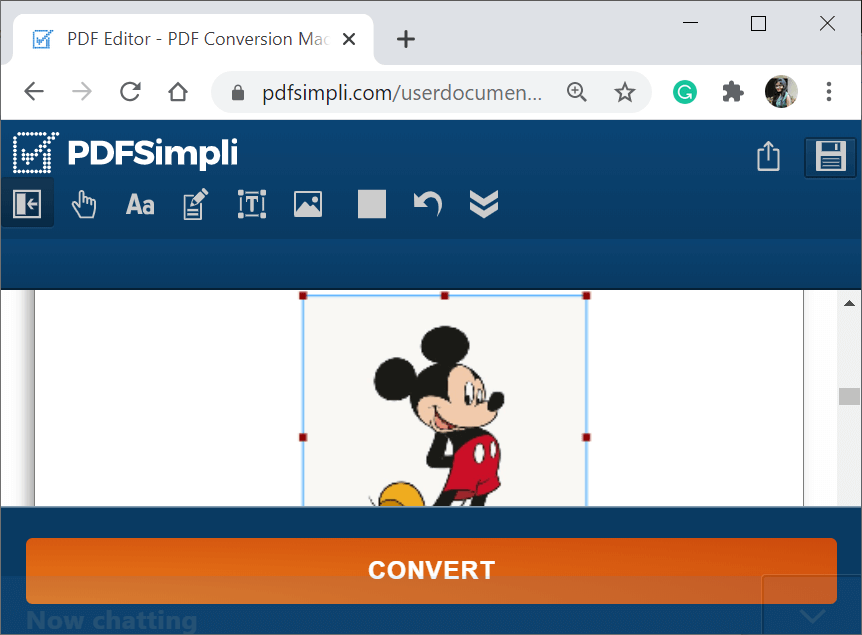
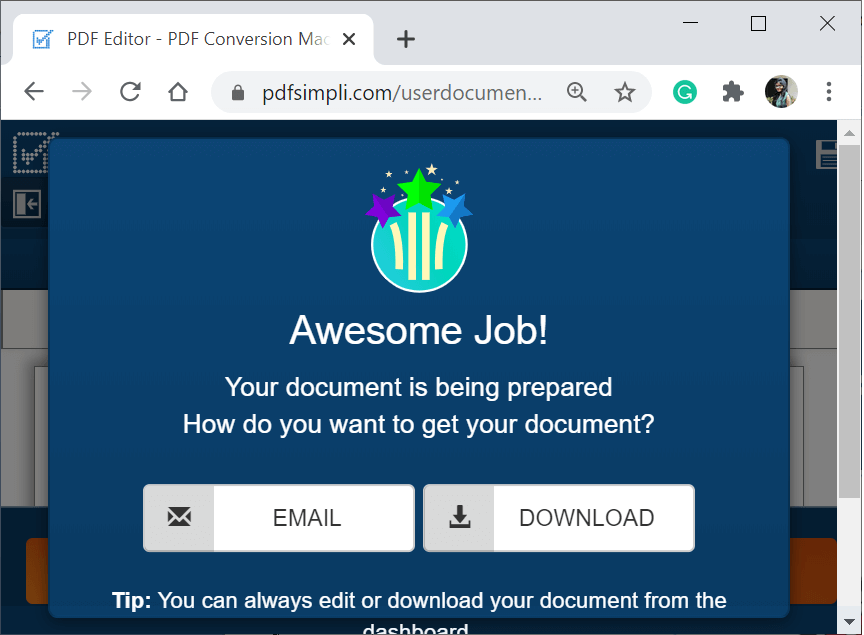
- Click on Convert to download or email your newly edited file. Now, select download to download the file on your computer.
|

 For Videos Join Our Youtube Channel: Join Now


