| |

Install Cucumber Eclipse PluginWe can use cucumber in eclipse only after plugin. In order to plugin cucumber with eclipse, use the following steps: Step 1 In a first step, make sure the availability of good Internet connection. Now, launch the Eclipse IDE then go to Help menu, and click "Install New Software". 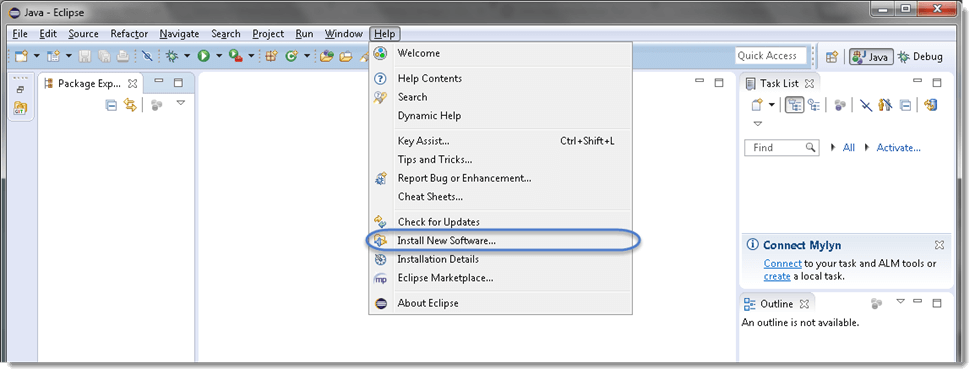
Step 2 After clicking "Install New Software", a window will be prompted, on this window, click the "Add" button. 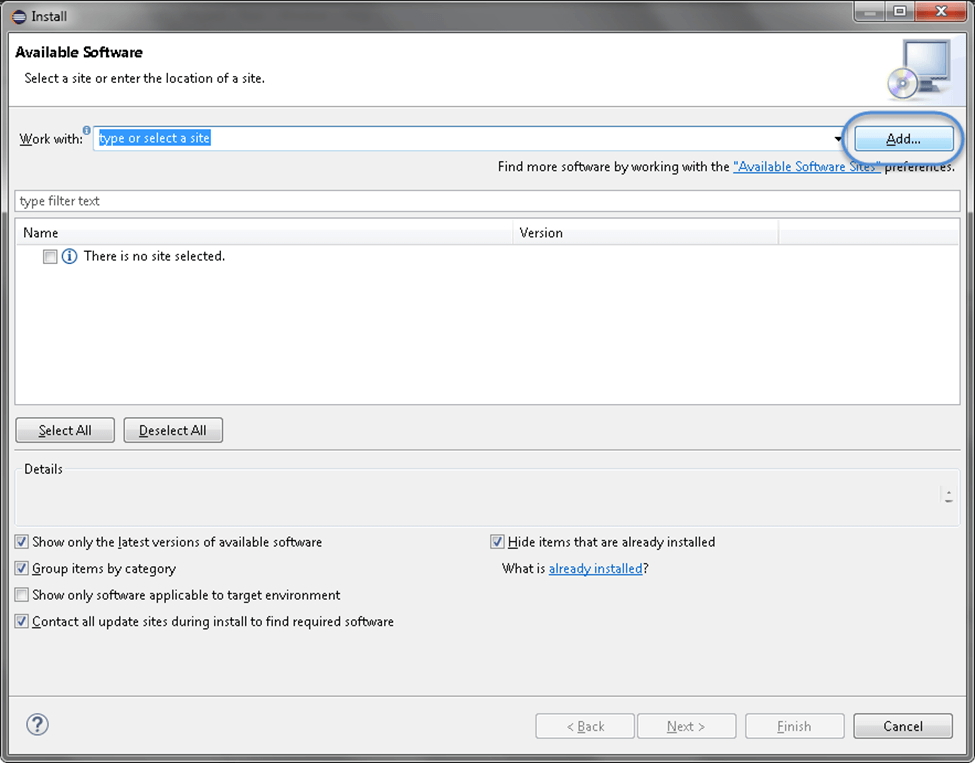
Step 3 After clicking the "Add" button, give the Name in the in the text box as per your choice. We provided "Cucumber". Now, in the Location text box type "http://cucumber.github.com/cucumber-eclipse/update-site" as locationand then click OK. 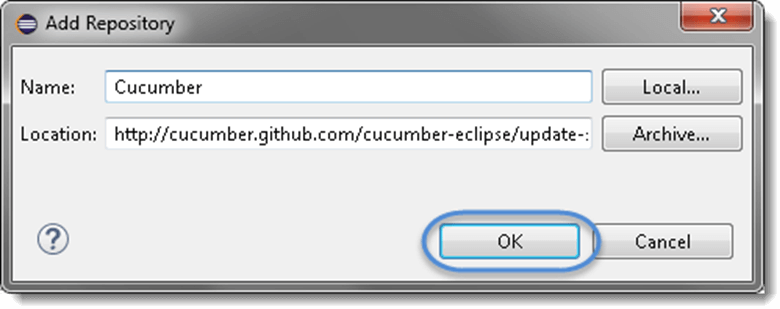
Step 4 Now, you will come back on the previous window, but this time you will see "Cucumber Eclipse Plugin" in the software list. Just click "Check Box" and then the "Next" button. 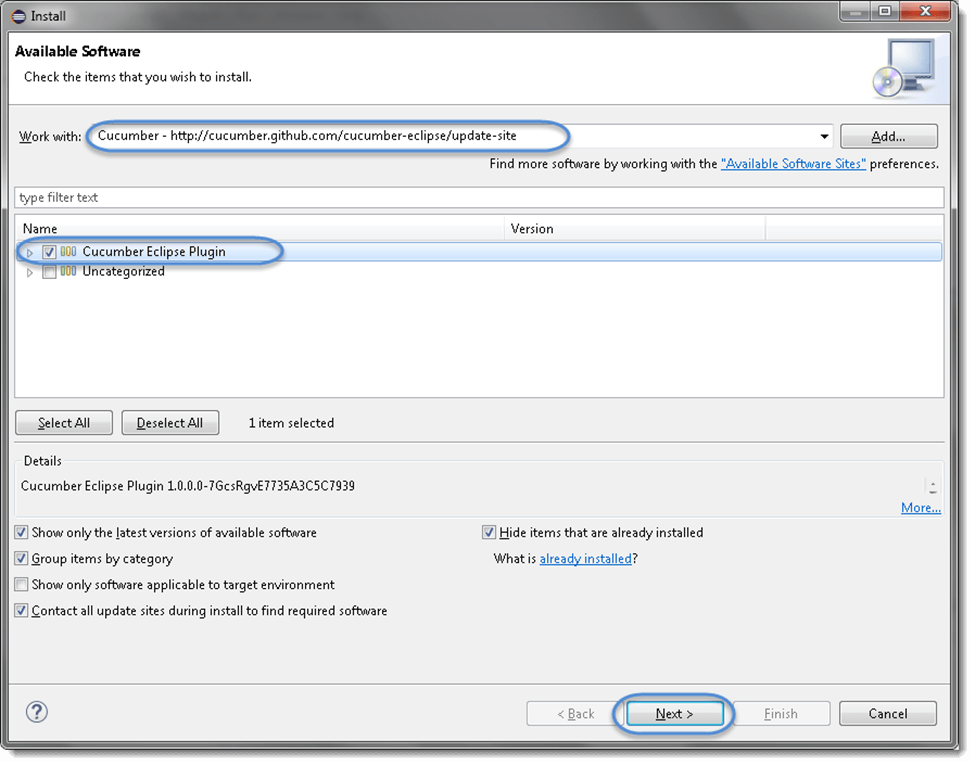
Note: If the proxy server is running behind, then you will get an error saying 'HTTP Proxy Authentication Required'. In this circumstance, you need to contact a system administrator to set up your proxy server settings.Step 5 Now, click on the "Next" button. 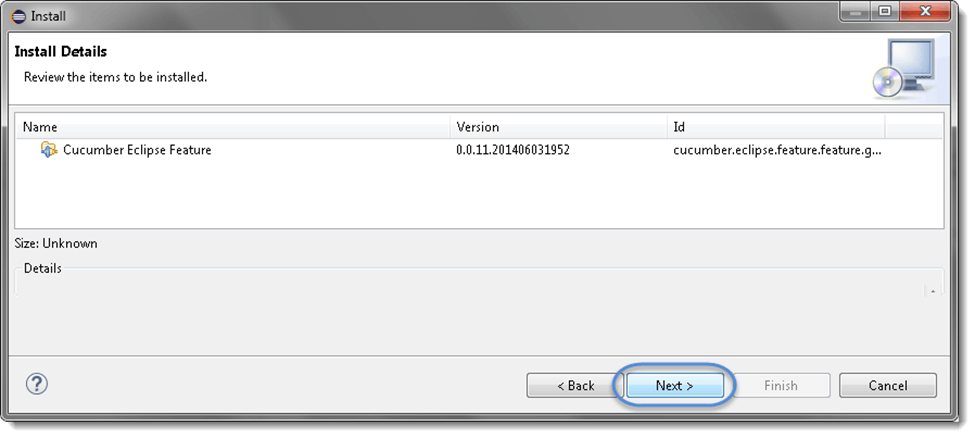
Step 6 Click the check box "I accept the terms of the license agreement" on the license window then click Finish. 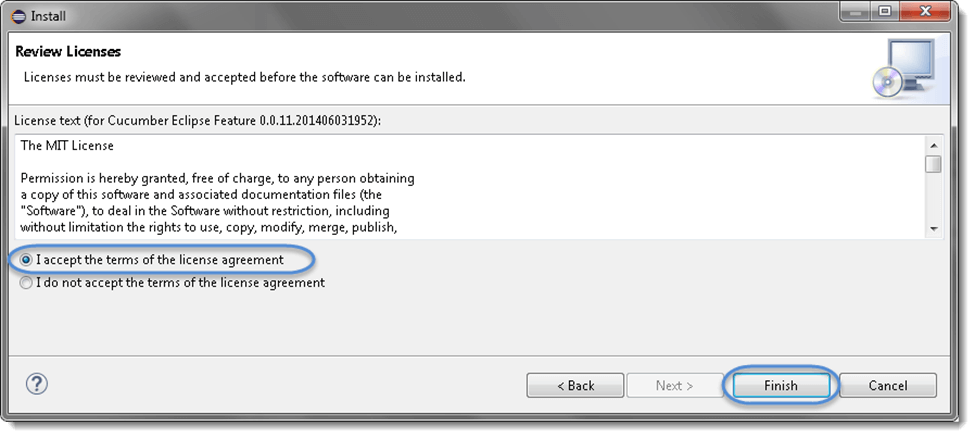
Step 7 Now, the installation will be started. It can take some time to be completed. 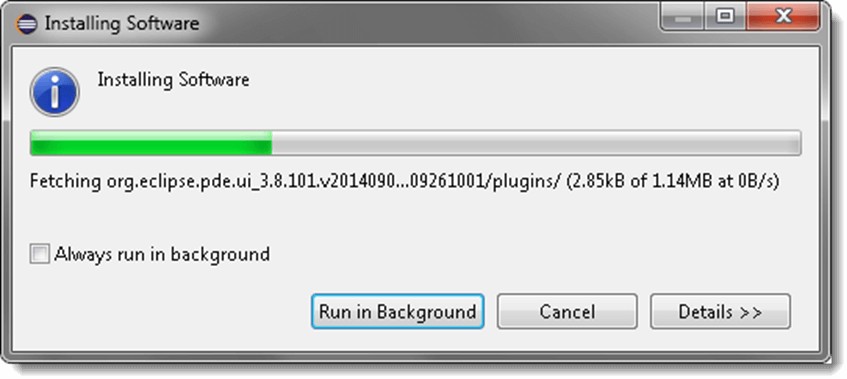
Step 8 If you encounter a Security warning, just click OK. 
Step 9 The installation has been completed, now just click "Yes" button. 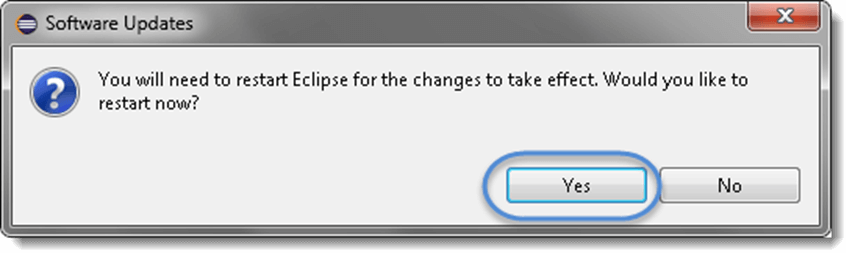
Next TopicWhat is the Data Table in Cucumber?
|
 For Videos Join Our Youtube Channel: Join Now
Feedback
- Send your Feedback to [email protected]
Help Others, Please Share


