| |

Install RVM UbuntuRVM supports almost all Windows and Unix-like systems (with Bash or Cygwin on Windows on Ubuntu). The basic needs are curl, gpg2, bash, and overall the tools of the GNU version, but RVM is trying to auto-detect it and then install anything which is required. RVM is short for Ruby Version Manager. It is a platform of software for UNIX-like operating systems developed for managing more than one Ruby installation on similar devices. The entire environment of Ruby including the interpreter of Ruby, installed RubyGems, and documentation will be partitioned. Then, a developer can switch between the distinct versions for working on various projects with distinct requirements of the version. The standard interpreter of Ruby, in inclusion to MRI, RVM works as an installer for several other Ruby implementations. These include Rubinius, Maglev, IronRuby, MacRuby, mruby, jruby, Topaz, Ruby Enterprise Edition, and GoRuby (an interpreter that is optimized for code golf). RVM provides its support for the installation of MRI patched versions. RVM facilitates many features for Ruby gems organization from "gemsets", a group of gems that is isolated by a namespace and related installation of Ruby. Gemsets could be related to projects/directories from the use of the RVM exclusive file, i.e., .rvmrc. A substitution for using the file, i.e., .rvmrc (and the basic purpose however user-specific .jrubyrc) and its format is the application of the .ruby-gemset and .ruby-version files that are compatible with other RVMs such as chruby and RBenv. Using the file additionally requires trusting for preventing unauthorized code execution, while .ruby-version doesn't. Types of RVMTwo types of RVM are available in common use: rbenv and RVM. They take distinct methods to the issue of using two or more Ruby versions, but the outcome is the same. We can easily utilize two or more Ruby versions on a similar system. Which RVM should we use?Partly, it depends on our needs and preferences, but almost all people can choose one and begin using it. The two systems functionally perform every task almost every developer needs. There is less in the way of aspects to suggest a single version over others. If we are using a Linux system or Cloud9, we suggest RVM because it is simple to install and run. For a Mac, some issues are also there with RVM. However, almost all need to do with previous editions of Ruby. For that cause, we may wish to utilize Rbenv for a Mac. If we have installed Homebrew, the simplest method to install Rbenv is using the command, i.e., brew install. Working of RVMThe core of RVM is a group of directories where RVM stores every version of Ruby, its related tools (including irb and gem), and its gems. All directories are specific to a provided Ruby version. If we need the 2.3.1 version of Ruby, RVM utilizes the files in the directory, i.e., ruby-2.3.1. If we need the 2.2.2 version of Ruby, RVM brings the files from the directory, i.e., ruby-2.2.2. Remember that the typical Ruby executables are detected in the Rubies subdirectories of the main directory of RVM, while gems are detected inside the gems subdirectory. Also, remember that the numbers of the Gem version can be different between Rubies. In this type of case, the 2.2.2 version of Ruby uses the 0.43.1 version of Rubocop, while the 2.3.1 version of Ruby uses the 0.45.0 version of Rubocop.
RVM complexityRVM is a complicated system. Sometimes, this complexity can get in the path of stability, especially because it changes system commands, such as cd, by appealing to them by shell functions, while issues rare when we have it active. Several moving parts are there that can possibly go wrong. Probably, they would not go wrong, but the possibilities remain. The most probable problem with RVM is that we get confused about which Ruby version we are running or whether we update or install Gems using the false gem command. If trying to detect an RVM issue, we first need to make sure that we are using the correct Ruby version. These types of issues are easier to find, then we can analyze Gem versioning issues. RVM Commands with Explanation
Explanation of the Ruby installation using RVMWe can install and configure Ruby Version Manager in three different ways which are listed and explained below: 1. Single-User Installations (suggested): For a separated install in the $HOME directory of a user, not for sudo or root. 2. Multi-User Installations (recommended for server administrators): For the installation usable by every user on the system. Also, it used to be known as the System-Wide install. Using this kind of installation without knowing can lead to a big risk of security. Note: Single-User Installation supersedes the Multi-User Installation.3. Mixed-Mode Installations: For the installation usable by every user on the system with separated gemsets/rubies in the $HOME directory of a user. The instructions of the installation are the same as for the installations of Multi-User, the only difference is the environment of the user. RVM BasicsRVM does not only make installing more than one Ruby runtimes/interpreters consistent and easy, it facilitates aspects such as gemsets that are not supported on almost all Ruby installs. RVM enables us to use different types of rubies in a way that would not mess with our existing install of Ruby and enabling us to concurrently execute more than one type of Ruby in isolated terminals. Community Maintained ProjectRuby Version Manager is supported and maintained by the community via pull requests and issue trackers:
ProductionRVM enables us to deploy all projects with its completely dedicated and self-contained environment from the specific ruby version, every way down to the definite set of needed gems for running our application. Having a definite set of gems ignores the version issue conflicts among projects which can lead to difficult to trace bugs and hours of hair loss. DevelopmentRuby Version Manager can decrease the complexity of several Ruby development angles from its API of the command-line. We can have self-contained and identical environments in our Development, Q/A, Staging, CI, and Production environments with RVM. No more hidden appreciations, if it implements for one of them, then it will implement in each of them. We can immediately and reliably push Modifications from a single environment to another with the named gemsets. RVM is for the applications of Ruby, not only for Rails. All the applications that are Ruby-based will get benefit from our use of RVM. TestingRuby Version Manager enables us for easily testing both escape and upgrade paths very consistently and easily. We can execute the rake tasks, test suite, gem and benchmark commands against more than one version of Ruby at the same time with RVM. It means that we can easily ensure our applications implement in Ruby 1.8.X, MRI 1.9.1, REE, jruby, etc.... and quickly disclose any area where they don't. Management of GemRVM contains an extremely formative Gem Management System which is known as Named Gem Sets. The "gemsets" of RVM make handling gems across more than one Ruby version a non-issue. RVM enables us to add a small file of text to the repository of our application, rather than checking in several gems which will inflate the size of a repository needlessly. Additionally, the gemset management of RVM applies a basic directory of cache, so only a single downloaded version of all gems resides over a disk instead of many copies. RVM supports to ensure that every Ruby aspect is completely included in user space, non-root, strongly encouraging safer use. Use of the rubies of RVM facilitates excellent system security and hence decreases risk and reduces overall downtime of the system. Additionally, since each process executing at the user level, a composed Ruby process can't compose the whole system. Getting started with RVMFirst of all, we must ensure that we install RVM. Configuration of Post InstallWhen we log in either by a local shell or ssh account, RVM would be loaded like a function. We can use one of the below links in case of any issue as a reference to configure our terminal:
Best Practices of RVMThe below is a set of best practices and tips that have been confirmed to be useful in making the process of development convenient while practicing RVM. List
Configuration of RVMRVM contains a configuration directory positioned in the $rvm_config_path file which for a common installation like a user to their directory, i.e., $HOME would be positioned in the ~/.rvm/config/ file. DefaultsRVM includes a collection of the false that are recorded within the file which is mentioned below: The above file is substituted all time we upgrade RVM so don't edit it. Override default settingsAlso, RVM contains a directory for all users override positioned in the $rvm_path/user file. We need to place the accurate key=value in that folder's db file to override the default settings of RVM. Then, RVM will apply these settings rather than the defaults of RVM. Preparing our OS for installationThere are 3 libraries we need to install before installing RVM:
Most OSes will come using these pre-installed packages, so examine first before downloading. With the command terminalWe will be referencing the command line or terminal during this article. That is the name of our application for most OSes that enables us to input commands that will be interpreted via the system. MacOS contains a terminal emulator, Windows contains a console, and Linux also contains a console. Verify the source of the installationCryptographically, RVM signs all releases which needs validation on the downloads. We will configure the related keys RVM needs for verifying the signature by executing the below command in the command line: The above command will add the provided keys to our local key store and enable RVM installation verification and shows the following output when execute: This output displays that two important public keys are added to the local store. The release will be seen against these 2 keys for verifying the file which was come from the source if RVM is installed. Install RVMThe installation process of RVM has slightly distinct steps for Ubuntu operating system as compared to the other operating systems. Windows operating system will only be supported when using the Subsystem of Windows for Linux and applies similar instructions as for Linux (except Ubuntu) and macOS. Install in UbuntuUbuntu operating system contains a dedicated package that is available for installing with the help of a package manager, i.e., apt-get. Installing the needed libraries for using Personal Package ArchiesWe need to install the software-properties-common Ubuntu package to permit the inclusion of the Personal Package Archive (or PPA). We need to open our command line window and execute the following command: 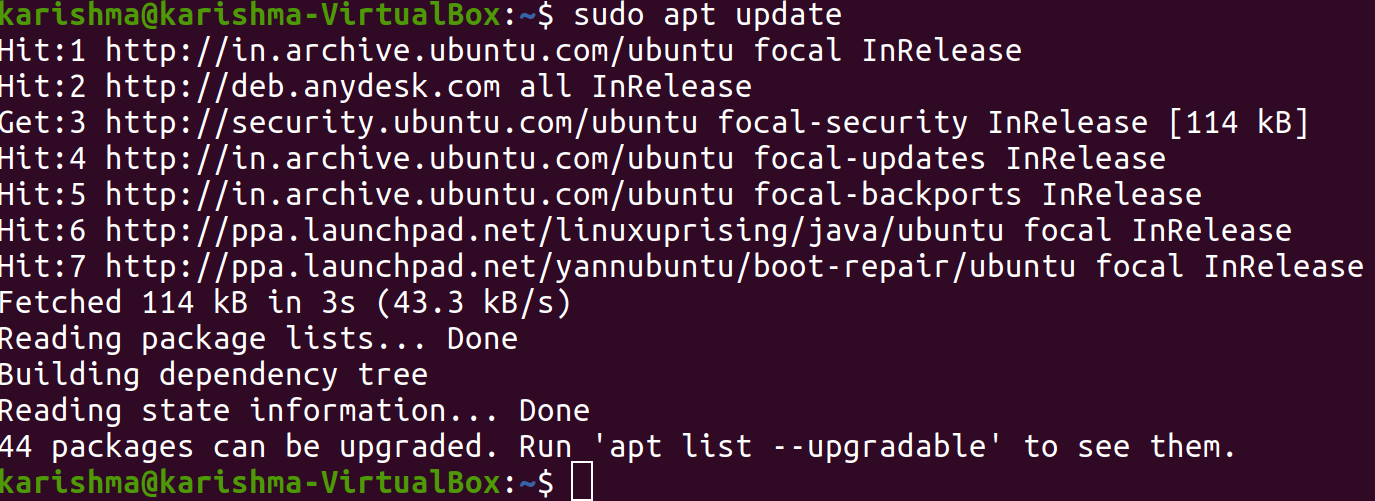
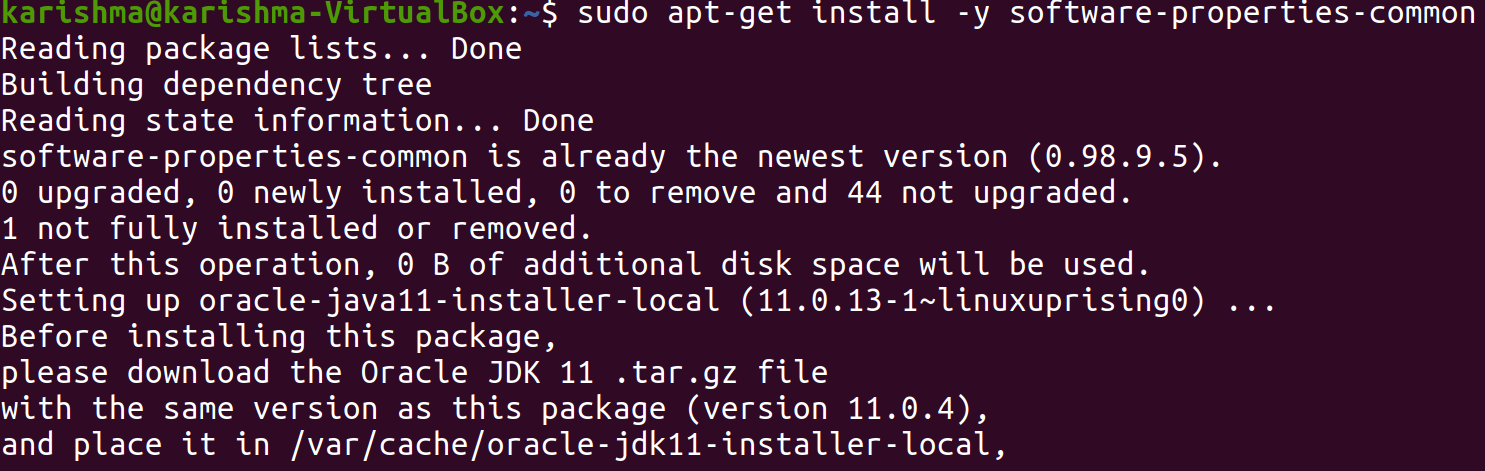
The above commands will update the package manager, i.e., apt-get with the help of the current references, and then install the library, i.e., software-properties-common which permits the inclusion of the RVM PPA. We need to execute the following command for verifying if the old command was run successfully: 
The above command will query the package manager for verifying the provided package was correctly installed. Our command-line window will show the following message if this command was run successfully. Include PPA for RVMSpecifically, add the Personal Package Archive for RVM with the help of the following command. This command will add a repository including the RVM binary and permit installation: 
The above command will add the repository to the internal list of Ubuntu. It holds for enabling the RVM installation. Installing RVMWe need to update our installer and then install RVM by executing the following command in our terminal: 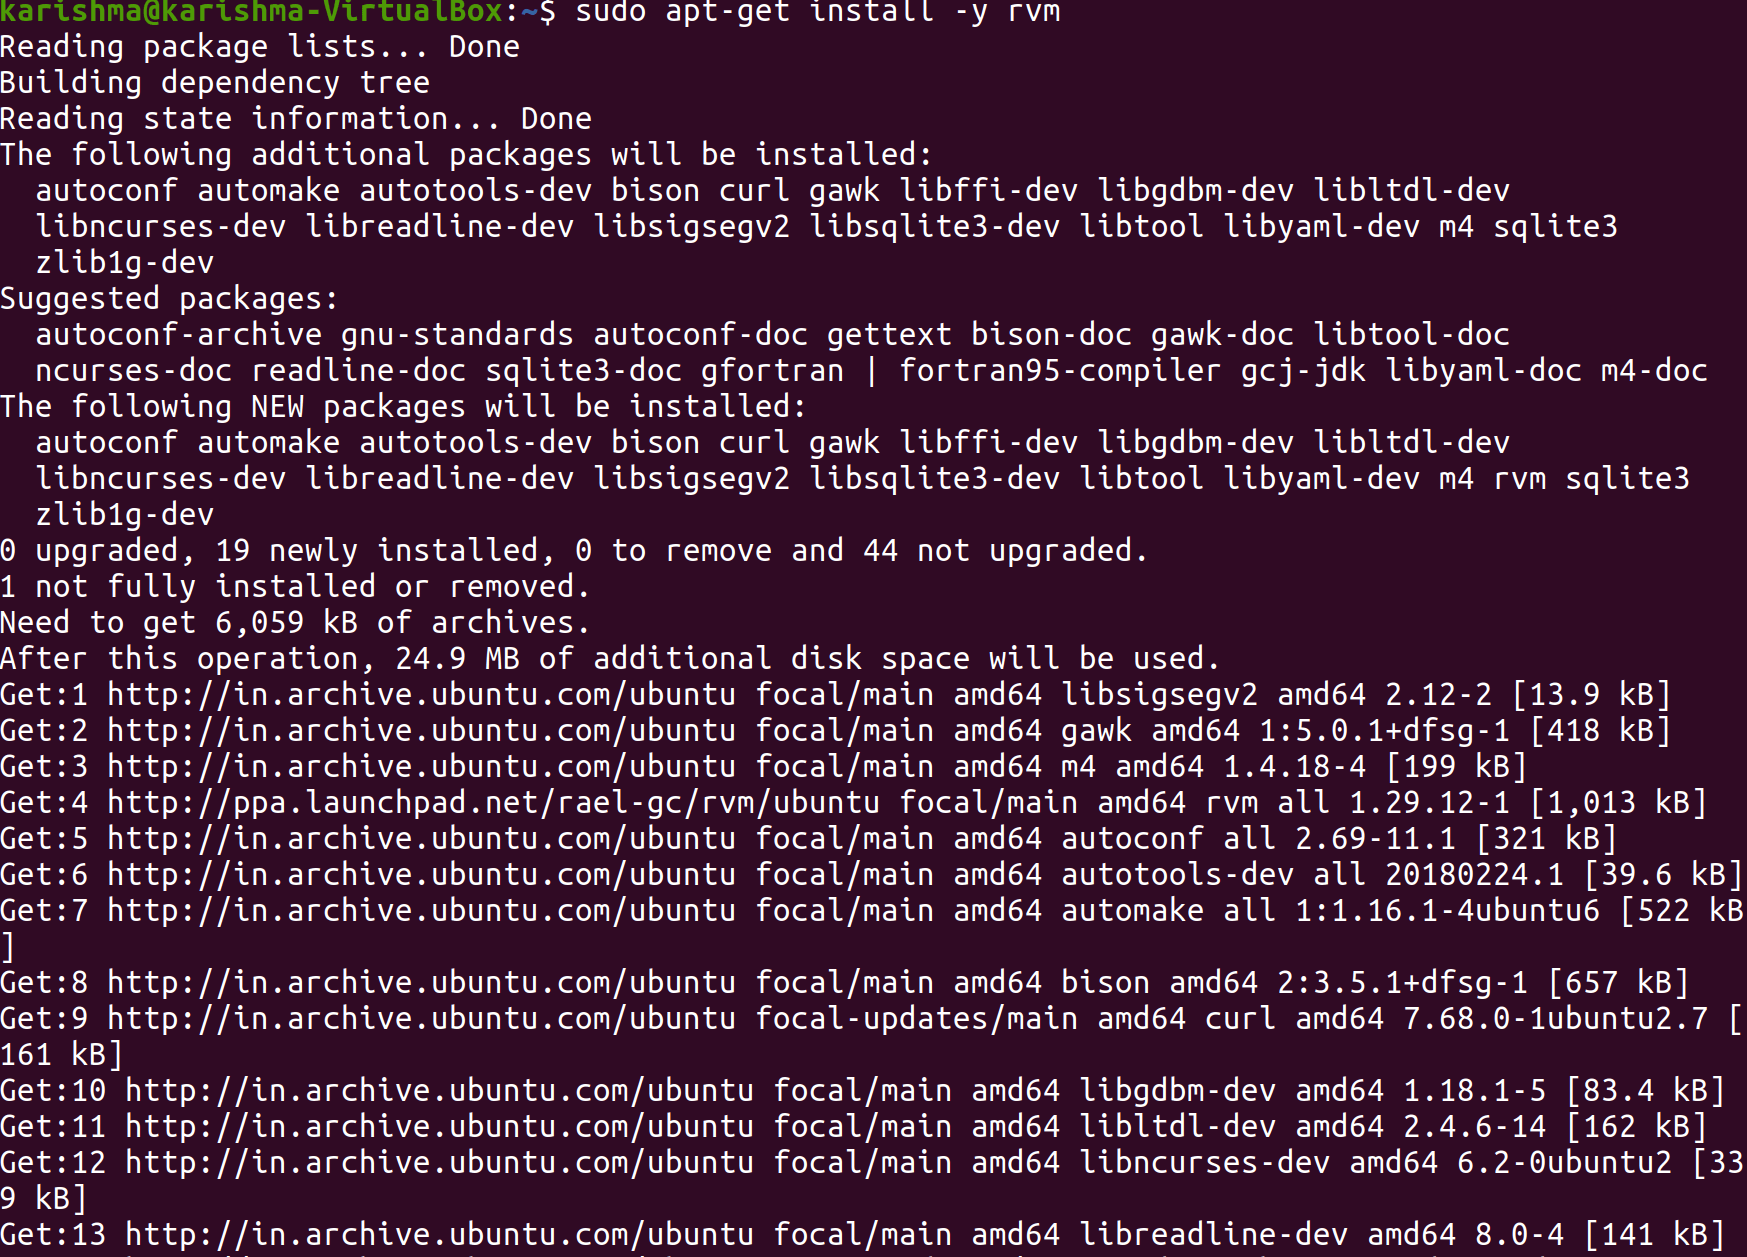
This command will install the application of RVM and provides the application the accurate permissions. The option -y will skip the confirmation request on install. Verify the installation is correct using RVMWe will execute the following command in the terminal to start with RVM for the very first time. It just requires to be executed once after the installation process: The above command will run the script and permit us to execute RBM in the latest terminal in our terminal. We need to instruct RVM for returning the currently installed release to ensure that our RVM is correctly working by executing the following command in the terminal: 
The above command will display the latest RVM version installed on our operating system. Installing RubyWe will use the "rvm install <version-number>" command for installing a Ruby Version with the help of RVM. We need to execute the following command in the terminal to install a specific version of Ruby: 
This command may compile the binaries of Ruby or apply precompiled binaries from the source depending on our operating system. It might take time to finish if compiling using source. We will execute the following command in the terminal for checking this installation is implemented correctly: 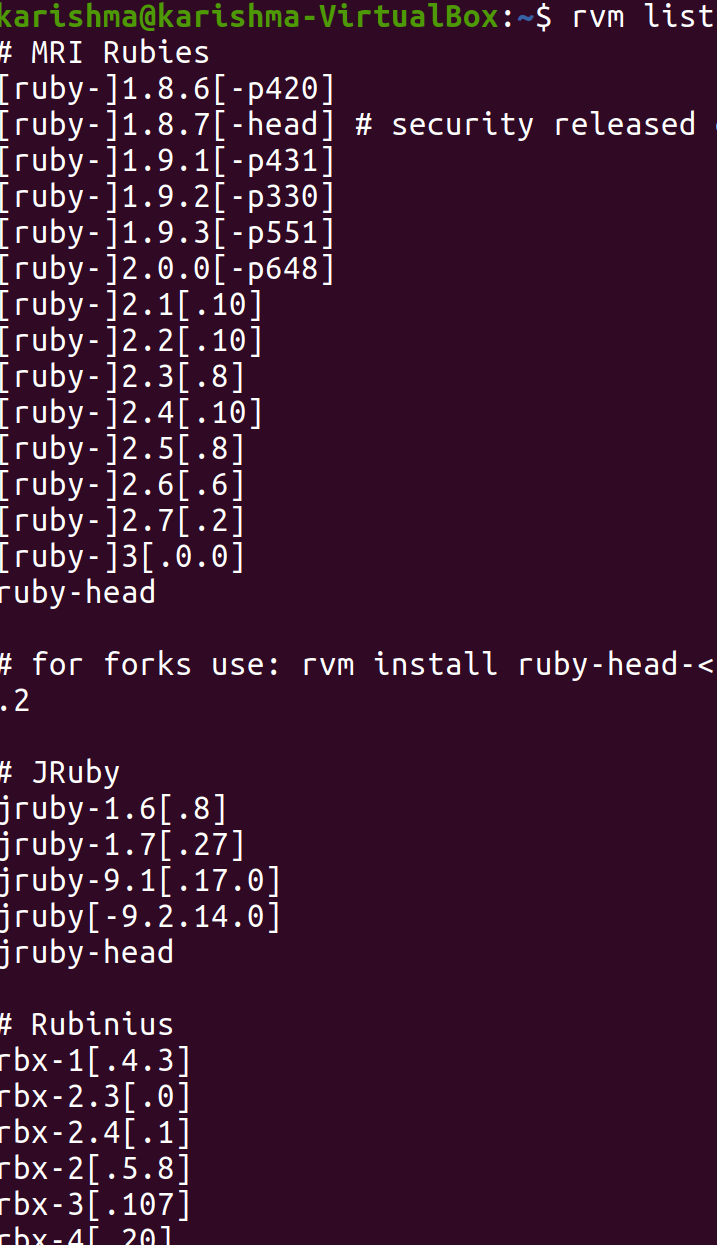
It will list every installed Ruby version handled by RVM.
Next TopicInstall Skype Ubuntu
|
 For Videos Join Our Youtube Channel: Join Now
Feedback
- Send your Feedback to [email protected]
Help Others, Please Share


