| |

Installing IntelliJ IDEAPrerequisite: java8 should be installed on the system. Follow the below demonstrated steps to install IntelliJ IDEA on the system: Step1: Download IntelliJ IDEA using the Jetbrains website or using the below link: 'https://www.jetbrains.com/idea/download/' 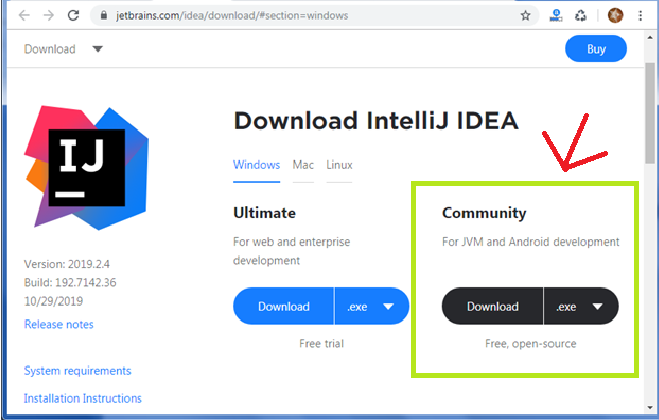
Download the Community edition because it is free as well as open-source edition. Step2: After downloading, move to the Download location, and start the installer. A security warning may occur. Click on the 'Run' option. 
Step3: After the security check, the setup will start loading. A welcome screen will appear. Click next and follow the installer instructions. 
Step4: Choose an appropriate installation location. Click Next. 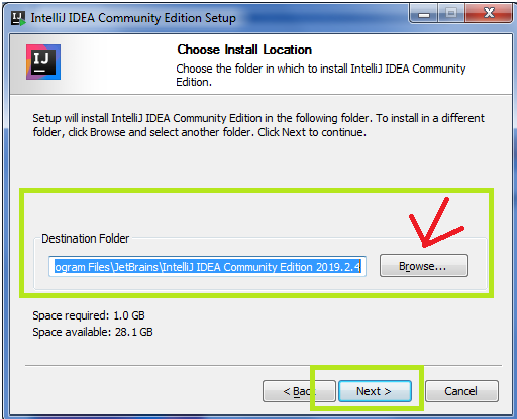
Step5: Choose an appropriate desktop shortcut. If the user is working on a 64-bit machine, select accordingly. Also, select the '.java' file. This will associate the java files automatically with IntelliJ IDEA. 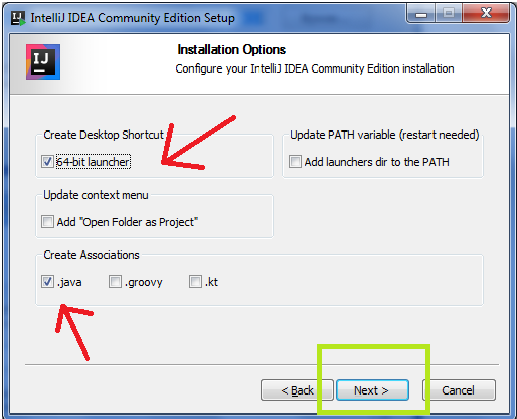
Click on the Next button. Step6: Choose the start menu folder as 'JetBrains' (by default). Then, click Install. 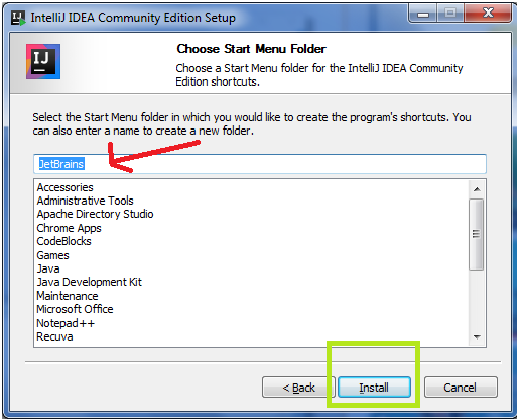
Step7: The IntelliJ IDEA will start installing to the system. 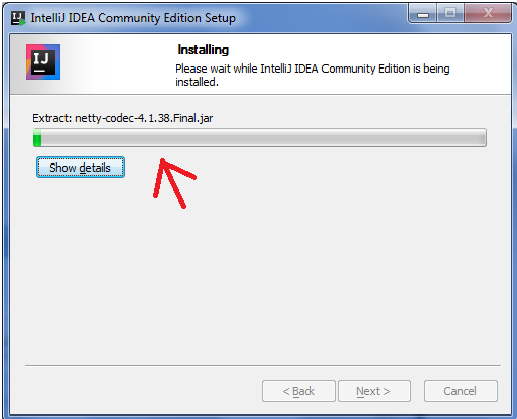
After installing the setup, click on Next, then Finish. In this way, IntelliJ IDEA will get installed to the system. Creating the Kafka ProjectStep1: Open the IntelliJ IDEA from its shortcut. A dialog box will open asking to import settings from the previous installation. Select 'Do not import settings' radio button. Click OK. This option is chosen because the user might be installing IntelliJ for the first time. 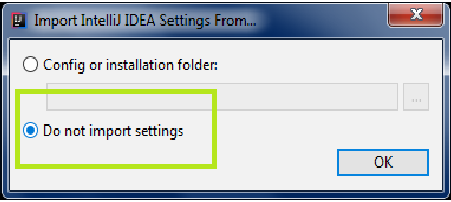
Step2: The JetBrains Privacy Policy will appear. Click on the checkbox and then click the 'Continue' option. 
Step3: After opening, the installer will provide two UI theme options:
The Light theme is the default one. After selecting anyone, click on 'Next Default plugins'. 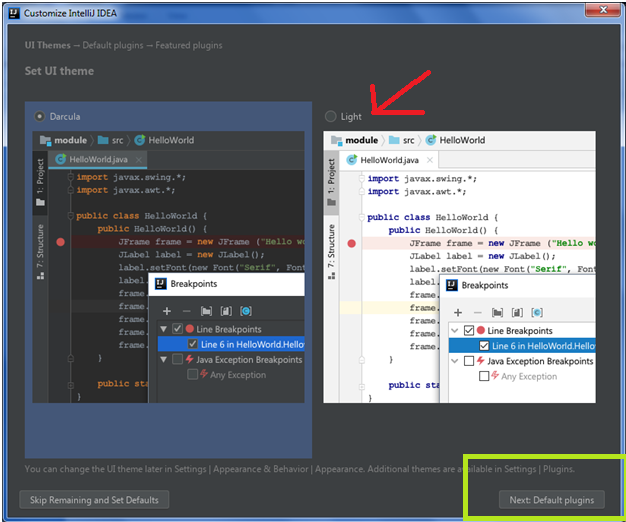
In our tutorial, the default theme is selected, i.e., the Light one. The user can choose accordingly. Step4: Next, the user will be asked to disable some default plugins (if required). Skip this step and click on 'Next Featured plugins'. 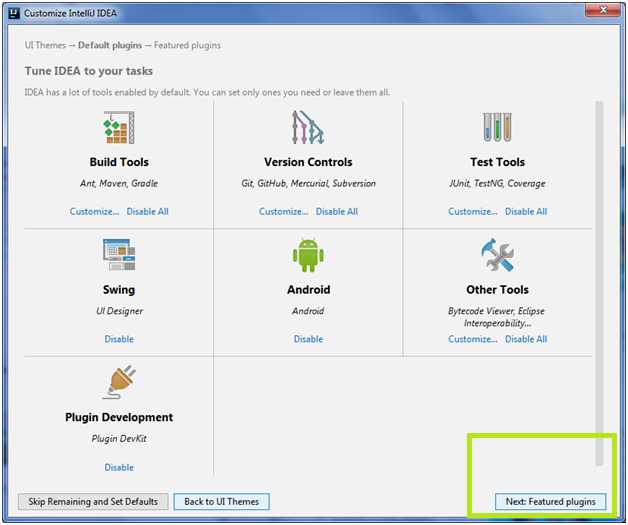
Step5: In this section, install the Scala support. This will allow users to develop Scala projects too. Click on the 'Start using IntelliJ IDEA'. 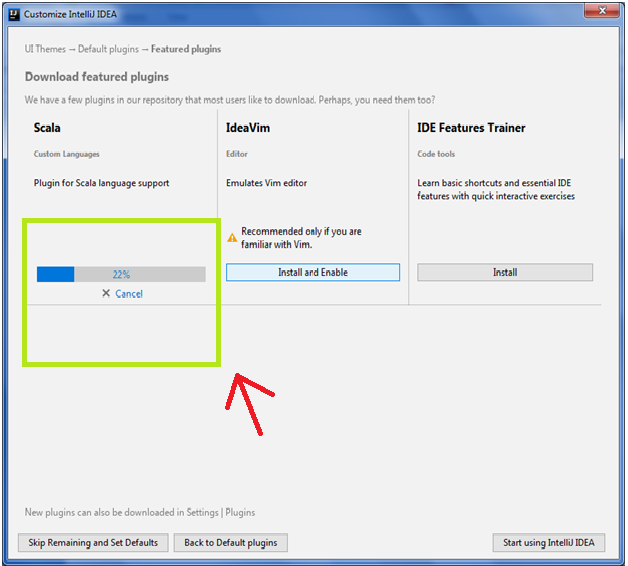
Step6: IntelliJ IDEA welcome screen will open. Click on 'Create New Project' option. 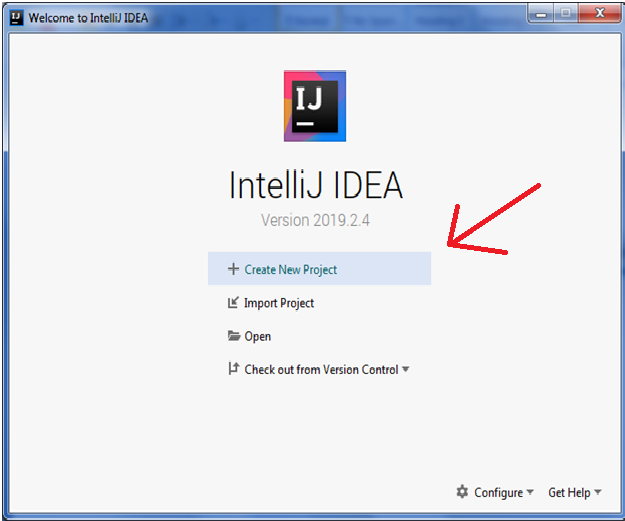
Step7: From the left side navigation panel, select 'Maven' or 'Gradle' option. It will show the Project SDK name. It should be java 8 (if properly installed). In our tutorial, we have chosen Maven. 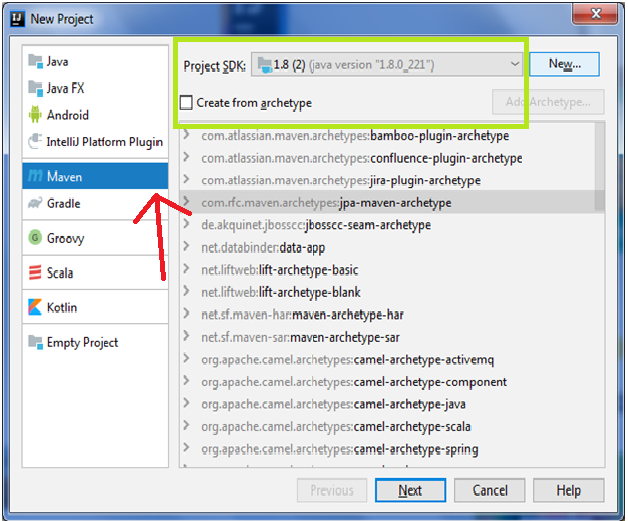
If not so, click on the 'New' option and select the respective home directory for JDK 8. Else, check the JDK 8 installation. Note: Generally, the home directory for JDK will be the root directory only.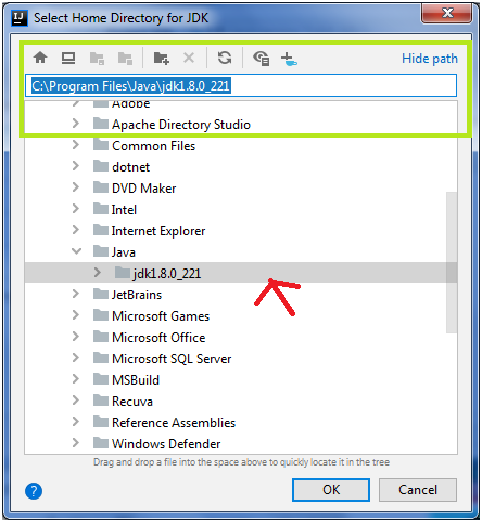
After selecting, click OK, then Next. Step8: Now, it's time to create a new project. For doing so, a GroupId, an ArtifactId, as well as Version value is required. Provide the following details and click 'Next'. 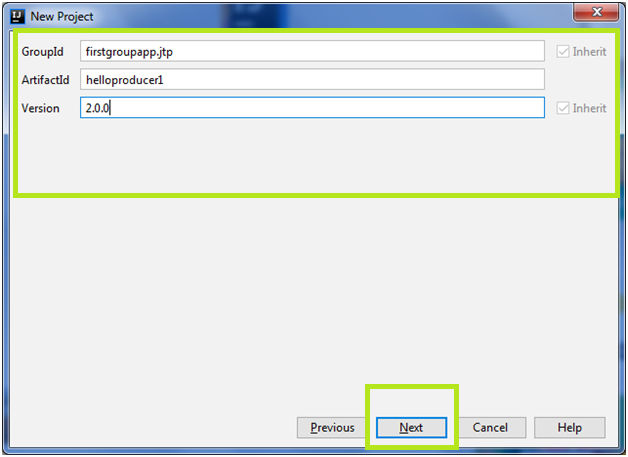
Here, 'firstgroupapp.jtp' is the name of the GroupId, 'helloproducer1' is the ArtifactId, and '2.0.0' is chosen as the Version number. The user can give as per the wish. Step9: Next, the user needs to provide a project name and the location where the user wants to keep the project. Finally, click the 'Finish' button. Note: It is good to keep the Project name, same as the ArtifactId.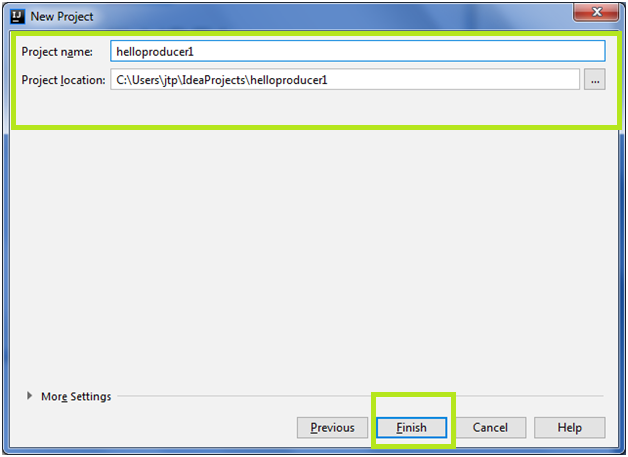
In the above snapshot, the name of the project is 'helloproducer1', and the project location is the 'Local C Drive'. Step10: Now, the setup will ask to 'Enable Auto-Import' on the bottom-right side of the screen. Choosing this option will enable the IntelliJ IDEA to automatically download all the necessary dependencies, which we will define later in the 'pom.xml' file. 
In this way, the first stage to create a Kafka Project will be completed.
Next TopicCreating Kafka Producer in Java
|
 For Videos Join Our Youtube Channel: Join Now
Feedback
- Send your Feedback to [email protected]
Help Others, Please Share


