| |

Java MongoDB ConnectivityTo connect with MongoDB database, Java project includes the following steps. Here, we are creating a maven project and providing dependency for the mongodb-driver. Follow the Steps:1) Create a Maven Project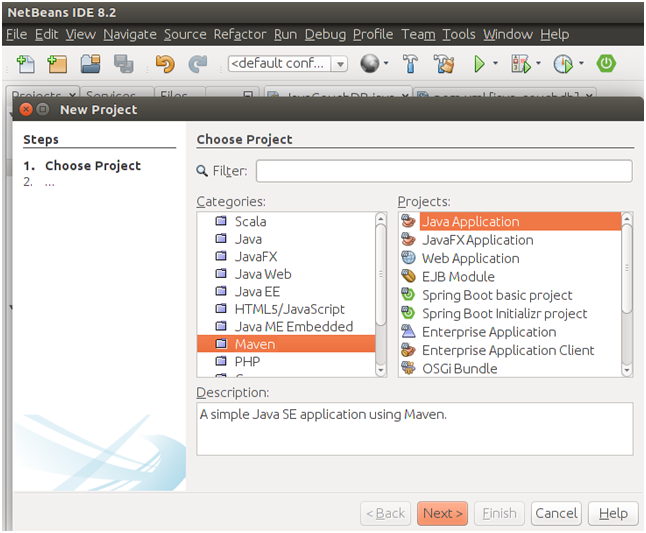
2) Add Dependecy to POM file// pom.xml 3) Create Java FileCreate a Java file and write code to create connection. // JavaMongoDemo.java 4) Build Dependency to load JAR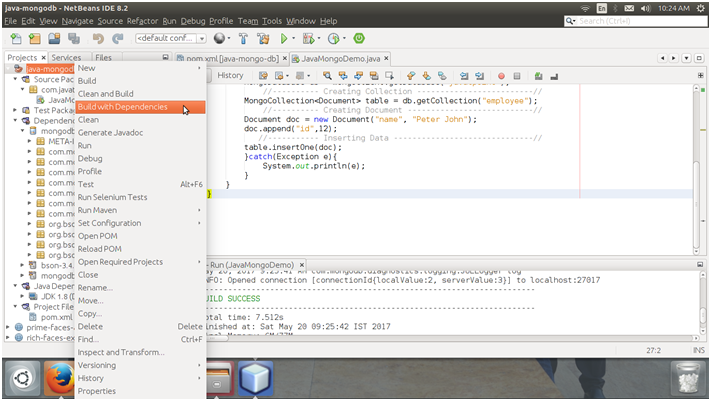
Project Structure Finally, our project structure look like this. 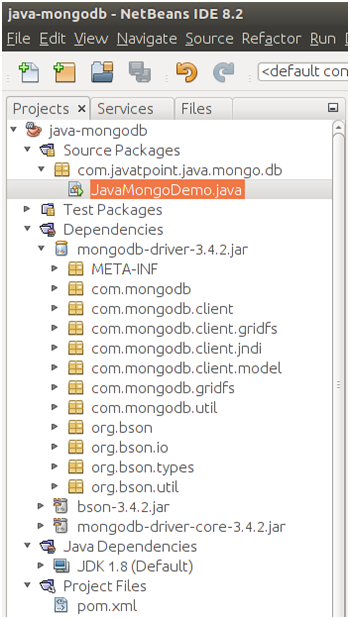
5) Enter into Mongo ShellMake sure, we have mongoDB installed. After installing, enter into mongo shell by typing the following command. 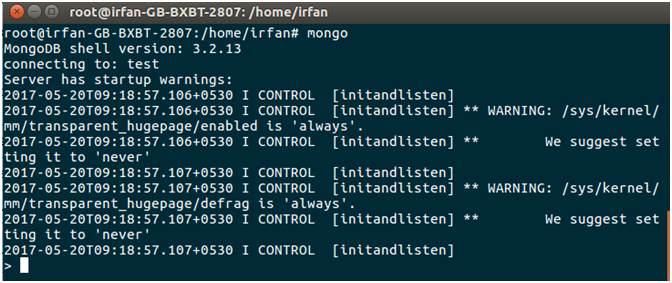
Databases We can see available databases by using the following command. 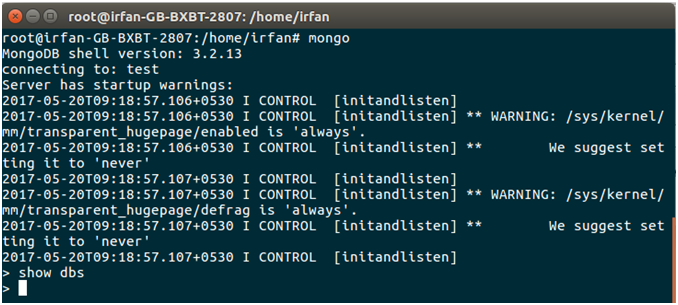
We can see that there is no database available. let's create a database. Run Java File Run this file to create database. 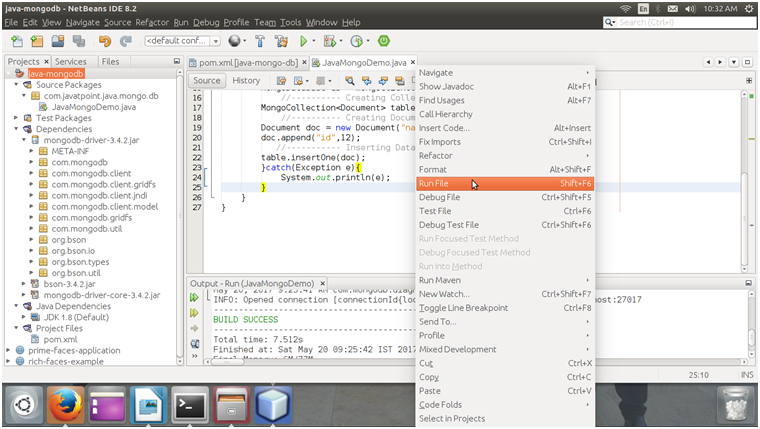
Database Check MongoDB again to see the available databases. 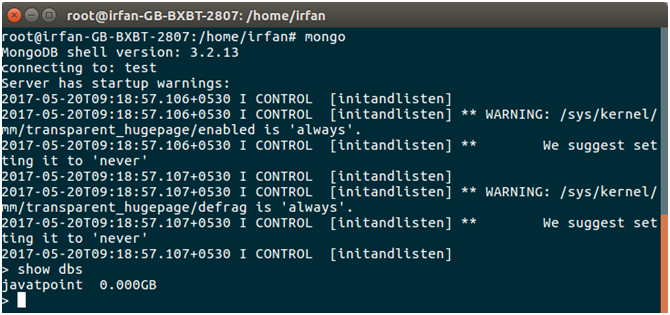
See, a database javatpoint is created. Collection See, the created collection employee. 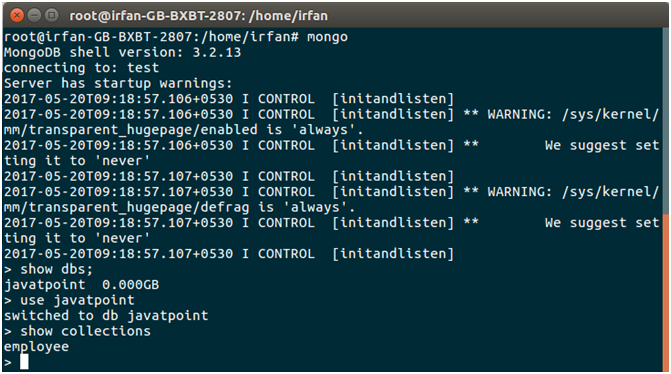
Record See the inserted record. 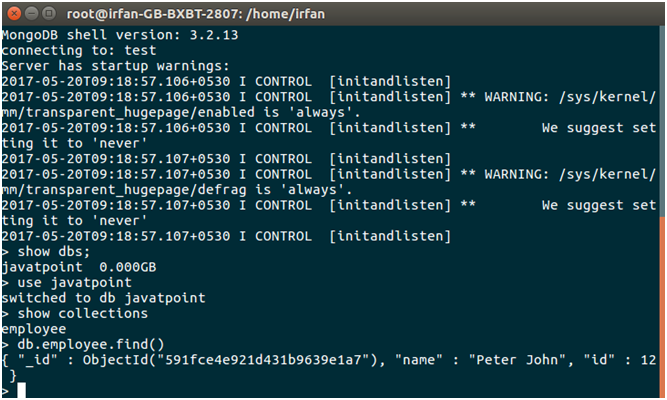
Well, we can see that the Java program is executing fine and we can also perform other databases operations as well.
Next TopicPHP MongoDB
|
 For Videos Join Our Youtube Channel: Join Now
Feedback
- Send your Feedback to [email protected]
Help Others, Please Share


