| |

Jira Epic
Let's understand the structural flow of an Epic: Epics are composed of multiple stories, while Initiatives are made up of Epics. Therefore, we can say that initiatives come above the epics. Initiative takes the Epics from the multiple teams to achieve a bigger goal than any of the Epics can achieve themselves. 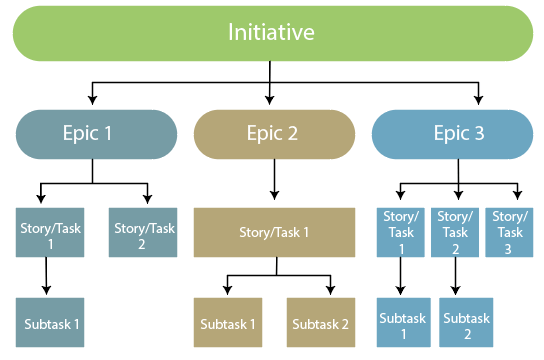
Working of EpicCreating an EpicThere are two ways of creating an epic:
Step 1: Click on the '+' icon appearing at the left side of the panel. 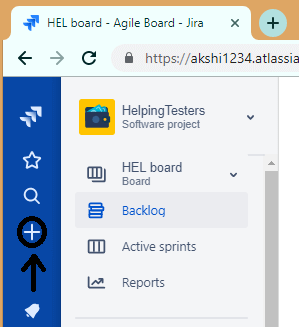
Step 2: On clicking the + icon, the screen appears, which is shown below: 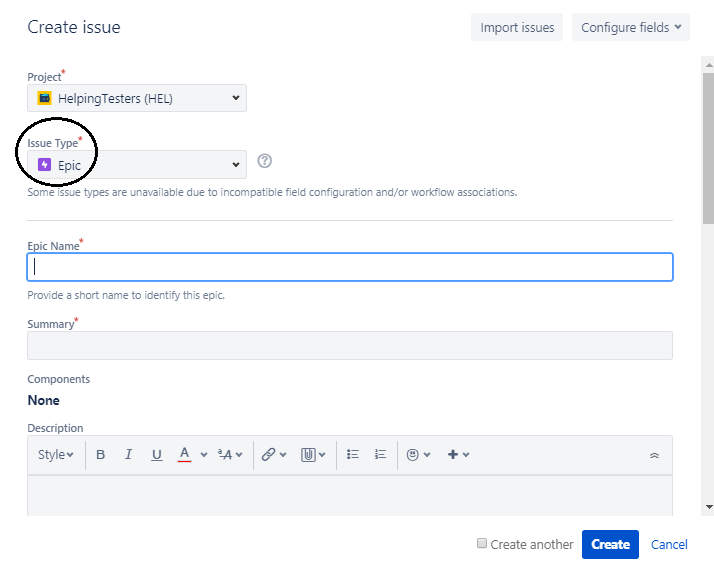
Step 3: Select the issue type as Epic.
Step 1: Click on the Backlog appearing at the left side of the panel. 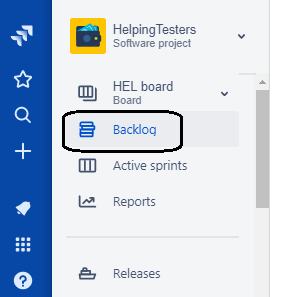
Step 2: Click on the Epics shown in the epics panel. 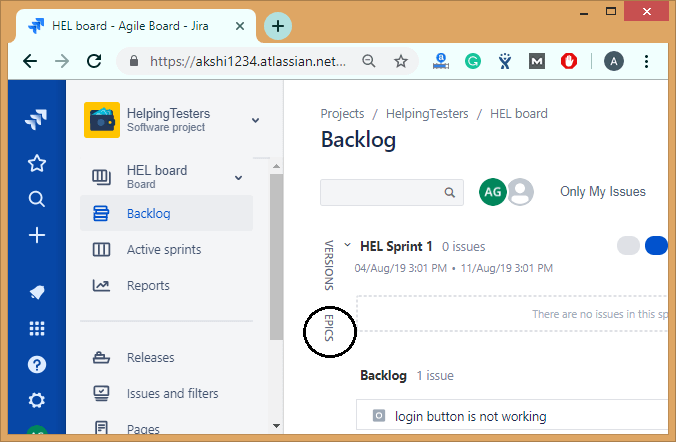
Step 3: Click on the Create Epic link. In the above two cases, you need to enter the following details in order to create the epic:
Add and Remove storiesThere are two ways of adding stories in epic:
Step 1: Click on the + icon appearing at the left side of the panel. 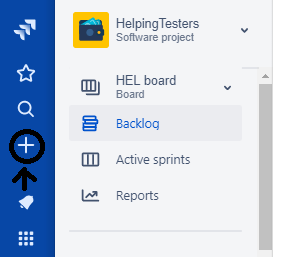
Step 2: Click on the dropdown of issue type and select an issue type other than epic. 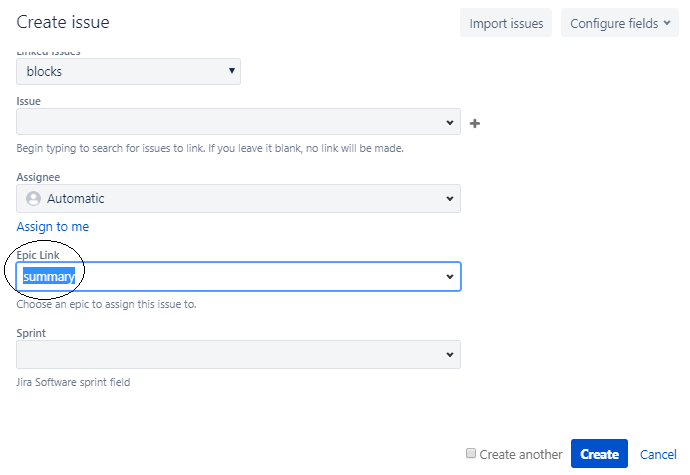
The above screen shows that we have created an issue of type Bug and we add this issue in an epic "Summary". We add the epic in an Epic Link field.
Step 1: Click on the Backlog appearing at the left side of the panel. Step 2: Click on the Epics from the Epics panel. Step 3: Click on the create issue in epic link. 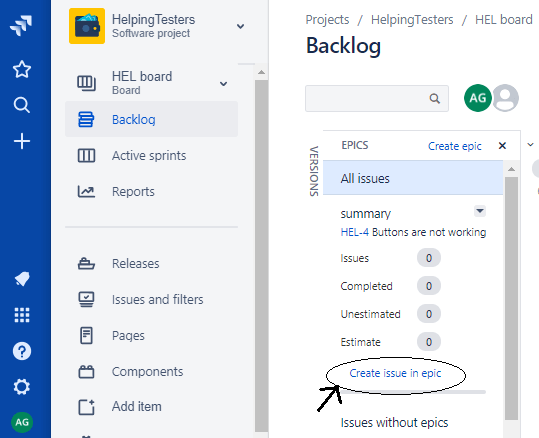
To remove an issue from the Epic, follow the steps which are given below: Step 1: Move to the Backlog page. Step 2: Drag and drop the issue to issues without epics. 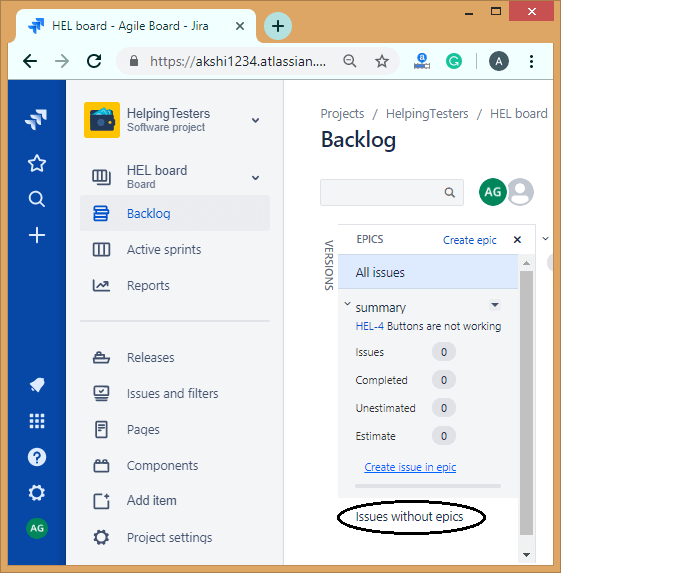
Viewing all your EpicsWe can see the information related to your epic in the Backlog. 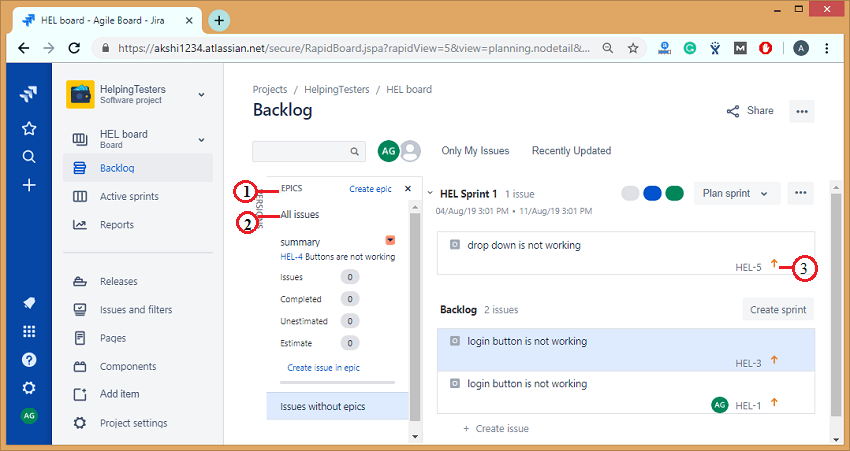
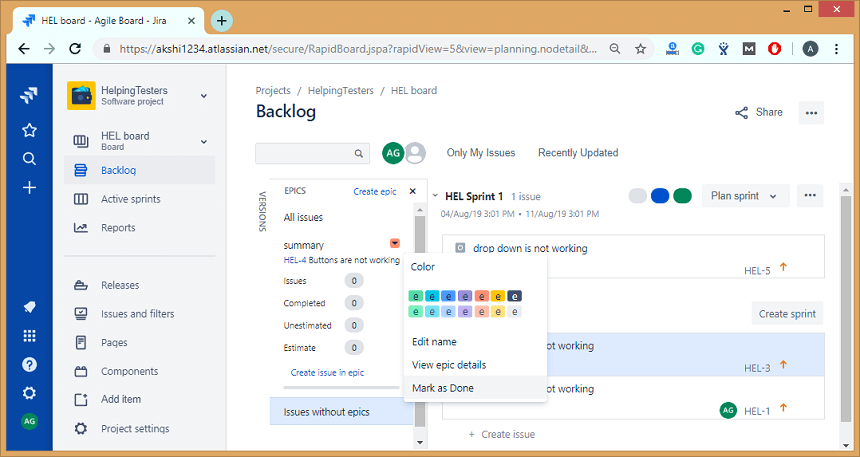
Complete your EpicOnce all the work related to an epic is completed, then the epic is marked as complete. The following are the steps required to complete an epic:
When you mark the epic as Done, then the dialog box appears asking for the confirmation. 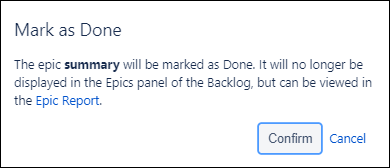
Next TopicJira Interview Questions
|
 For Videos Join Our Youtube Channel: Join Now
Feedback
- Send your Feedback to [email protected]
Help Others, Please Share


