JIRA Installation
JIRA is a centralized software in which all the projects are logged into a central database and goes through the workflows. Workflow controls the status of the project.
How to download and install the JIRA software
Following are the steps to download and install the JIRA software:
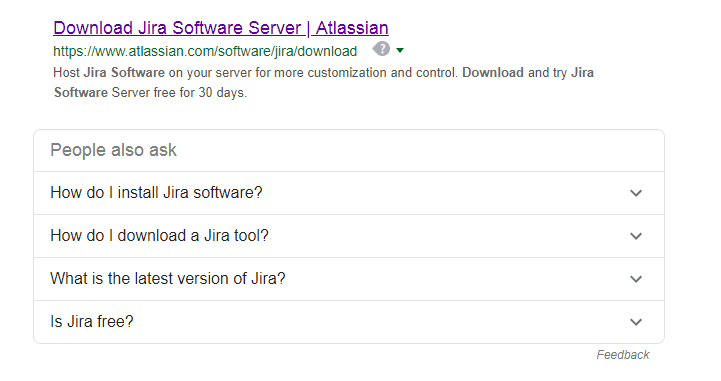
Step 1: Type "Download JIRA software" in the Google search engine box. The screen appears as shown below:
Step 2: Click on the "Download Jira Software Server". On clicking, the screen appears shown as below:
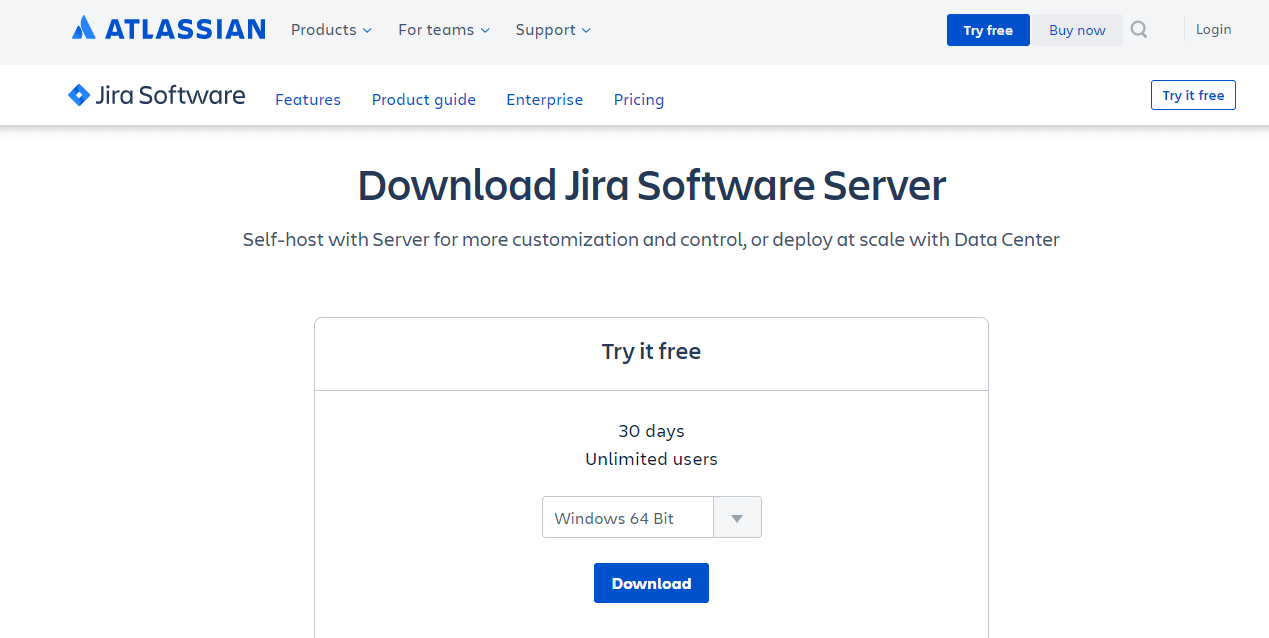
- In the above screen, choose the OS environment type and then click on the Download button. Suppose, I am working on the Windows, then I choose "Windows 64 Bit".
- On clicking on the Download button, the dialog box appears which is shown below:
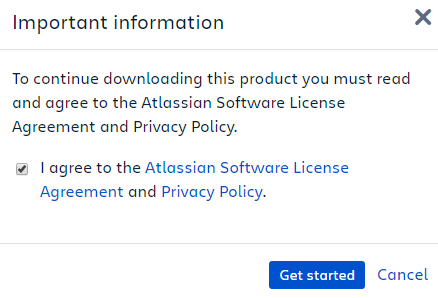
- In the above dialog box, click on the checkbox, and then click on the "Get started" button. On clicking on the Get started button, the screen appears shown as below:

- Now, move to the .exe file which has been downloaded. Click on the downloaded file. On clicking on the downloaded file, the installation will get started.
- An installation wizard will appear shown as below:
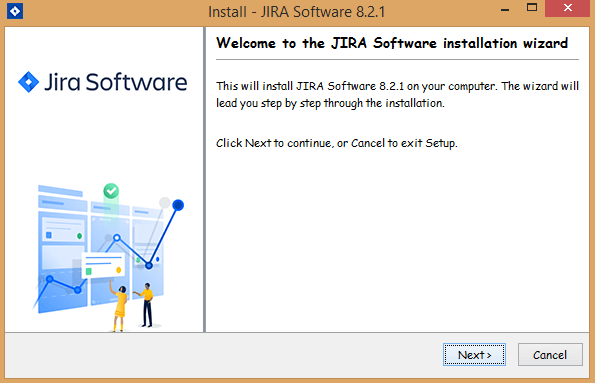
- Click on the Next button.
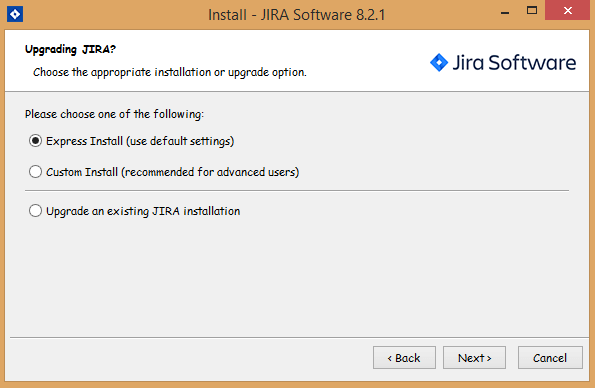
- Choose the appropriate type of installation and then click on the Next button.
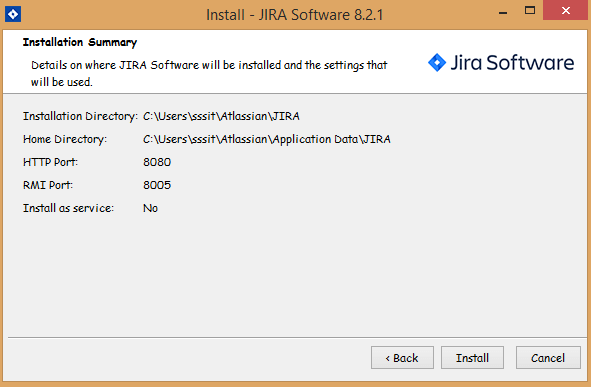
- The details on which JIRA software have been shown below. Click on the Install button.
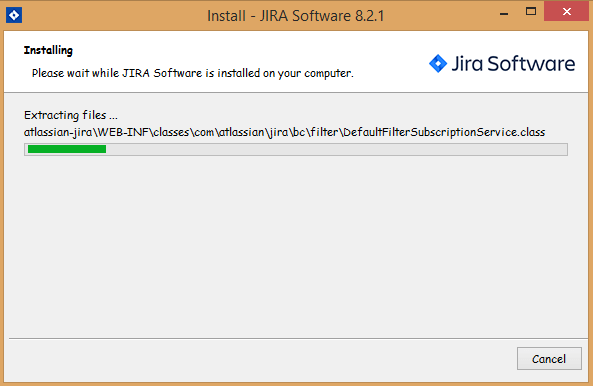
- The below screen shows that the installation has been started.
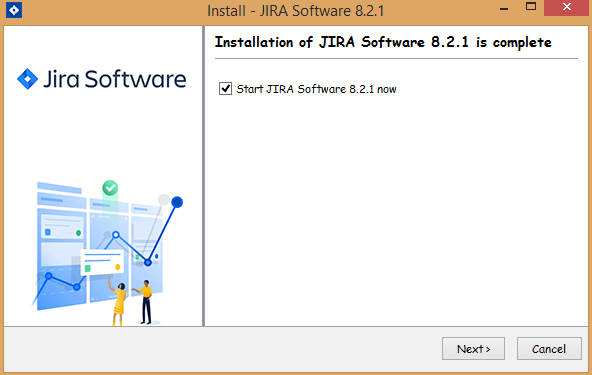
- After the completion of the installation, the screen appears as shown below:
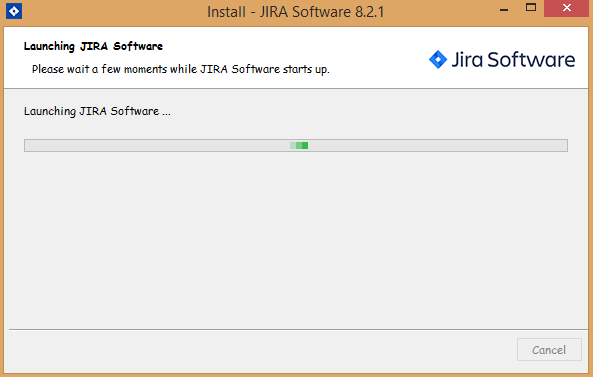
- On clicking on the Next button, the launching of JIRA software gets started.
- Click on the Finish button.

Now, JIRA has been launched in your web browser. You have to sign-up to the account in Jira.
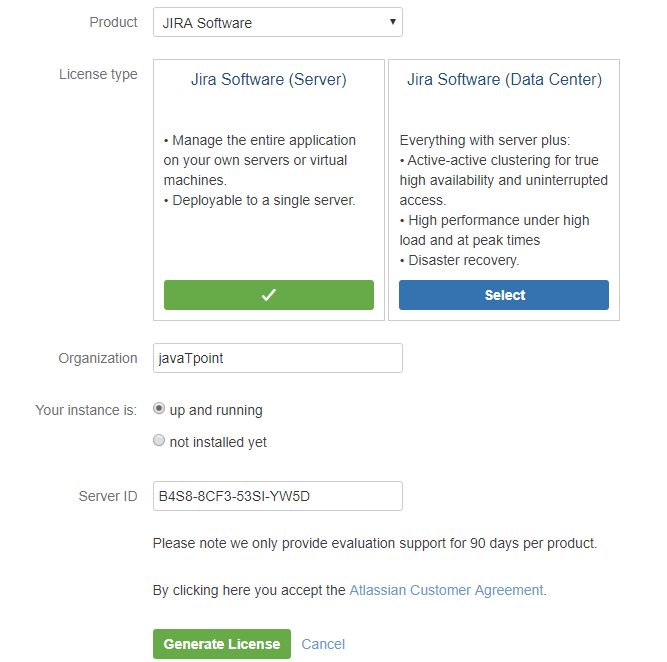
- You have to select the License type and enter the name of your organization.
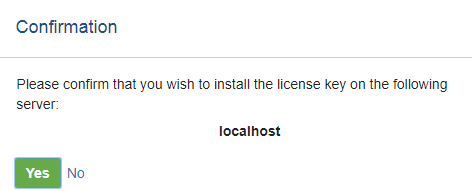
- After clicking on the Generate License button, a pop-up box appears which is a confirmation box that ask you whether you want to install the license key on the server or not. Click on the 'Yes' button.
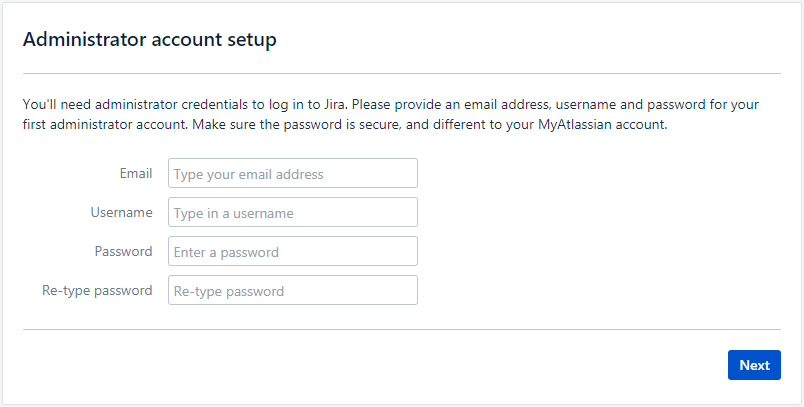
- Fill the administrator details which are required to log in to Jira. Click on the Next button.
- Jira will start finishing your setup.

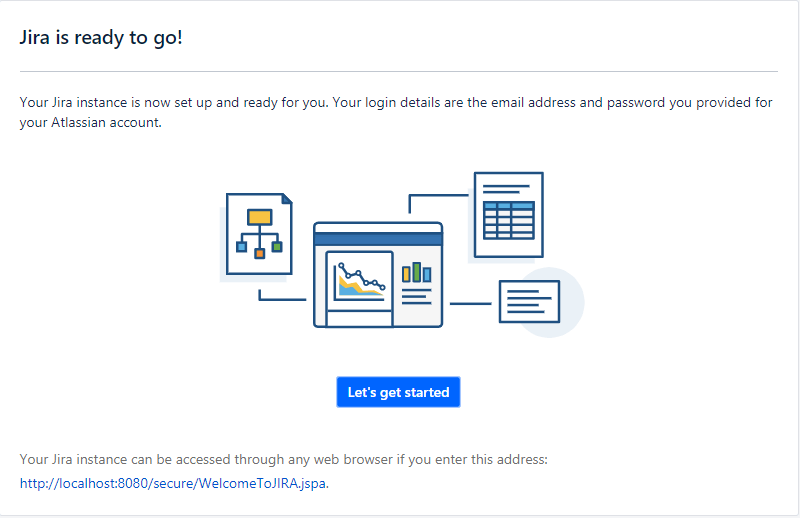
- Once your Jira has been set up, you are free to use the Jira software.
|

 For Videos Join Our Youtube Channel: Join Now


