JMS Topic Test Plan
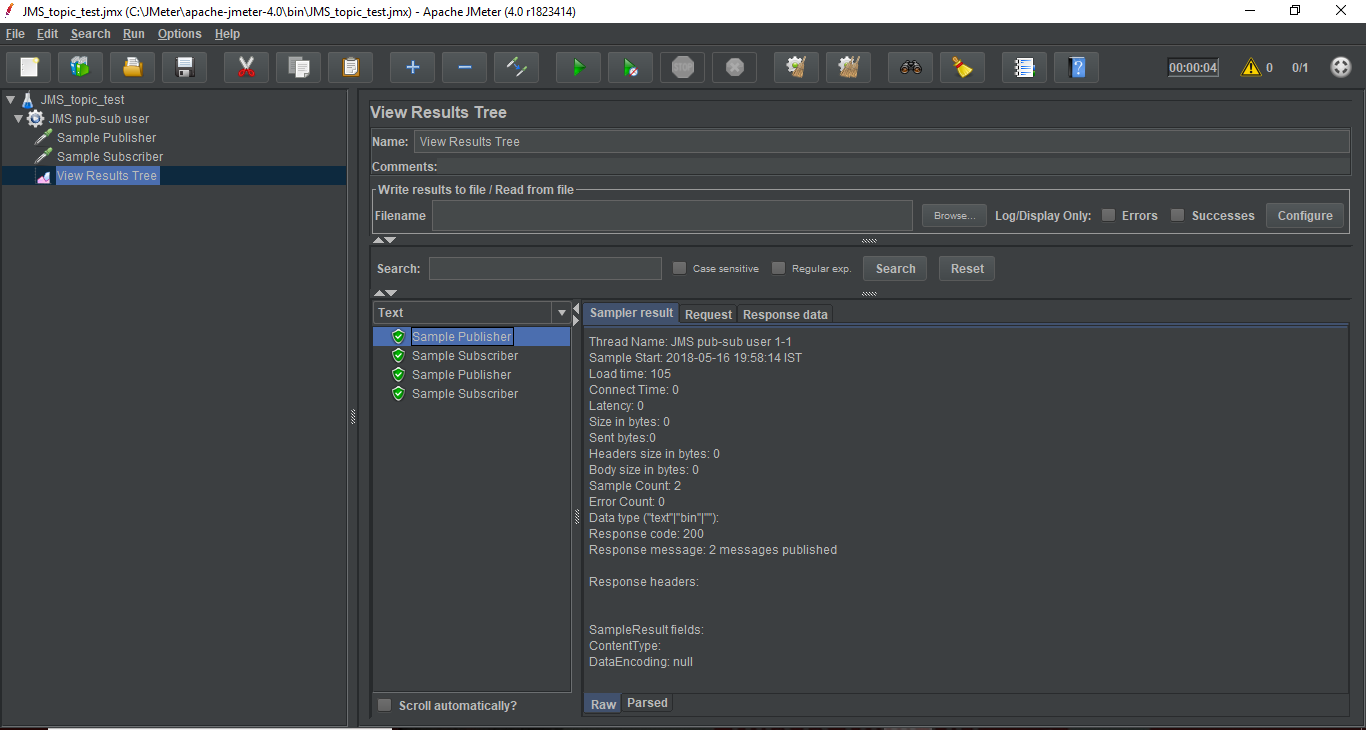
Now we will write a JMeter test plan to test a JMS Provider. For this test we have to create one subscriber and one publisher.
Create JMeter Test Plan
- Go to your JMeter bin folder and double click on the ApacheJMeter.jar file to launch JMeter interface.
- Click on the Test Plan node.
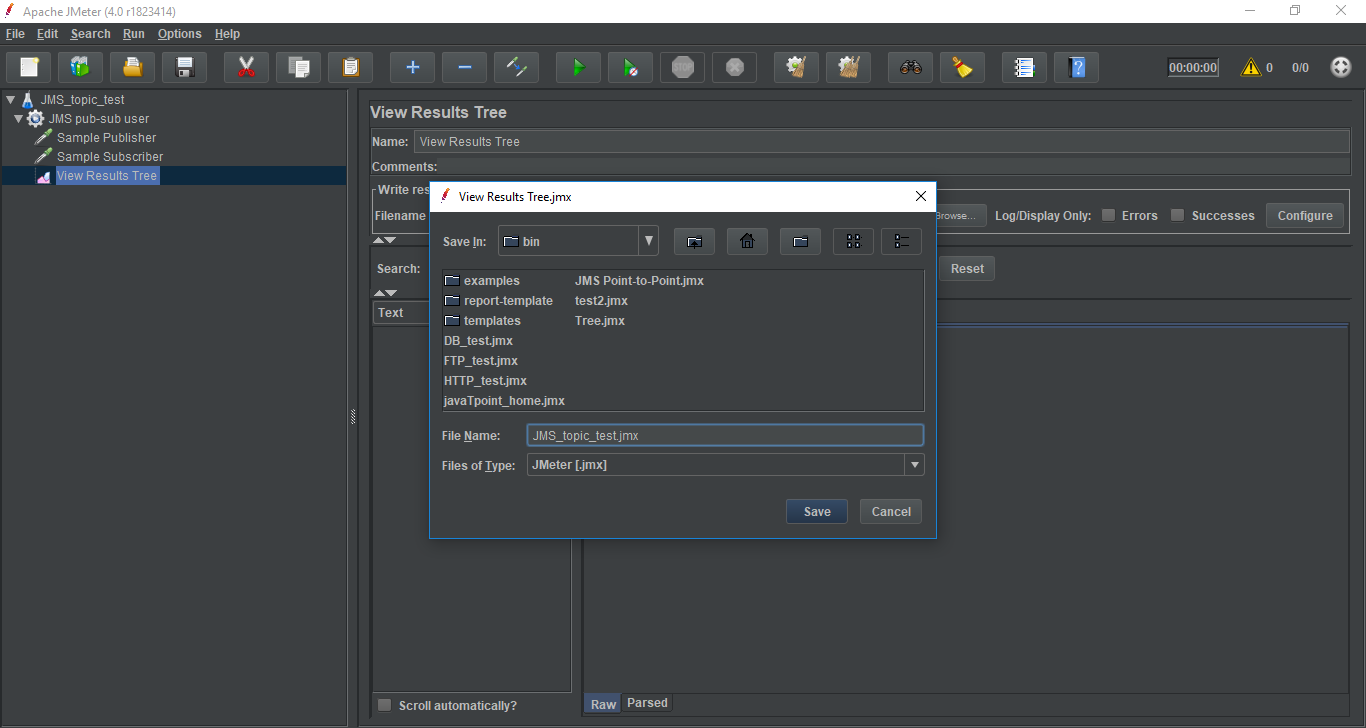
- Rename this test plan node as JMS_topic_test.
- Select the JMS_topic_test node and right click on the selected item.
- Mouse hover on "Add" option, then elements list will be displayed.
- Select Threads (Users) > Thread Group.
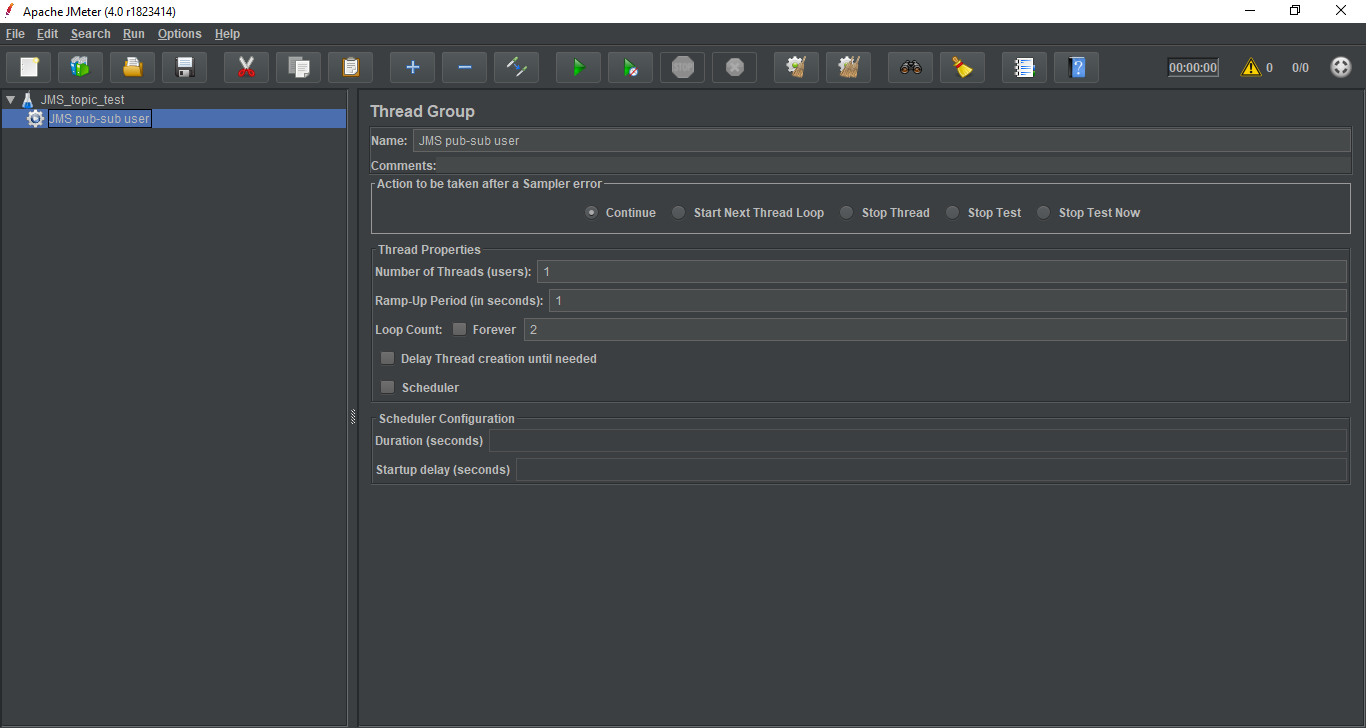
- Rename this Thread Group element as JMS pub-sub user.
- Change the loop count to two.
- Rest of the default properties are left unaltered.
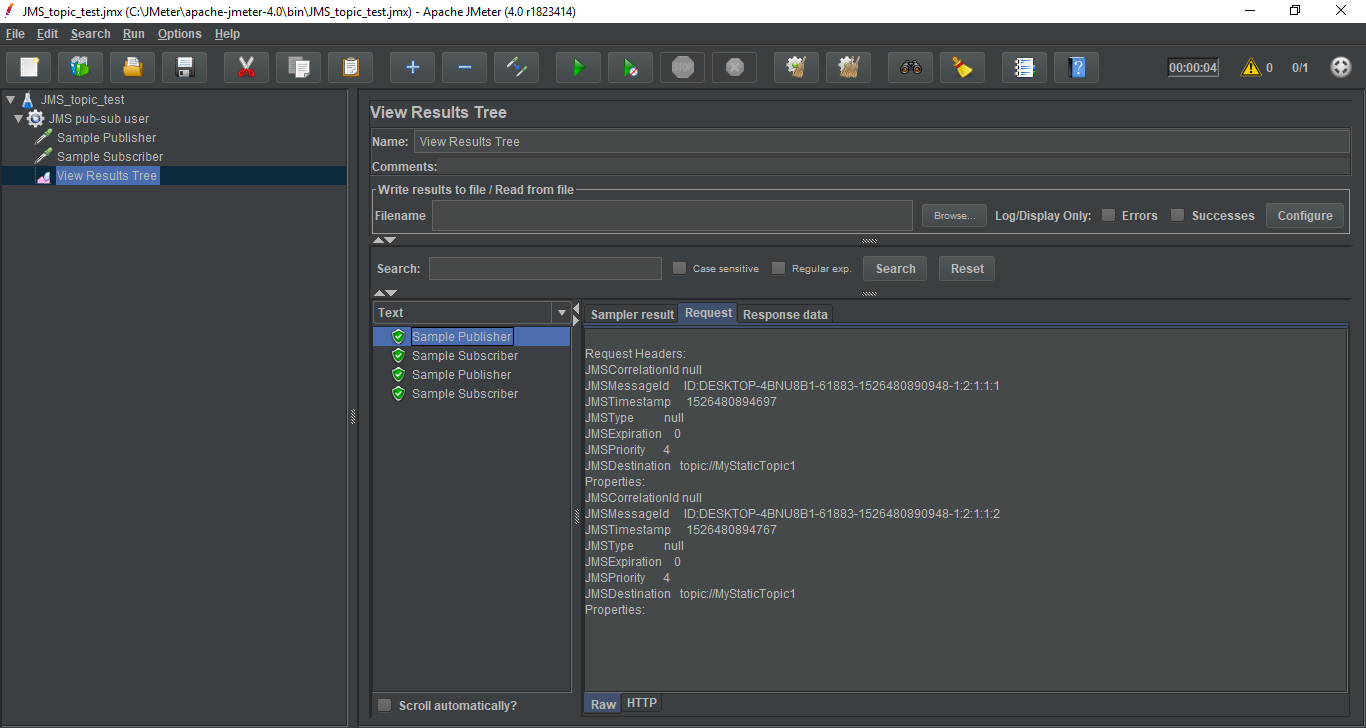
Adding JMS Subscriber and Publisher
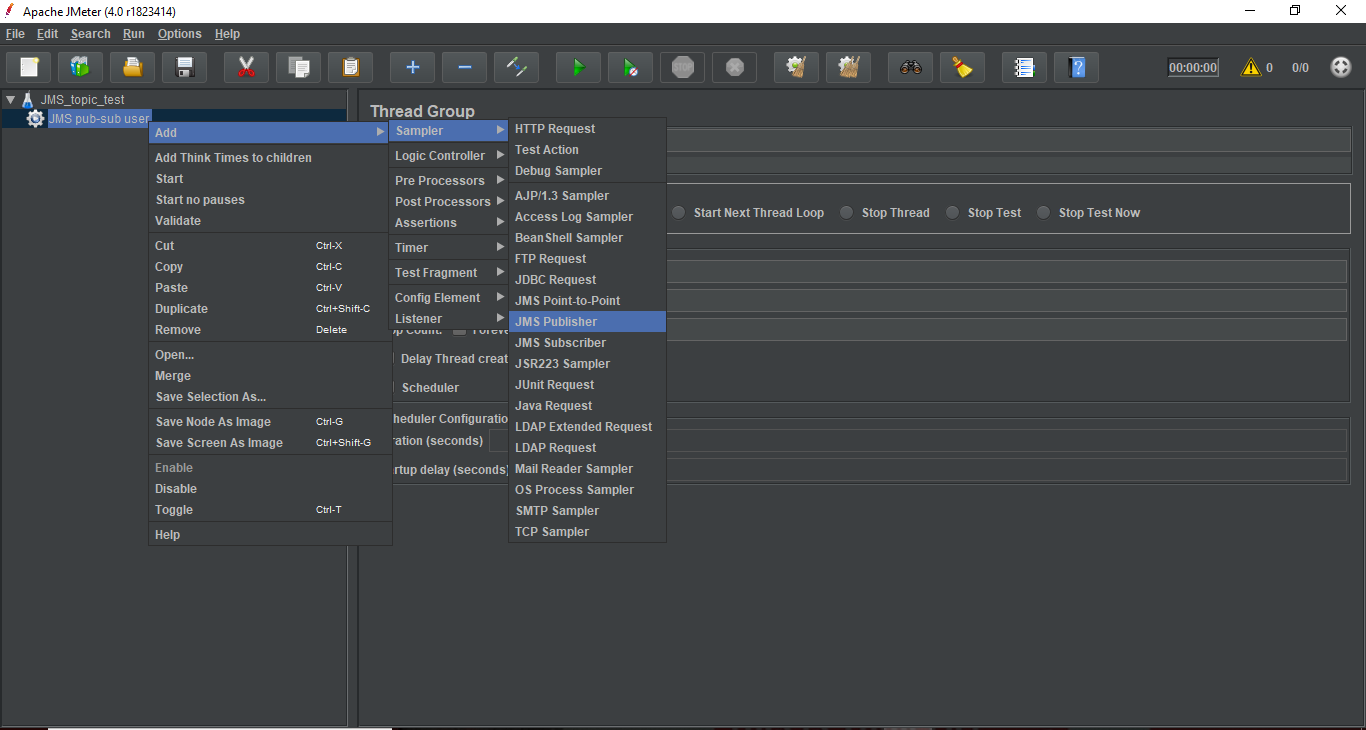
- Select the JMS pub-sub user element (Thread Group) and right click on the selected item.
- Mouse hover on "Add" option, then elements list will be displayed.
- Select Sampler > JMS Publisher.
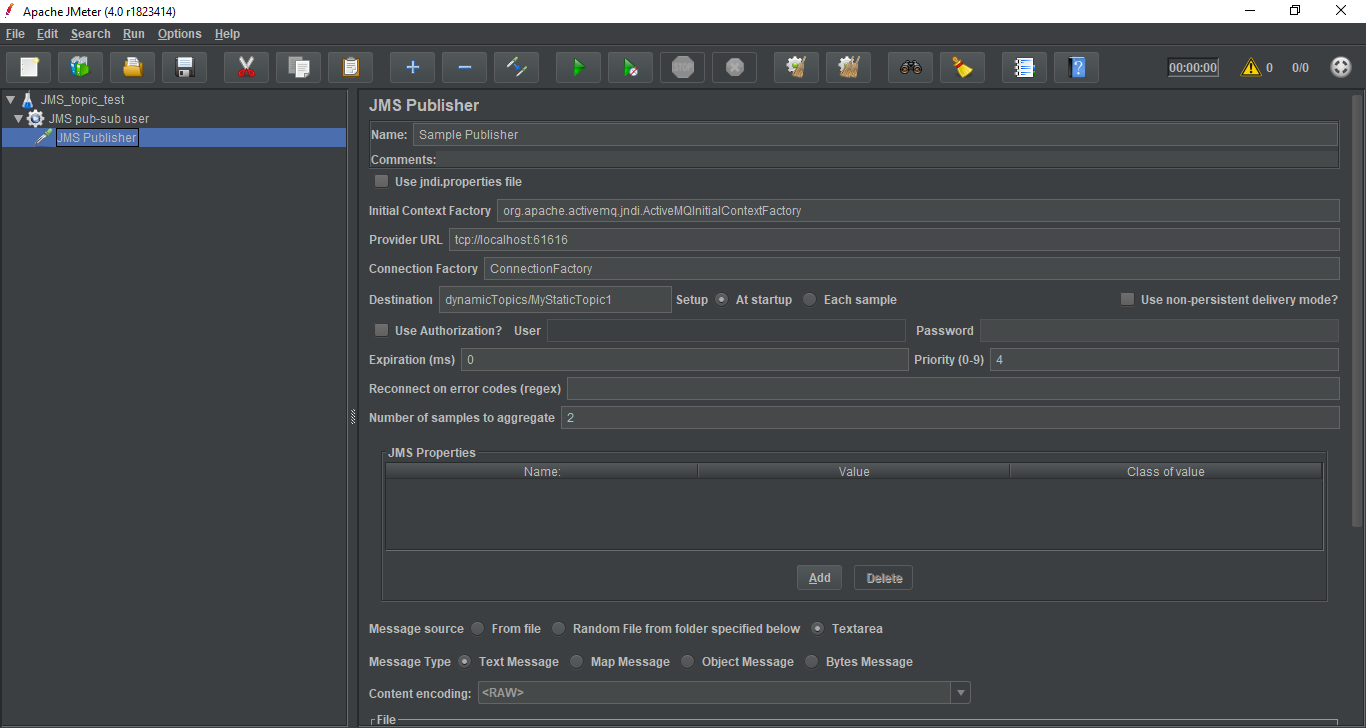
Set up the following fields in the JMS Publisher sampler element:
- Name - Sample Publisher
- jndi.properties file - unchecked (JMeter uses the "JNDI Initial Context Factory" and "Provider URL" fields to create the connection)
- Initial Context Factory - org.apache.activemq.jndi.Active MQ Initial Context Factory
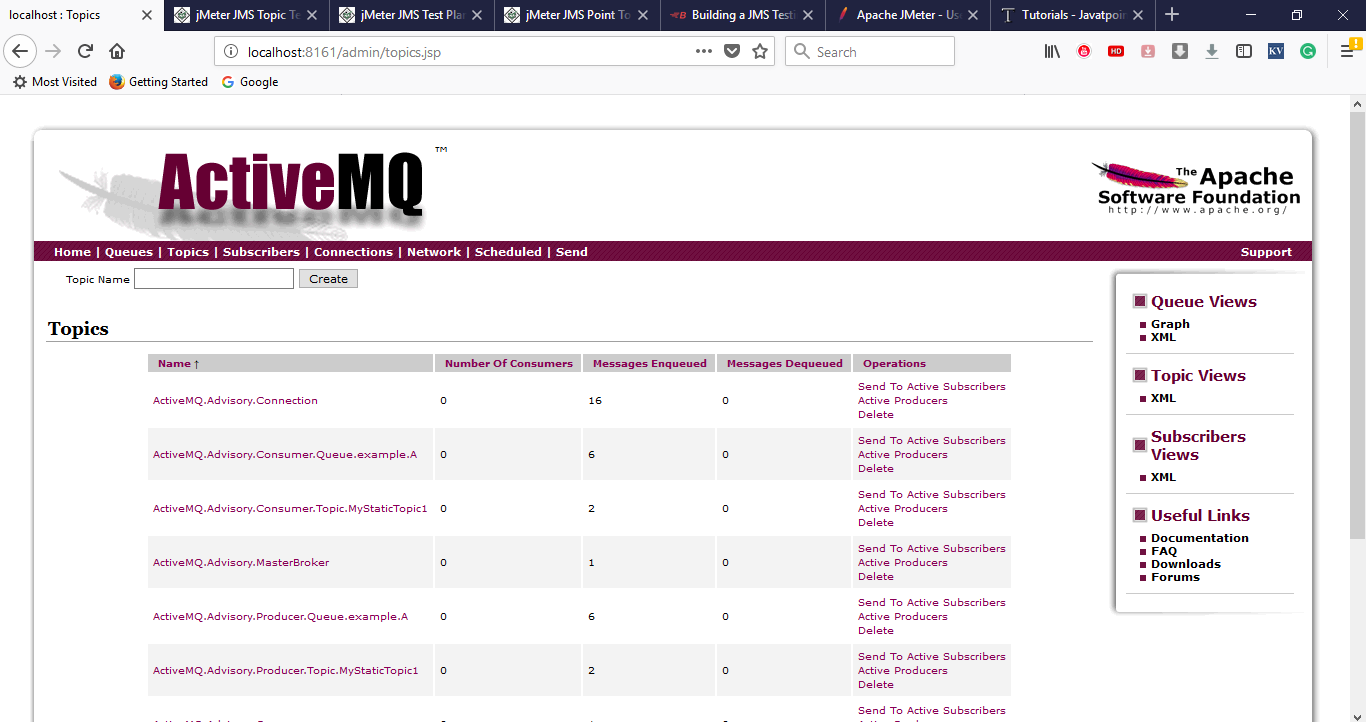
- Provider URL - tcp://localhost:61616
- Connection Factory - Connection Factory
- Destination - dynamic Topics/My Static Topic1
- Number of samples to aggregate - 2 (Number of samples to aggregate)
- Message source - Textarea
- Message type - Text (The Message to use either for Text or Object message)
- Remaining properties are left unaltered.
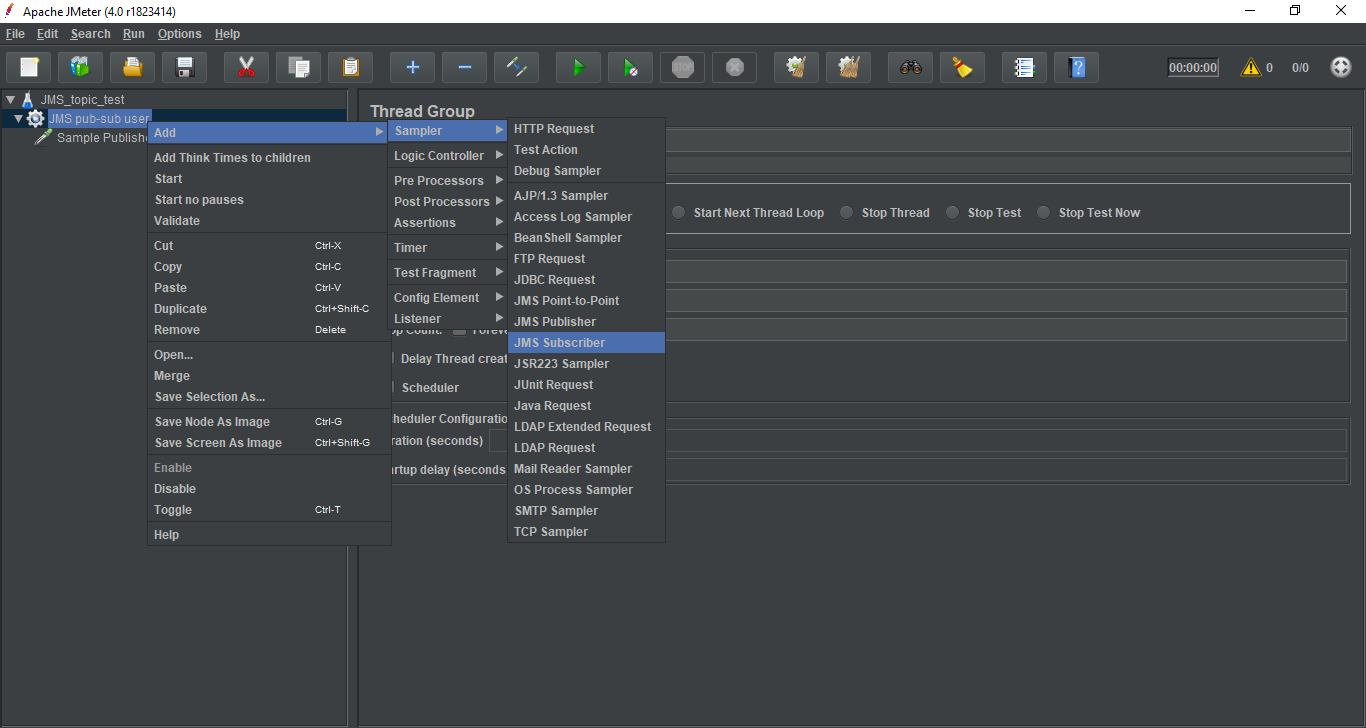
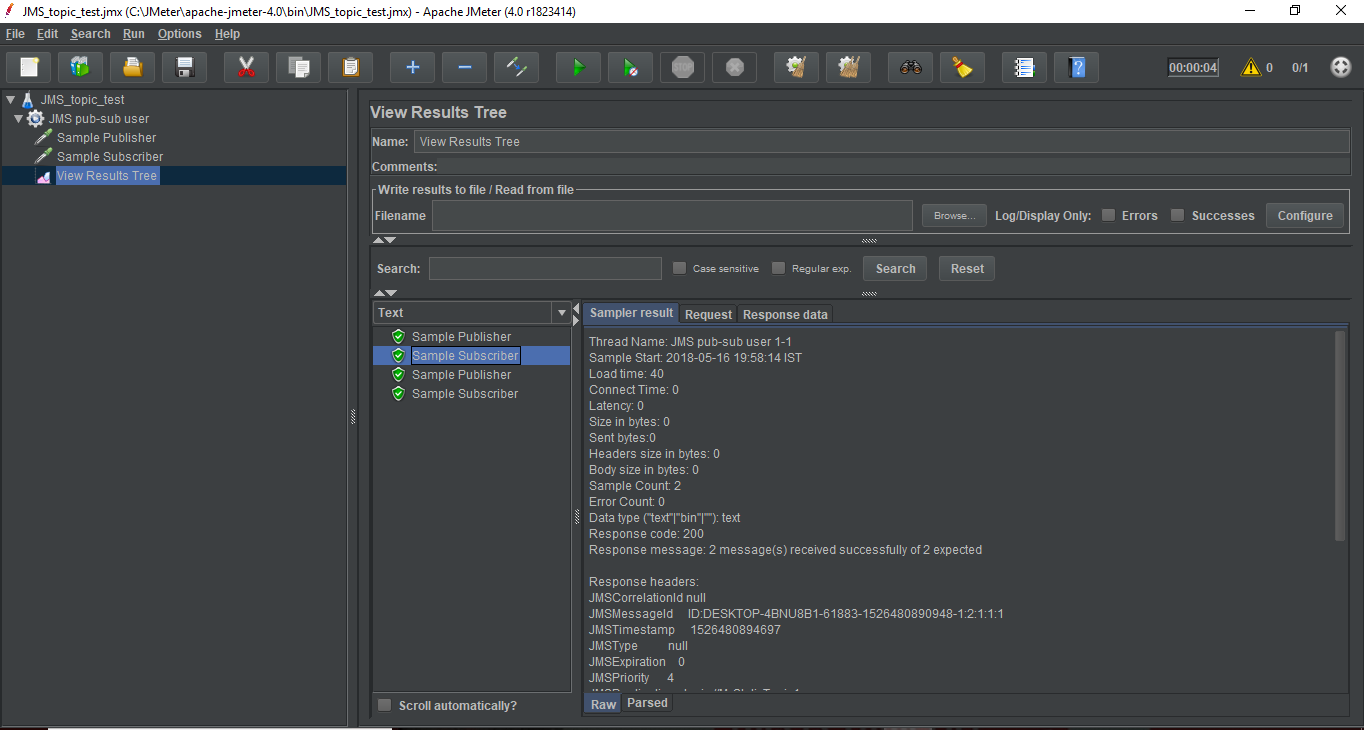
Now we will add a Subscriber.
- Select the JMS pub-sub user element (Thread Group) and right click on the selected item.
- Mouse hover on "Add" option, then elements list will be displayed.
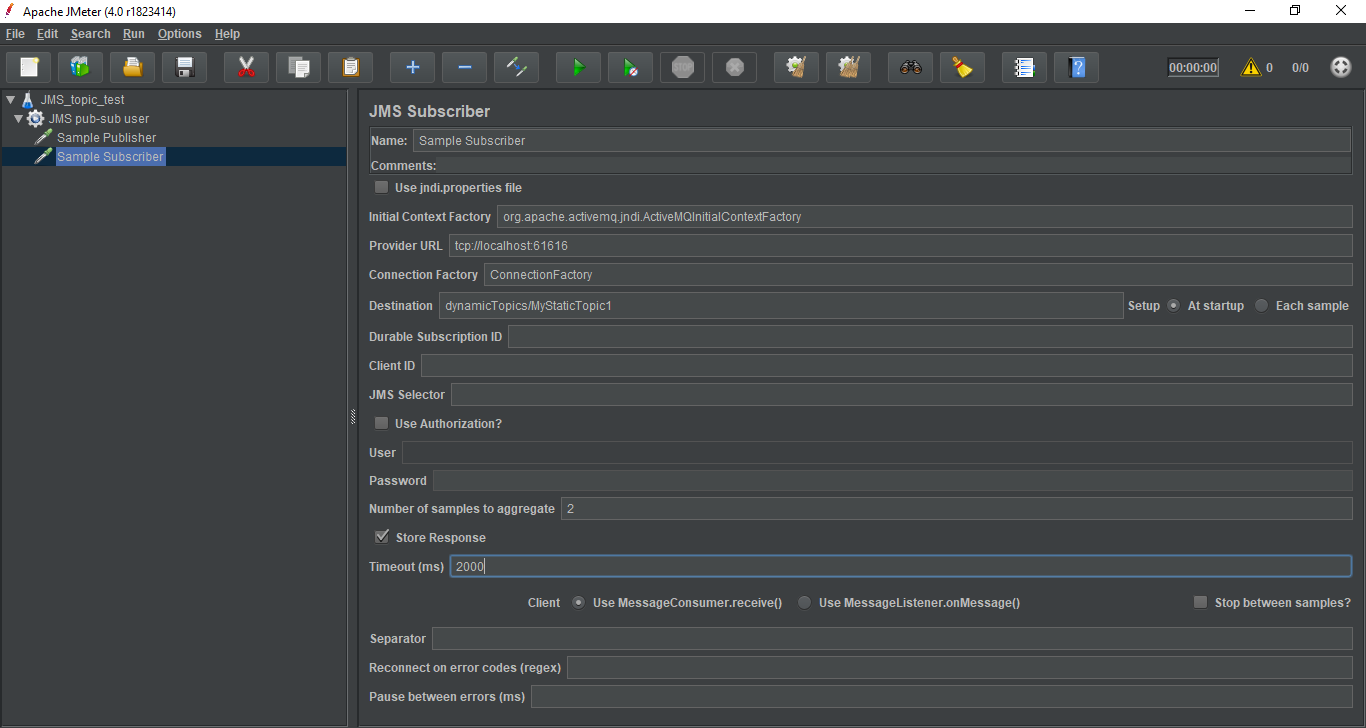
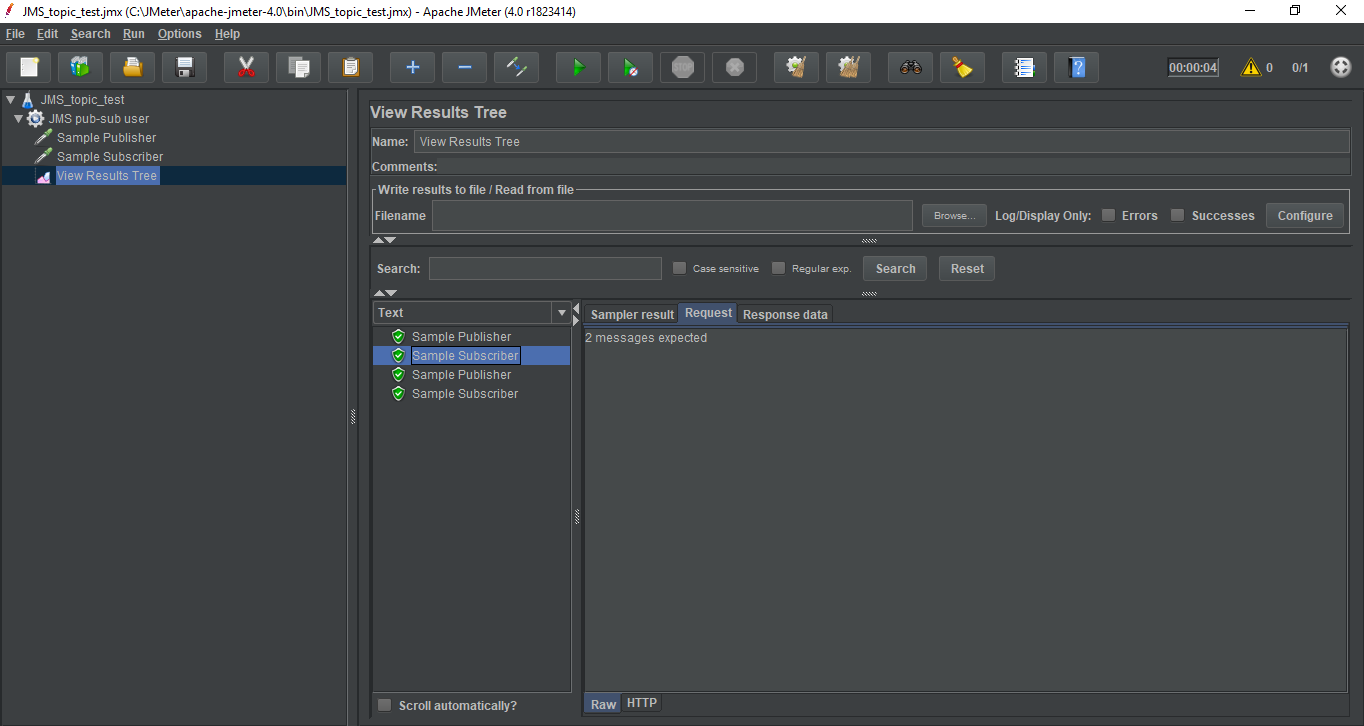
- Select Sampler > JMS Subscriber.
Set up the following fields in the JMS Subscriber sampler element:
|

 For Videos Join Our Youtube Channel: Join Now


