| |

Joomla Installation on WindowsGenerally, Joomla is installed on systems based on Linux distributions, including Ubuntu with either LAMP or LEMP stack. However, you can install Joomla on Microsoft Windows Desktops and servers with the help of some open source projects. There are several such open-source projects available. One of those projects is XAMPP, which is freely available, easy to install Apache distribution. XAMPP contains MariaDB, PHP, and Perl. Let's discuss the step by step procedure for Joomla installation on Windows platform: Requirements for Joomla! 3.x
InstallationIn this article, we are installing Joomla on the localhost. Although, you can follow the same procedure for installing it on an actual live server, go through all the steps: Step 1: Install and Activate XAMPP Firstly, you are required to download XAMPP from the link given below: https://www.apachefriends.org/index.html Just download the valid Windows installer of XAMPP and install it by running the installer package. It can be installed easily, just like the other windows software. It is suggested to use the default location for installation. Note: While preparing this tutorial, the latest version of XAMPP is 7.3.10.When the installation is done, launch the XAMPP software. It should look like this: 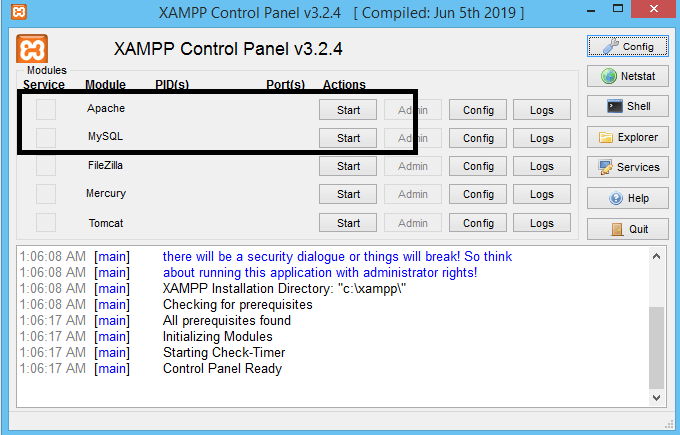
Now, you have to activate the XAMPP software by turning on the options, shown in the above screenshot. Step 2: Joomla Download and Upload If you install in your localhost, then you need to Download the .zip or .tar.gz file of Joomla from the official website. https://downloads.joomla.org/ Extract the downloaded file and copy all the files into the 'htdocs' folder, which is available in the XAMPP installation directory. You can also create the subdirectory and copy all the files into that subdirectory. Here, we are using a subdirectory 'Joomla'. If you install from your hosting then You need to upload the compressed file to your domains' root and extract it. You can perform it using a file manager or using an FTP client. Most of the hosts provide web-based file managers for day to day tasks. By default, these files should be appeared in the public_html directory (usually a root folder). Step 3: Create a Database Before installing the Joomla, you will need to create a database that you can use to connect. To do this, open a browser and navigate to localhost/phpmyadmin. Click on the tab named 'Databases' which is available at the top of the page. Put a name that you want to use as a name for the database and click on the 'create' button. 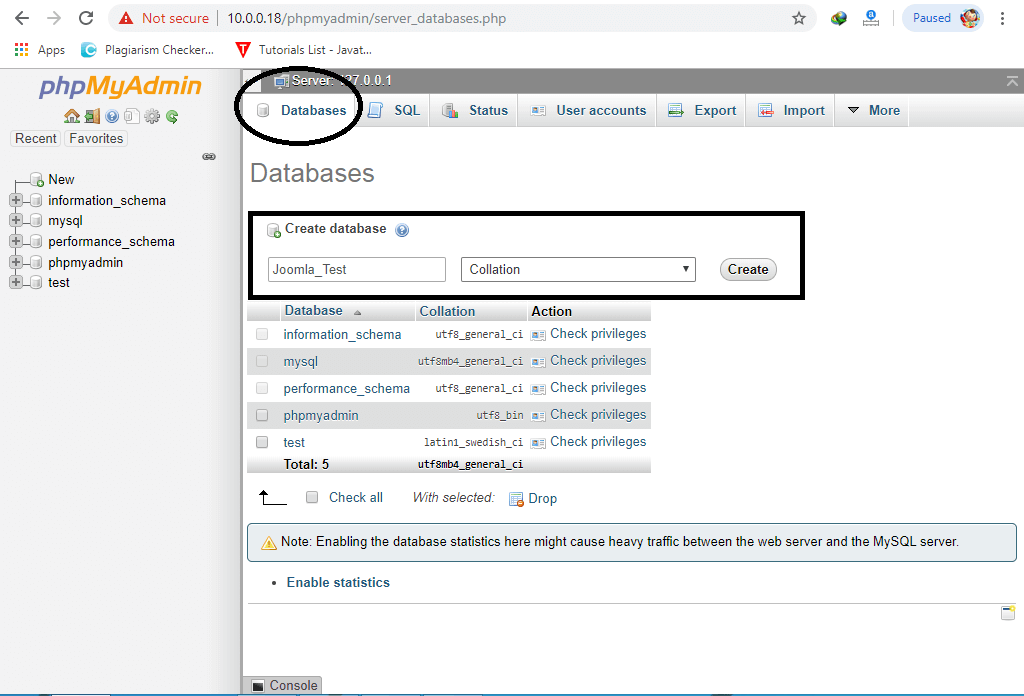
To create on a live server, navigate through your control panel, and open Databases > MySQL Databases section. Create your database name, user id, and password. Keep remembering the name of the database that you created because it will be required during the Joomla installation. Step 4: Install Joomla Open a browser, and search http://localhost or http://localhost/xxxx (where xxxx is the name of a subdirectory inside 'htdocs' directory. If you are using a live server, then you must use http://yourdomain.com or http://yourdomain.com/joomla, depending on where you have uploaded the Joomla installation package. Now, you are required to complete three basic steps to install Joomla onto your computer:
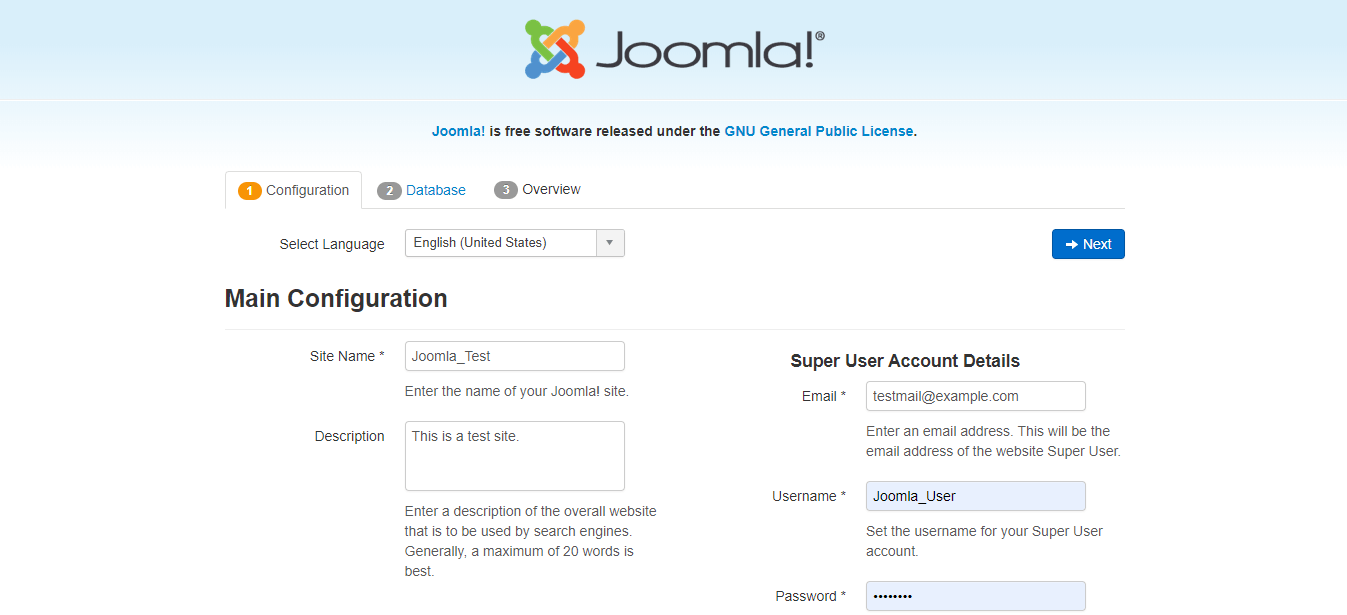
Main ConfigurationOnce you navigate to an appropriate link, you will be taken to the main page of Joomla web installer. Here, you are required to add the necessary information about the site and administrator, such as:
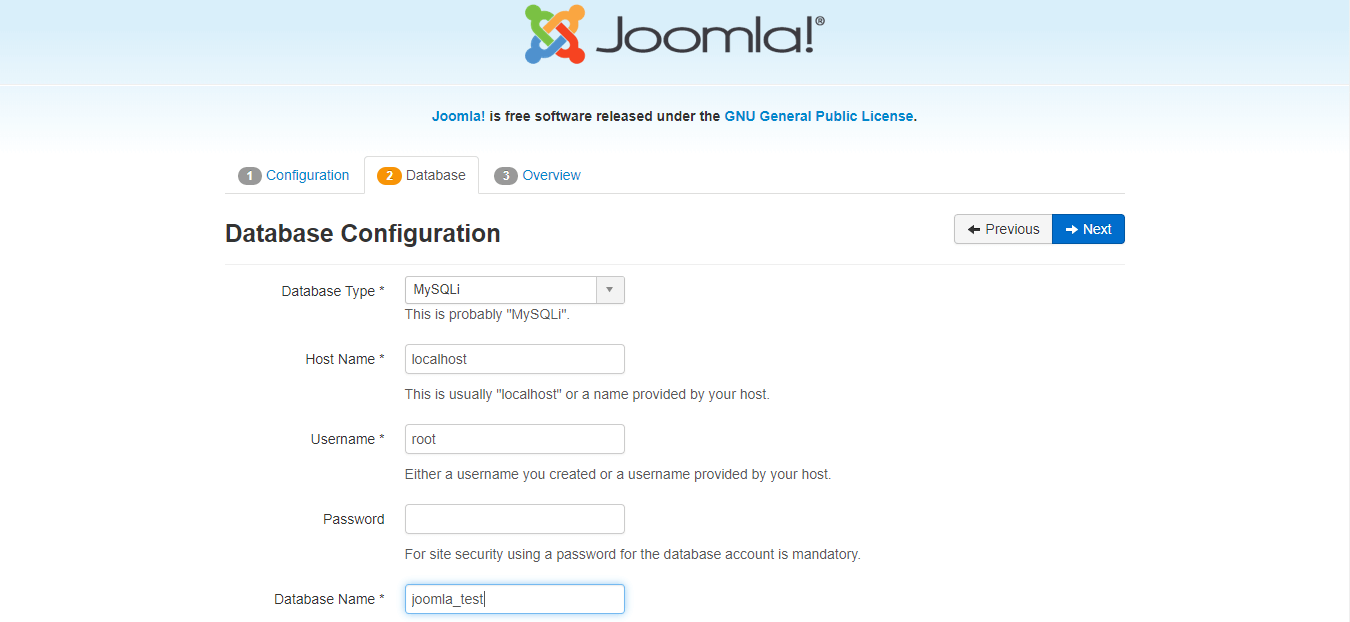
Database ConfigurationThis page contains the following data:
Overview
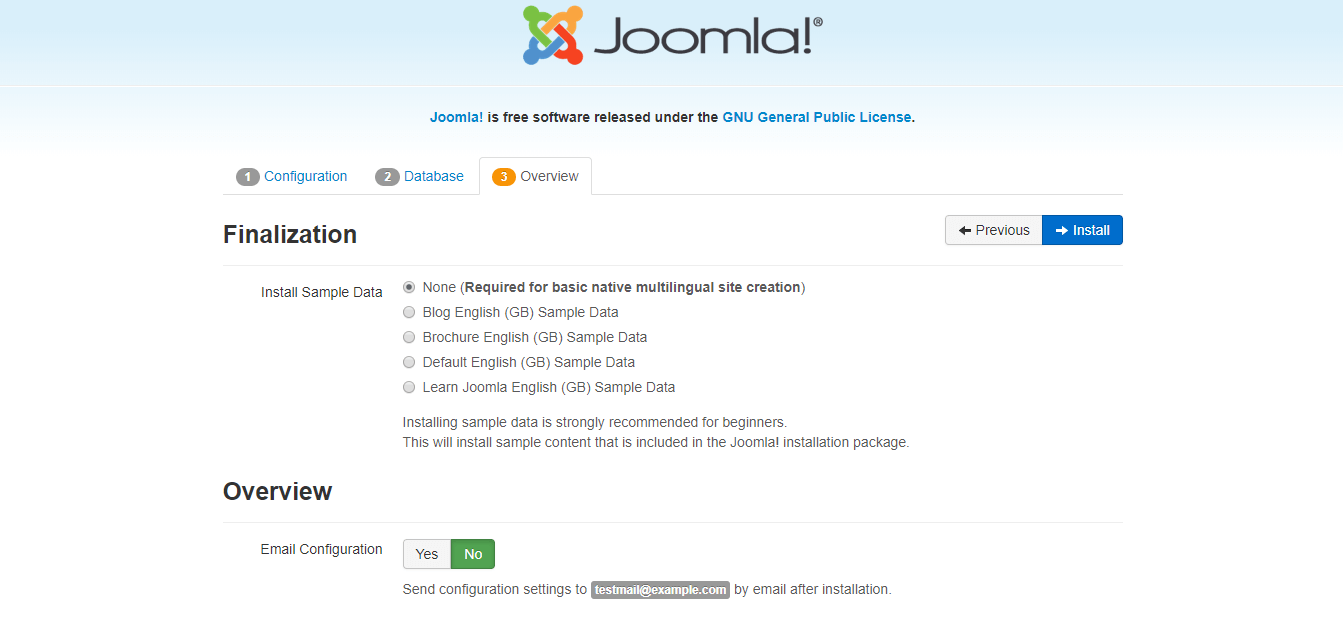
As soon as the installation finishes, you just need to click on the button "Remove installation folder" to complete the installation process. You can either click on 'Site' to check your site or 'Administrator' to access the administration area. 
Now, Joomla is successfully installed on the localhost. Step 5: Test Joomla When you have completed the installation, you are ready to open the front-end and back-end of your website. Either click on 'Open Site' or type your domain in the browser's address bar to open the front-end of your site. If you have logged in into your account, then you can directly edit the options from the front-end view. 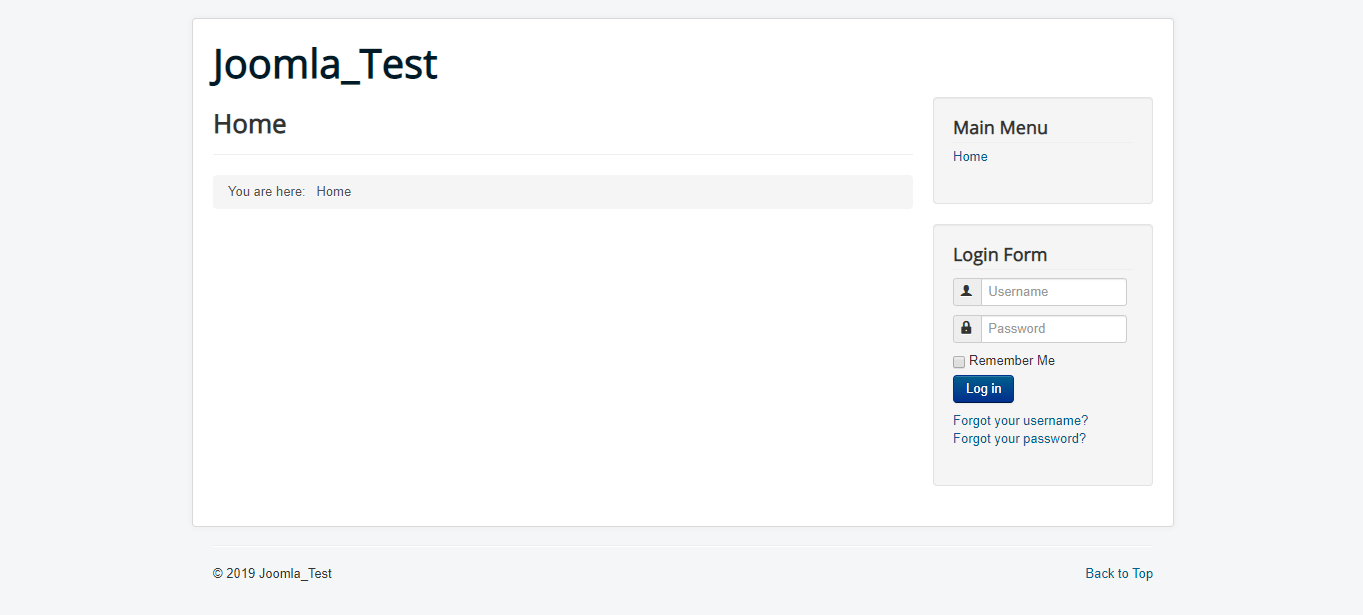
To access the back-end of your Site, you are required to navigate a URL as http://localhost/
Next TopicJoomla Installation on Linux
|
 For Videos Join Our Youtube Channel: Join Now
Feedback
- Send your Feedback to [email protected]
Help Others, Please Share


