| |

Label in GodotThe label displays plain text on a screen. It gives us control over horizontal and vertical alignment, and it can wrap the text inside the node's bounding rectangle. We are going to create a background texture and label here. Firstly, we have to create a folder named Loony_lips_gfx.gip in which a folder named the gfx folder. In the gfx folder, we have four things that we can download online to use in our script file into our Godot engine. 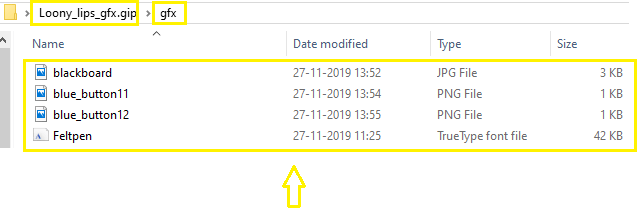
We have to copy this folder in our Loony lips folder which we make in our previous tutorial like this: 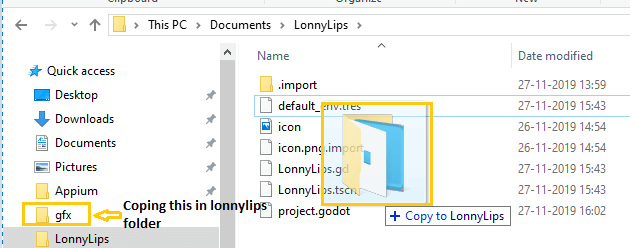
This is the loony lips folder where we have copied the gfx folder. 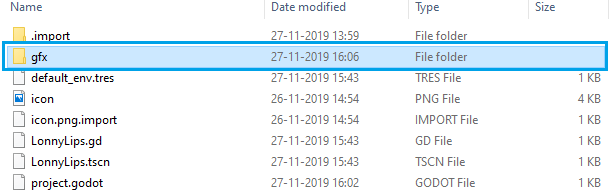
After that, we open the Godot game engine. These all folders are in loony lips (res://) folder in Godot engine. 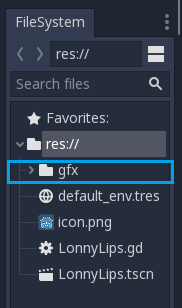
This is the gfx file extended. 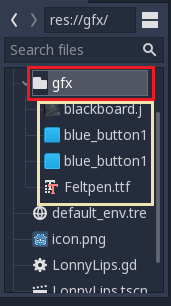
Let's start to make a background. To do that, click on loony lips to see the controls, and after that, add a child. To add a child, we press the plus (+) button. We have to create Texturerect for the background. 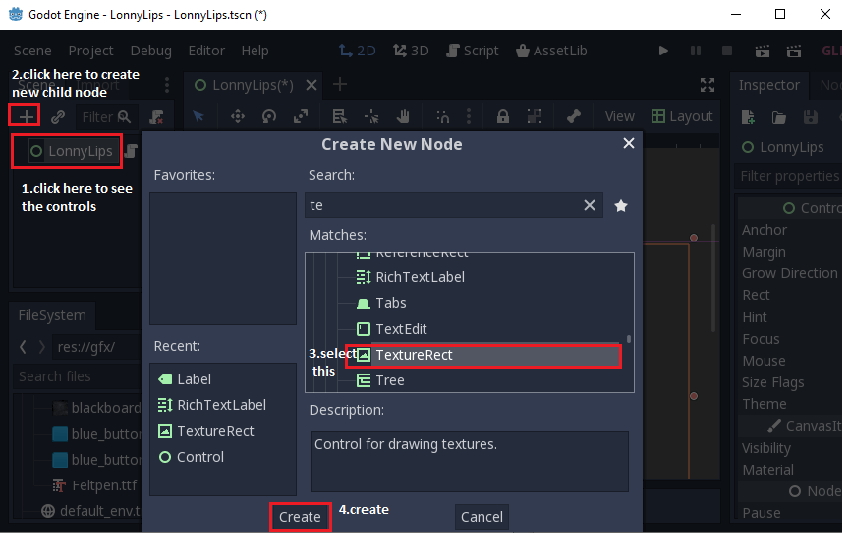
Then the below area will be created. 
In background controls, there is an option texture. We have to click on it, and then we have to select the load to see the things. 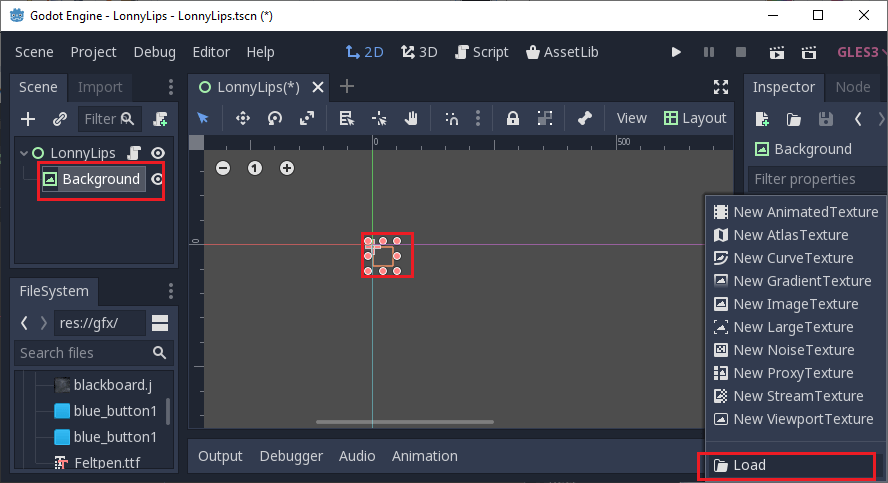
As given below, we have to select a load. 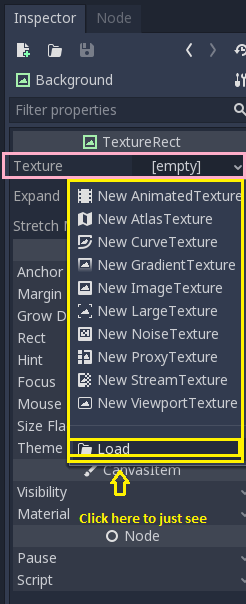
Then after these files are opened, click on cancel. 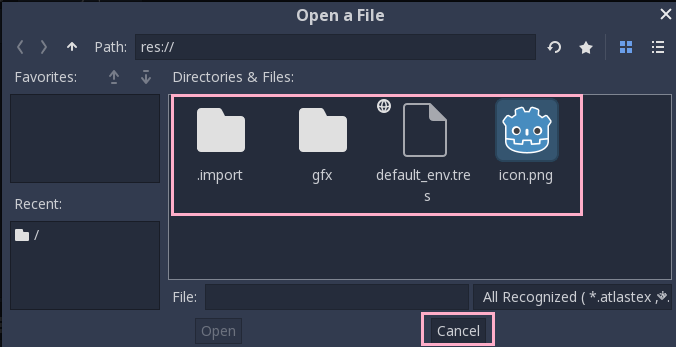
We are dragging the background into the texture to use the background. 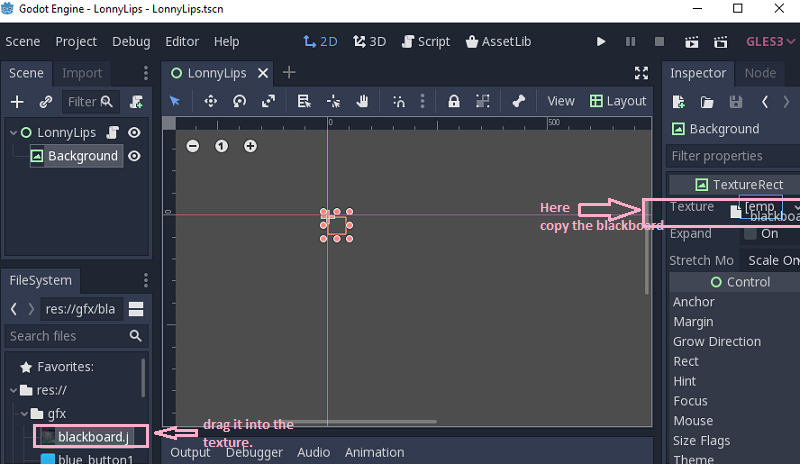
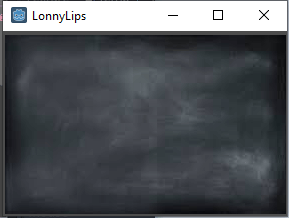
And here we have a lovely background, and if we press play here, then the output comes here. 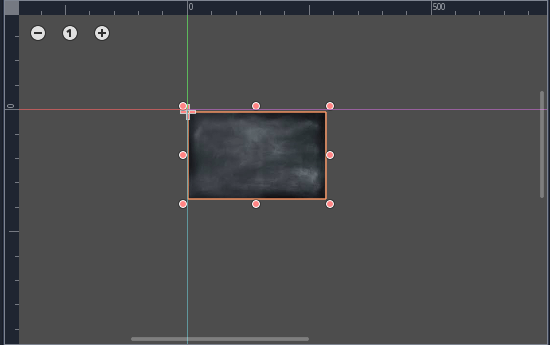
We can click on expand too. To extend the image. 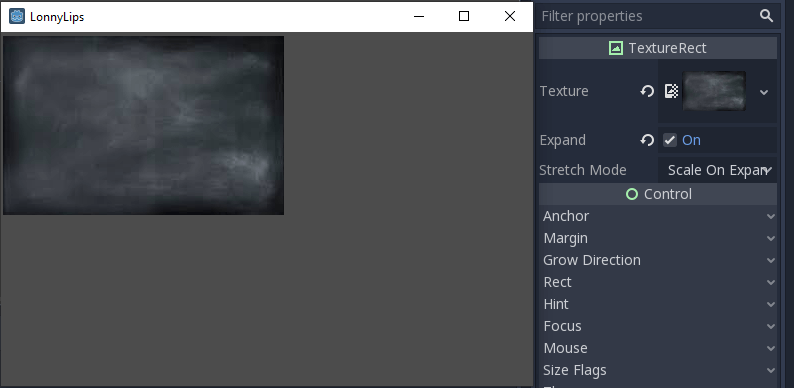
From here, we can manage the layout of the background. 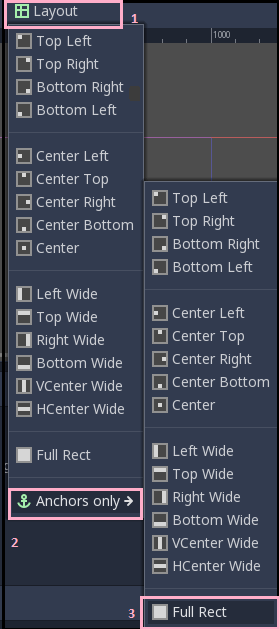
If we want to measure the box, then we have to go on the view. From The Show Helper feature, we can see the margins. Each of the green dots shows the area. 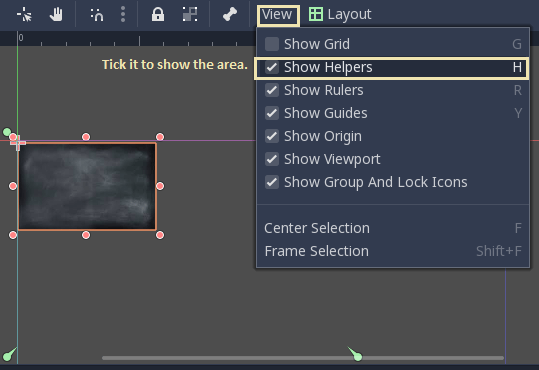
From Full Rect and Expand feature, we show the background full size. 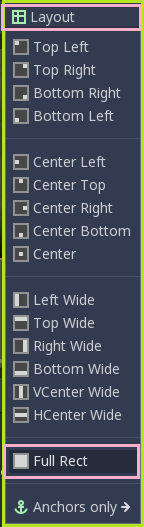
Then the output is: 
We can also do the width and height setting from the project setting and then go to Window and change width and height according to our needs. 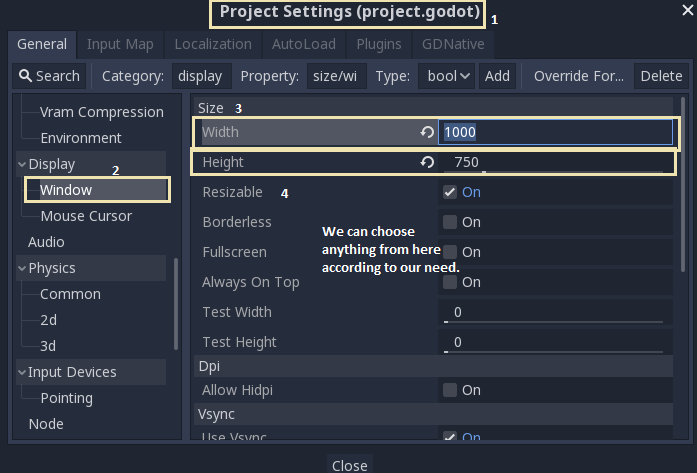
Then a lovely and adjustable background will come. After that,Now we are going to create a label. For this, we have to create a label by clicking loony lips like below. Click on the + sign upper side of the loony lips. 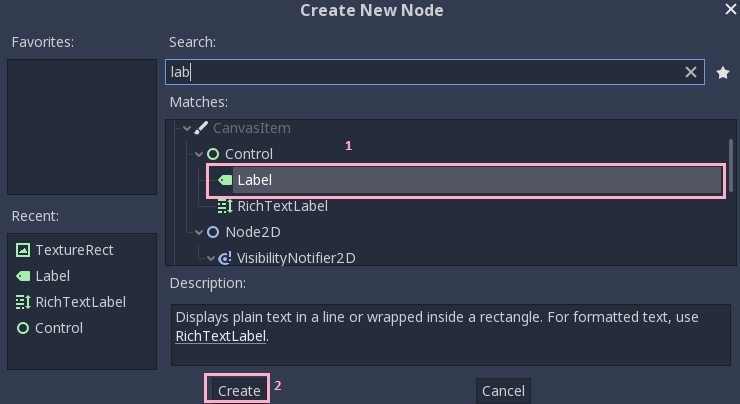
As we have seen below, the label is created where we can write what we want. 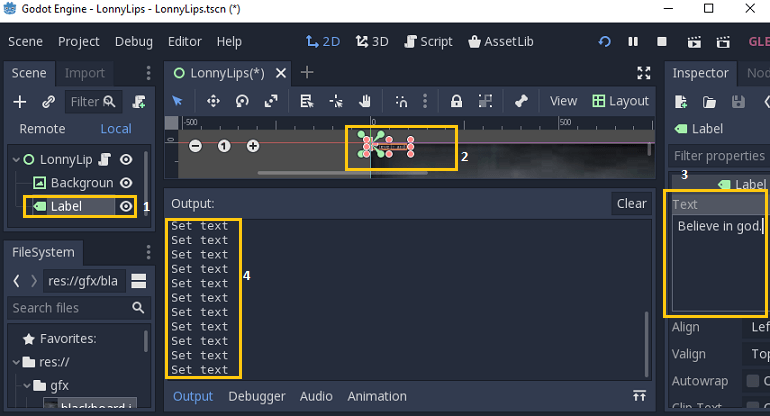
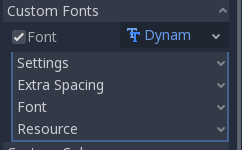
We are going to change the size of the font, then go to custom font and then take any size and more features from here. We can choose the custom font to click on the new dynamic font and then go to setting, and we have a font in our gfx file to take it to drag the font and put it into the font. And then change the size and all features of font like below. 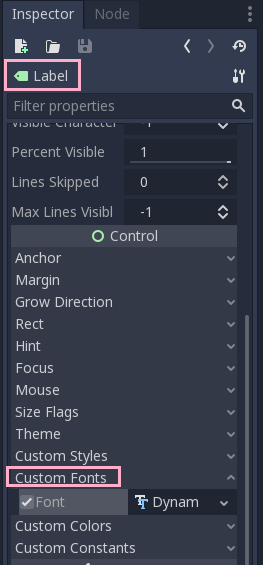
We drag the font from the gfx font. 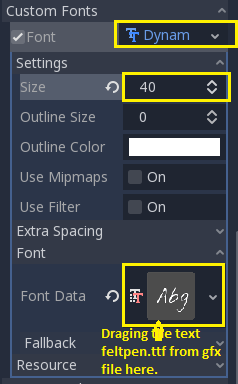
And then the background and label look like that. 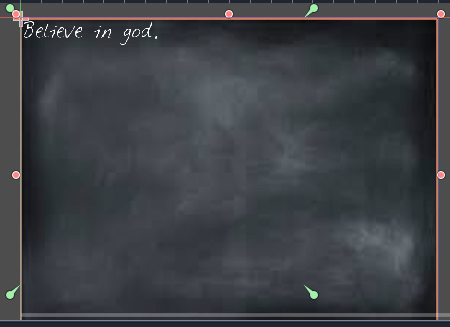
Here the output: 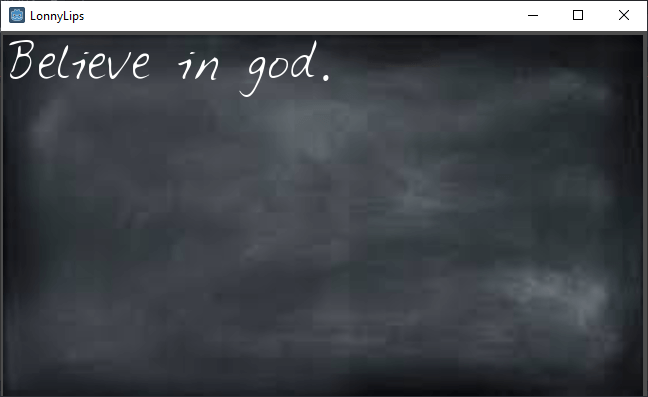
We can adjust the text from Margin- Left, Top, Right, Bottom like below. 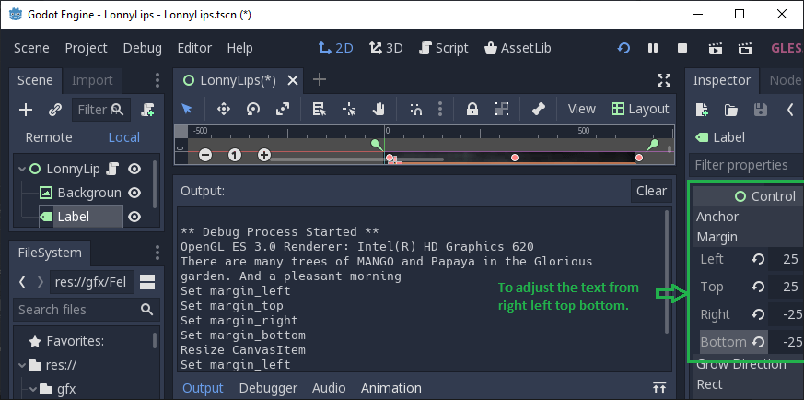
Then this output comes: 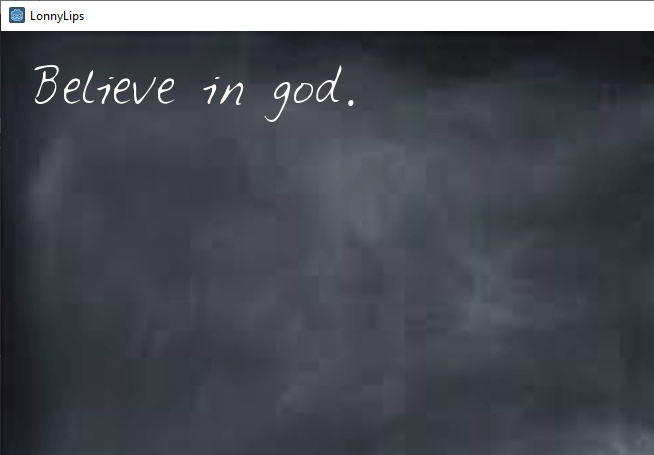
We can also set alignment according to our needs from Align, Valign. And Autowrap function is mainly used to make the page adjustable when we drag it small or big text will automatically adjust according to the page. 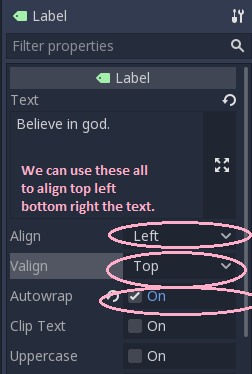
Below is some example to understand appropriately: If we choose the center in Align and center in the Valign, then the output comes. Try more. 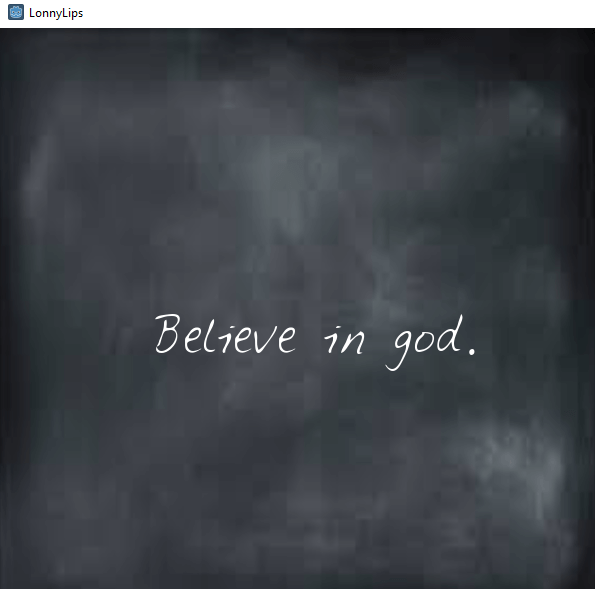
If we choose Bottom in Align and center in the Valign, then the output comes. 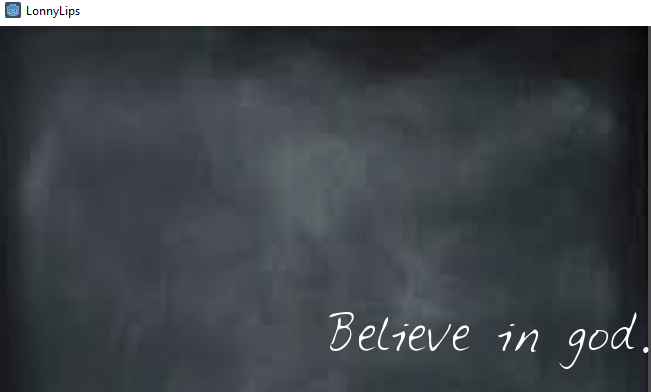
It is the example of Autowrap function where the text is shrunk according to the page. 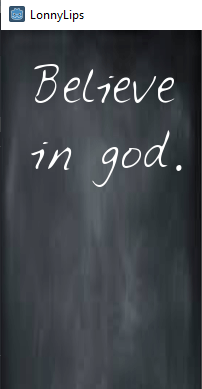
We can also write the text in the output through code, as given below. We have to click on the loony lips file as given below to show the code. 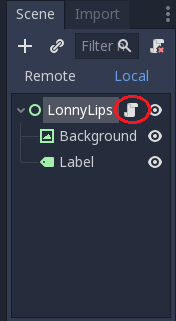
We are using get_node here, which is a function in GDScript. 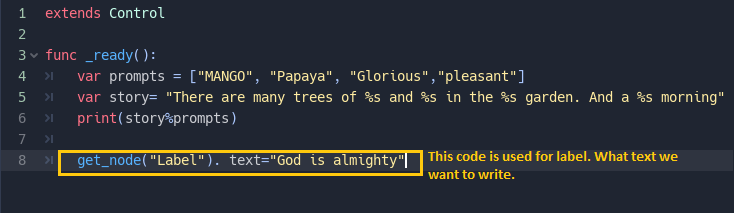
Then the output is: 
Here we have changed the label name to DisplayText. 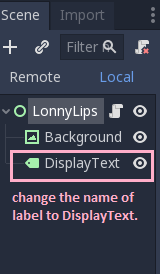
This is also the second type to fetching the data from here: 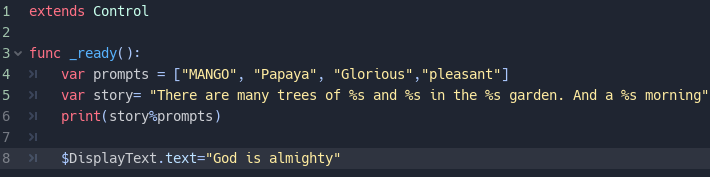
Then the same output will come: 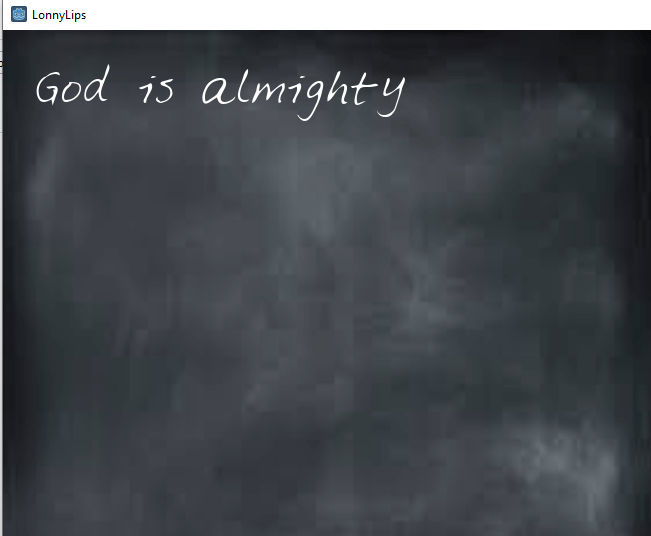
We can also use RichTextLabel in place of Label; it works something different. In RichTextLabel, there is extra functionality called BB code also. But we are not using it here. The below code is $DisplayText.text= story%prompt to fetch the data from the story and show it to our output page as given below: Here, we are autowrapped enable to wrapping the text. If we do not enable the autowrap, then into the output, the line is not broke from mid according to the page size, and it will not be seen us full. So Autowrap is enabled here. 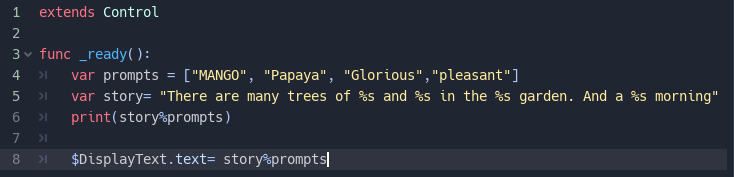
Output: 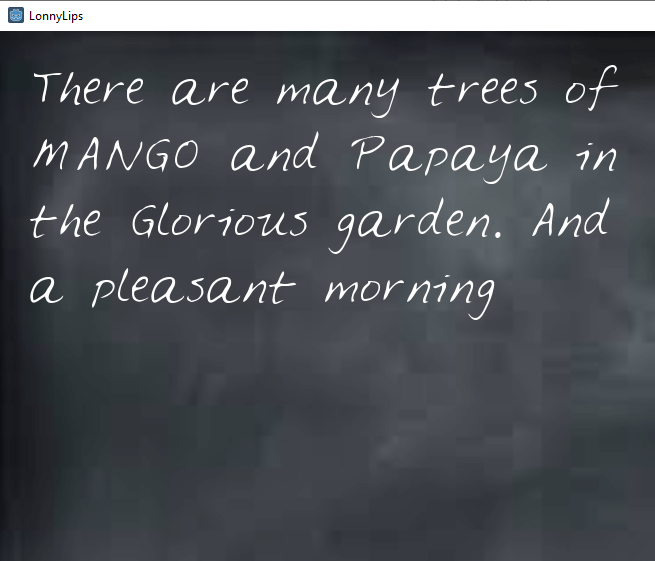
In our next tutorial, we learn about the LineEdit in Godot.
Next TopicGodot LineEdit
|
 For Videos Join Our Youtube Channel: Join Now
Feedback
- Send your Feedback to [email protected]
Help Others, Please Share


