| |

Latex FigureThe figures and graphs in Latex are created using the figure environment, which is represented as: Here, where represents the location of the figure either at the top [t] or the bottom [b]. All the pictures inserted in the figure and the graphicx environment will be indexed automatically and tagged with the successive numbers. It takes care of the positioning and numbering of images in a document. You need to include the \includegraphics command to insert an image. Latex applies some principles to arrange the text, which is commonly known as floats. FloatsThe floats solve the problem to fit the text that won-t fit on the same/present page. The floats are the separate entities that are positioned in a part of the page, namely, top, bottom, middle, left, right, or wherever the design specifies. The floats are always captioned and numbered so that they can be referred to anywhere in the document. The float is created using the figure environment, which is given below: The placement specifiers are :
Caption FiguresThe following example is given below: Here, we have specified the center command to display the image in the center. The \textwidth command is used to determine the width of the picture. Output: 
Let-s consider another example of caption using the float package. Output: 
The two figures with one and two caption are given below: Two figures with one caption The code for two figures with one caption is given below: Output: 
Two figures with two caption In this example, we have used the minipage command. This command is written as \begin{minipage}[c]{0.5\textwidth}. You can determine the width according to the requirements. The minipage command is used to put the things next to each other, which will be difficult otherwise. It is used to build an additional page within an existing page. For example, two pictures arranged side by side. The code for two figures with two caption is given below: Output: 
Label and Reference of pictureFor the label and reference, you need to include the refstyle package. The command is written as \usepackage{refstyle}. Let-s understand it, with an example. The code is given below: The \figref command is used for the reference of that picture further in the document. The ref will be numbered automatically. Output: 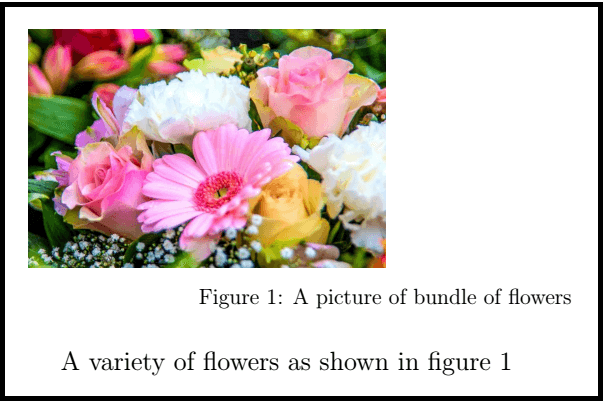
CountersIn Latex, the tables and figures have independent counters. You can notice the code and output given in the below example. Output: 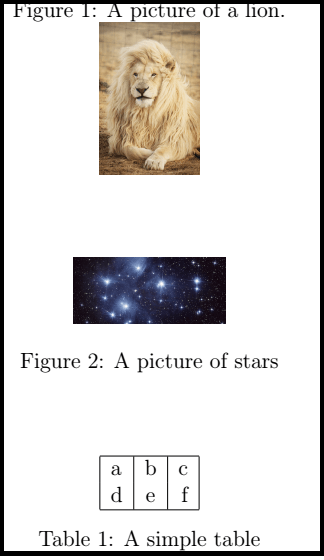
Reflected PictureFor the reflected image of the same picture, the reflectbox command is used. The command is written as \reflectbox{% \includegraphics{...}}. The code and the output is given in the below example: You can notice the difference between the original picture and the reflected picture. Output: 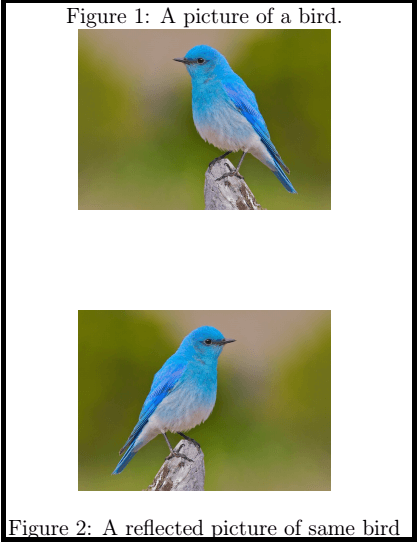
Subfigures in LatexSometimes it is required to add more than one or two pictures. The environment subfigure is used to display multiple images. You need to add various subfigure environments to configure. The code or program is given below: You can notice the two pictures which are next to each other in the output. Output: 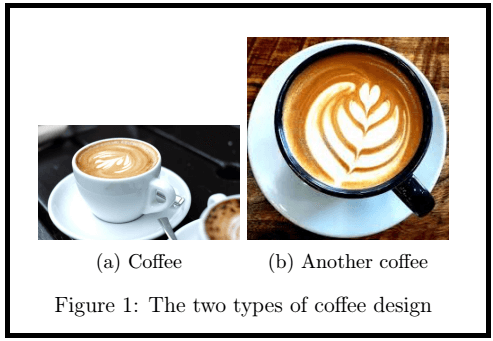
Table of figuresThe two examples to include figures in the table format are given below: 1. The code for first example is given below: Here, we have used the background color to enhance our document. Output: 
2. The code for second example is given below: Output: 
List and SpeciesThe list is displayed using the listoffigures command. The page number and the name of the list will be numbered automatically using this command. The \newcommand species was formed to highlight the species name in the document. The example is given below: You can use any text format to display the species name. Output: 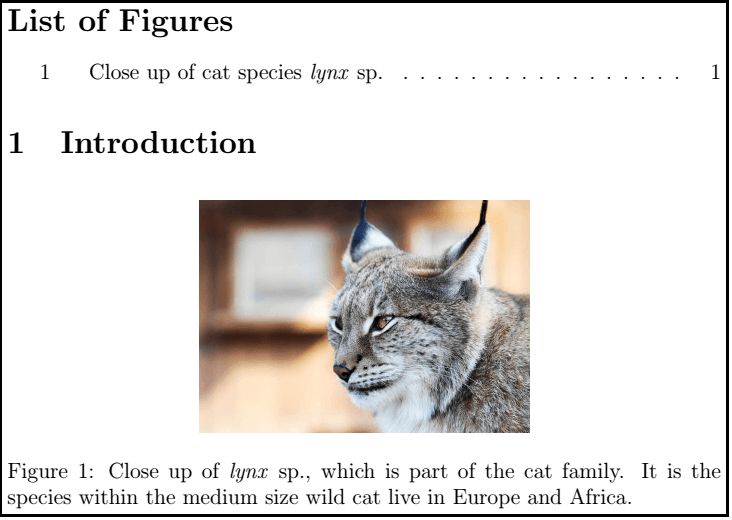
Text wrappingThe author prefers to wrap the text around the picture so that the flow is not interrupted. Wrapping figures and text requires a lot of adjustment. It includes the package and the special commands. The package used is the wrapfig package. The command is written as: It gives access to the command namely, Let-s understand it with an example. The code is given below: Output: 
The overall eight positions used are given in the below table:
Next TopicLatex Graphs
|
 For Videos Join Our Youtube Channel: Join Now
Feedback
- Send your Feedback to [email protected]
Help Others, Please Share


